Laminating a Hollow Shape With A1 & Triaxial Fibre
A1 & Triaxial Fibre
A1 Triaxial Fibre (otherwise known as glass fibre) is used in combination with A1 during the lamination process. This makes it possible to create A1 objects in moulds or covered with A1, as well as strengthening the object.
Advantages
- has been developed specifically for A1.
- is flexible, giving it good drapability on any shape, including round shapes.
- is lightweight (160 gr), but still very strong.
- is vandal-proof once 4 layers have been applied in combination with A1.
Making The Mould
We are going to show you how to use A1 to make a mould of a rock. We will use this mould to create a hollow, lightweight casting for use as a garden light decoration. You may apply this process to the object of your choice.
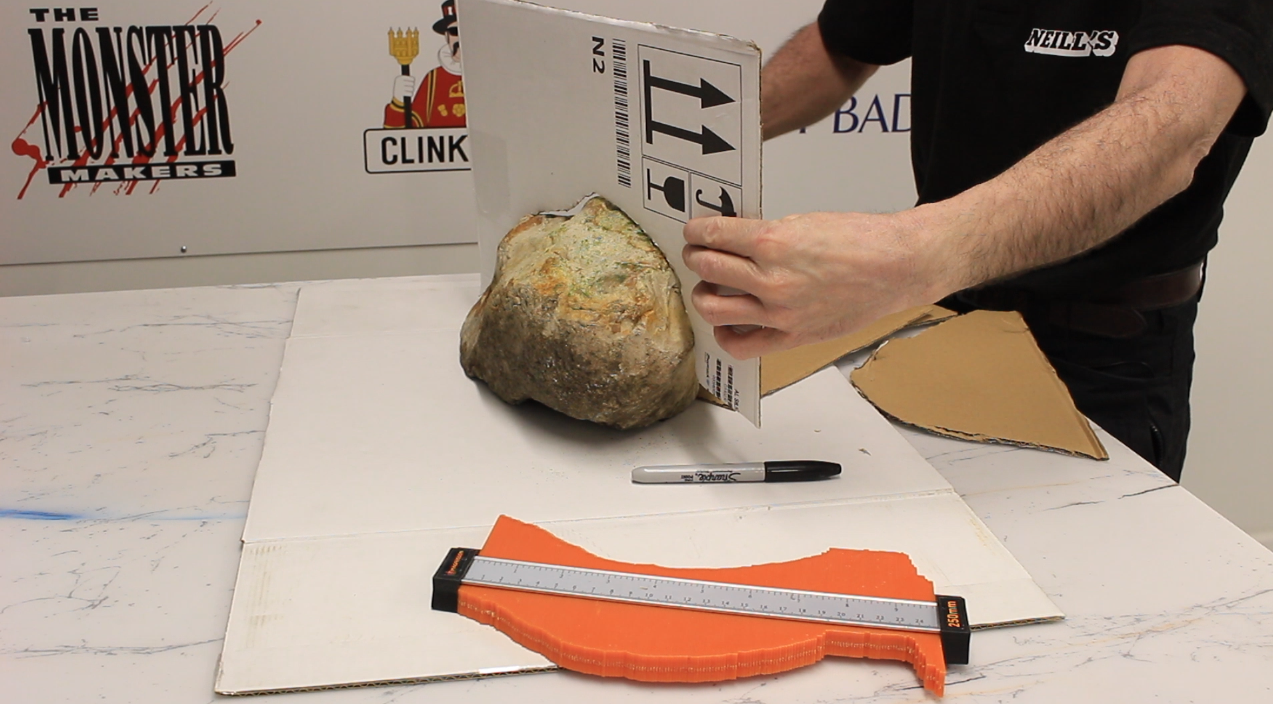
A fast way to measure the profile of the rock is to use a Profile Gauge. Then, you can transfer the outline onto some card. This is going to be the ‘wall’ between the two halves of the mould.
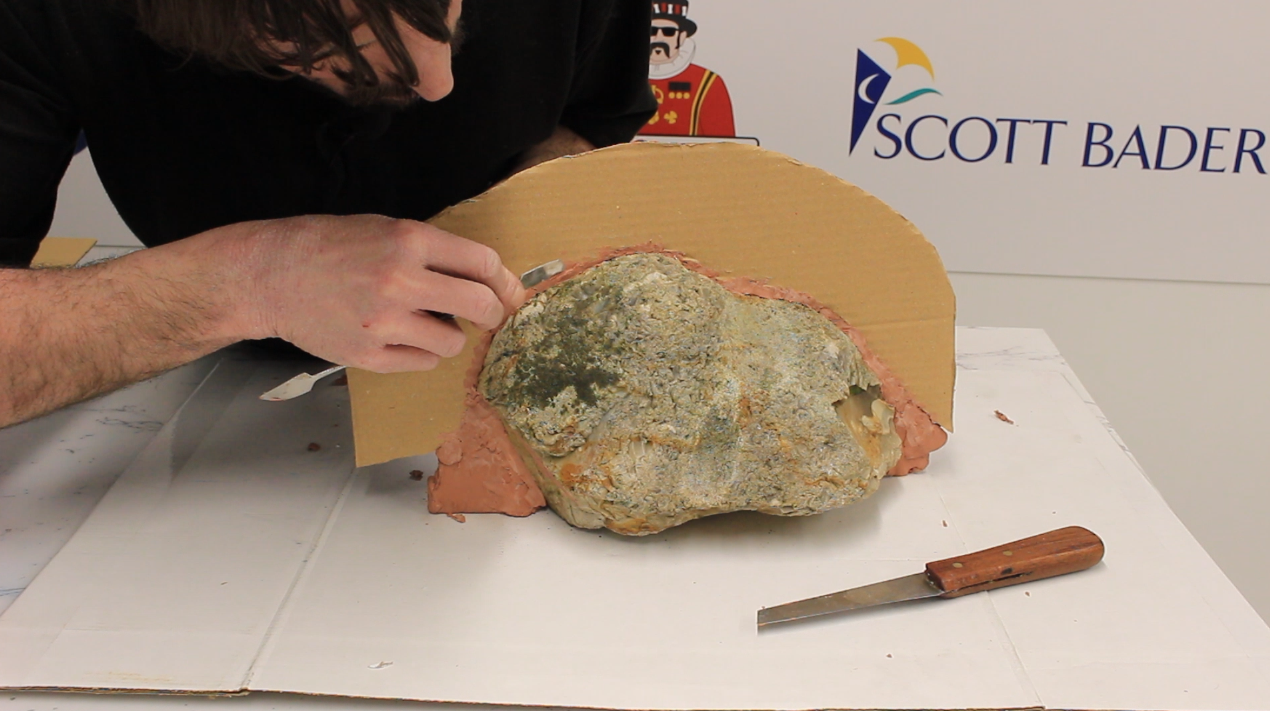
Next, you can use plasticine or an oil-based clay to fill any gaps between the card and the rock. We used Chavant NSP. You may add some supports to the cardboard so that there’s no possibility of the ‘wall’ falling away from the rock.
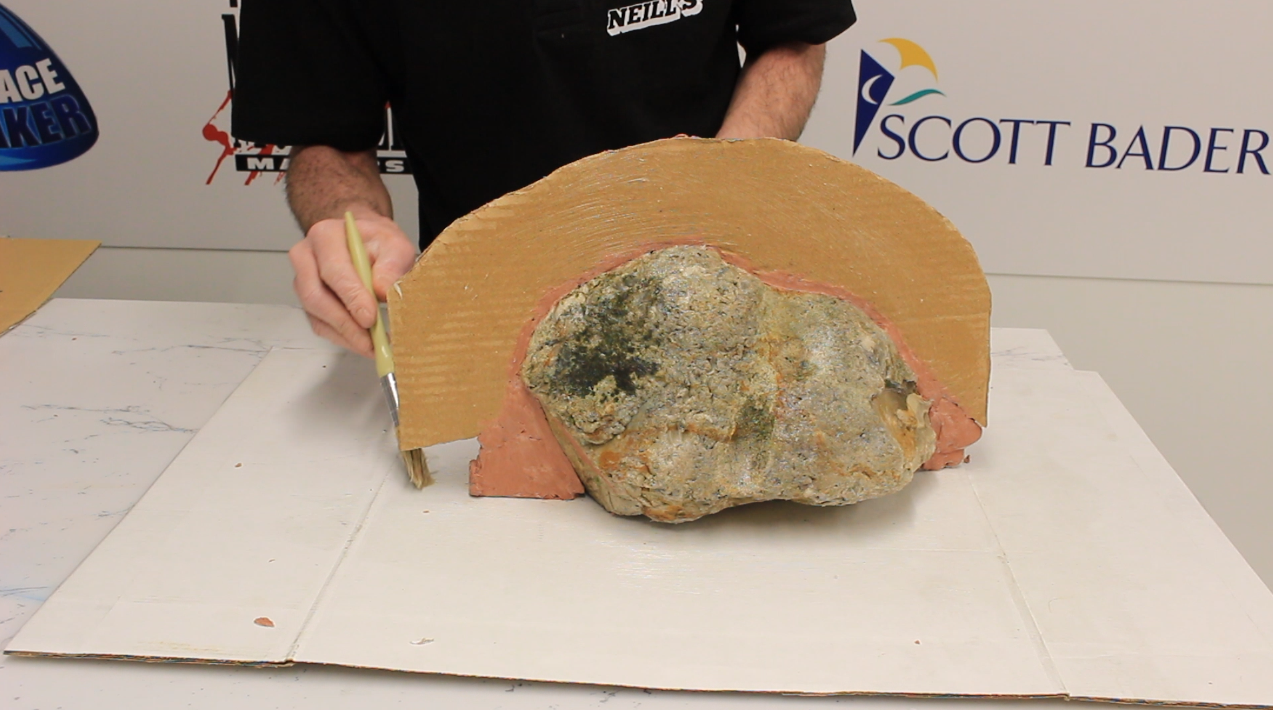
Brush on some petroleum jelly to your rock. This will act as a release agent to stop the A1 from sticking to the card or the rock. Make sure to remove the excess with a sponge.
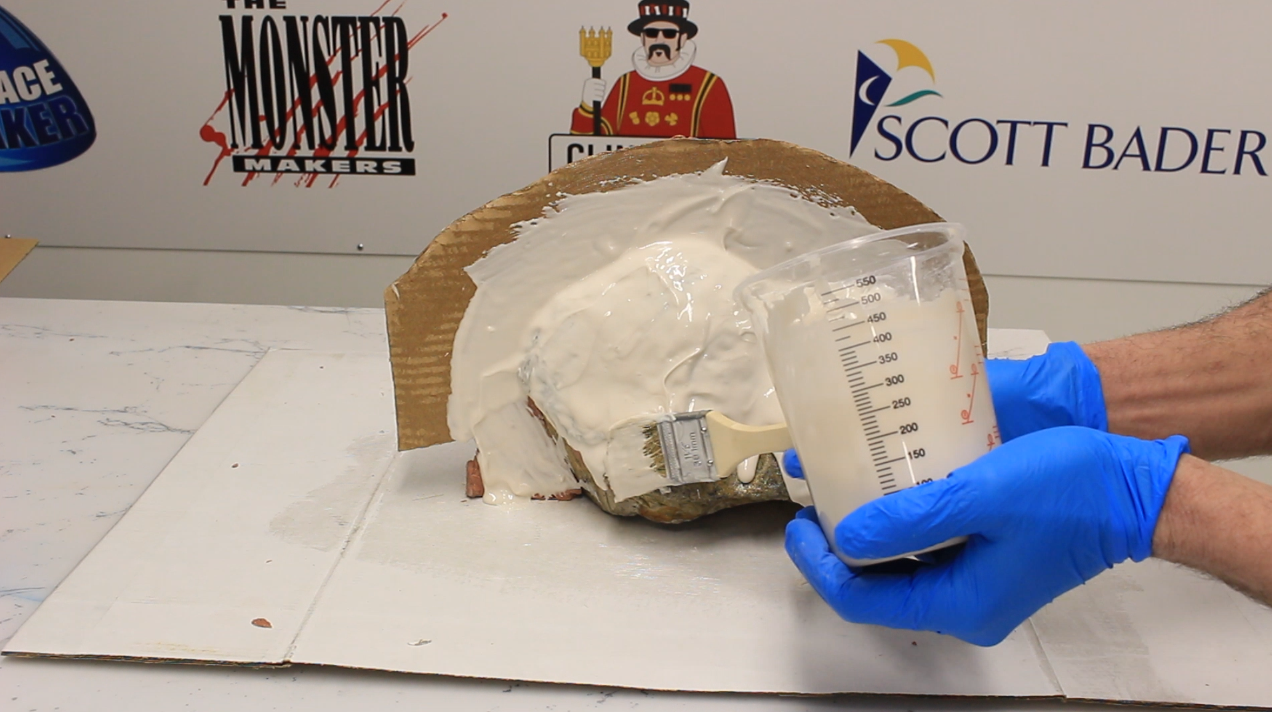
Once your object is prepared, apply the first layer of A1. Mix up a 2:1 mineral powder to liquid mix ratio of the A1. You may also add some Thixatropic Agent to your mixture as this will thicken the liquid, allowing you to brush it on without it dripping straight off. Work it into the surface to capture all the detail of your object.
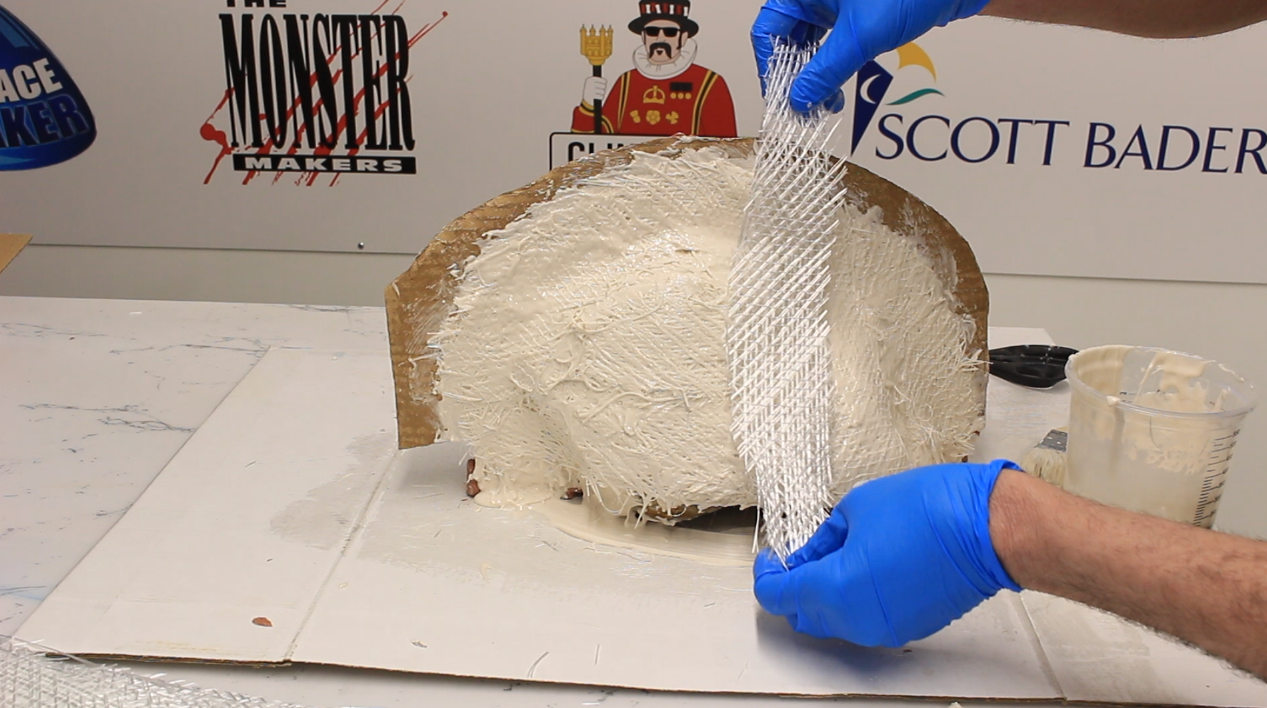
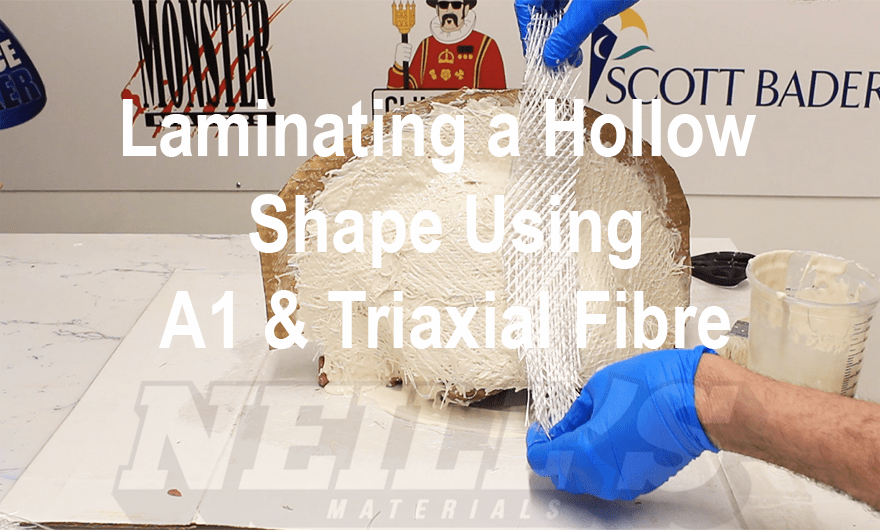
Leave the first layer of A1 until it’s just about set so that it’s still a little bit wet on the surface. Take the Triaxial Fibre and apply it in strips in alternate directions (these can be cut to size beforehand).
Once the first layer of Triaxial Fibre has been applied, brush another layer of A1 on and then another layer of Triaxial Fibre. Repeat this process until you have applied 3 or more layers to your object.
After the first half of the mould has set, repeat this process on the other half of the mould. Remove the card and clay between the A1 and the rock. Apply the petroleum jelly to this half of the rock and the exposed flange of the first half of the mould. Repeat the process for creating the first half of the mould and leave to set fully.
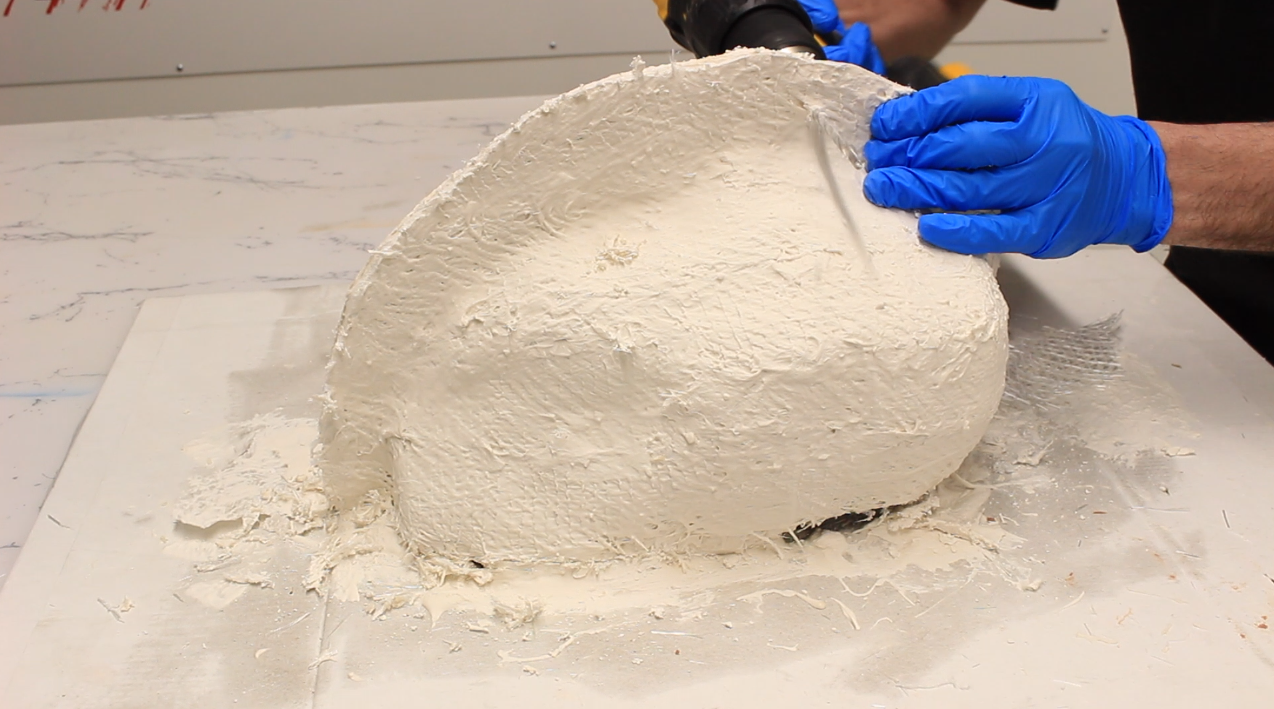
Once the A1 has set, and before you separate the two halves, drill some holes through the flange. These are going to used to bolt the two halves of the mould together, so they help everything locate back into the right place.
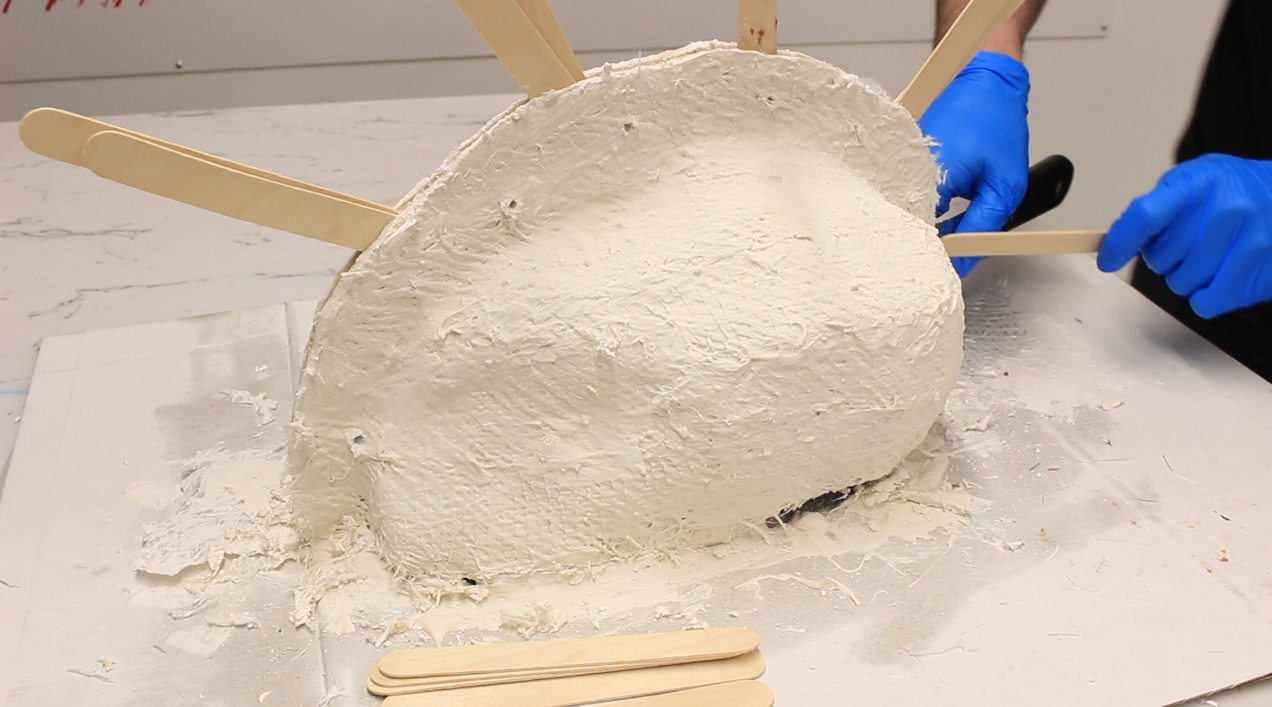
Prise the mould apart carefully. Start by creating a gap with a scraper. We used some mixing sticks to hold the halves apart as we worked a section at a time. You can also gently knock the sides of the mould with a rubber mallet to aid the separation.
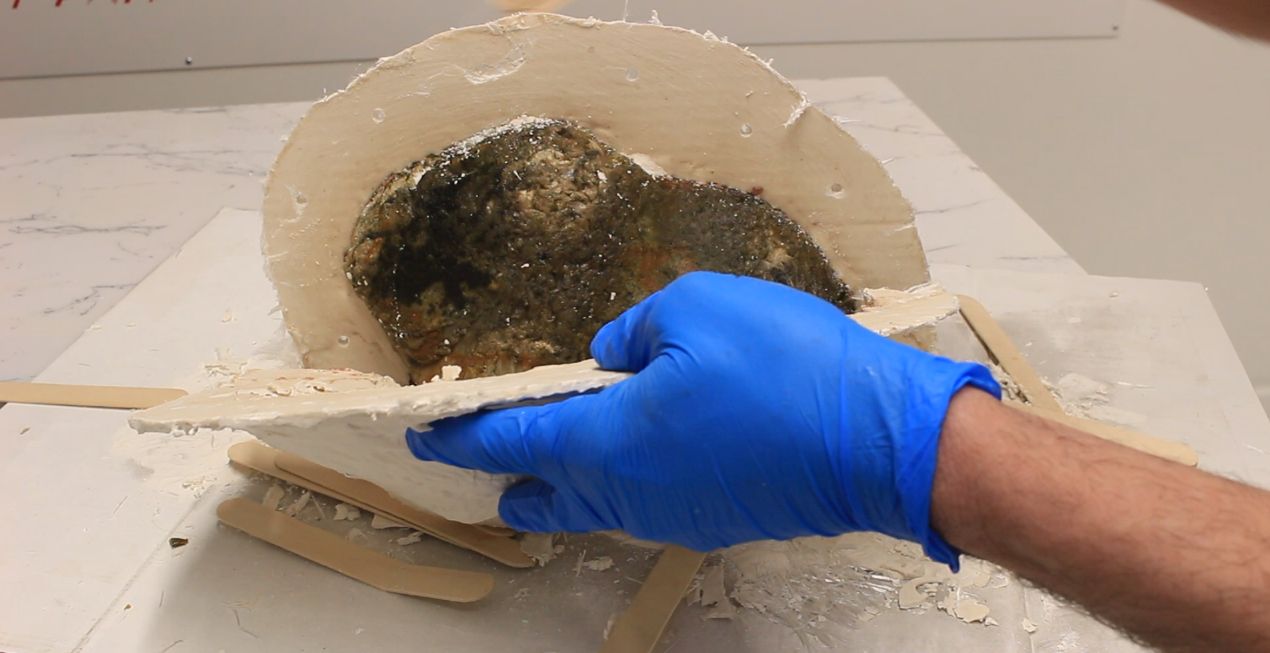
The first half of your mould should easily release.
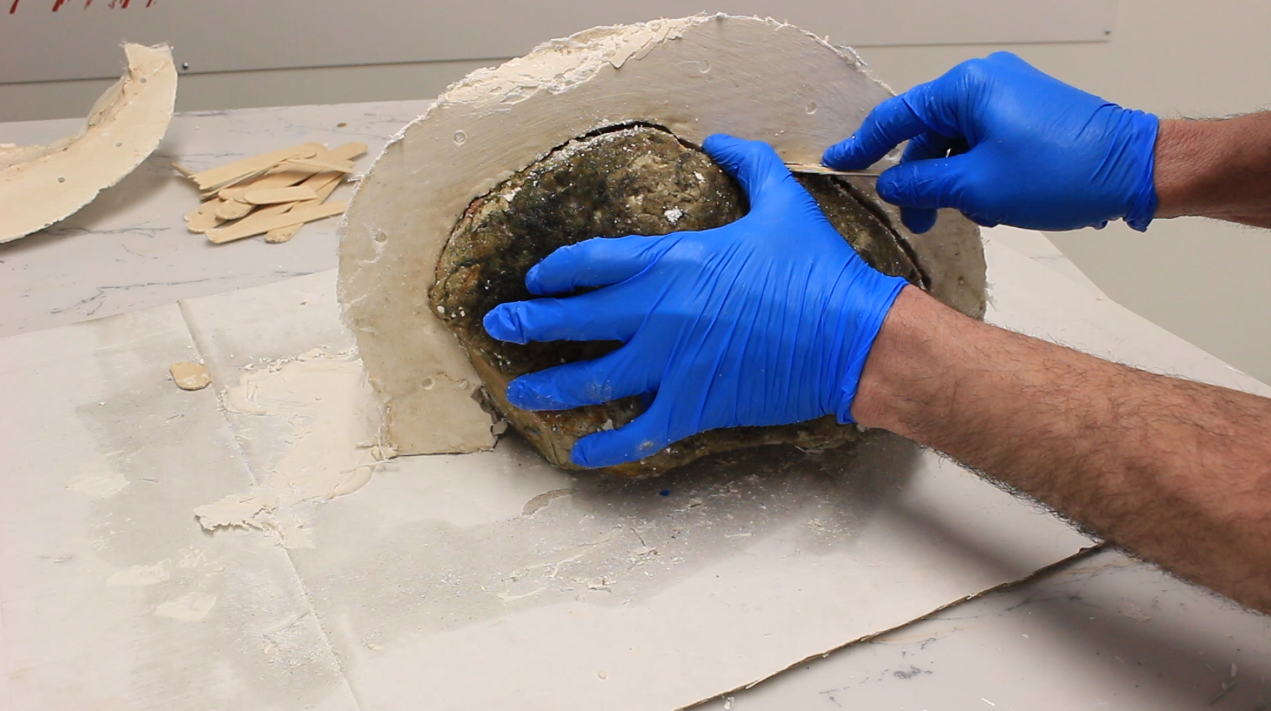
Now, you have access to gently release the other half of the mould from the object. We carefully prised this half off. Make sure to do this very carefully, you don’t want any damage as this will show in your final casting.
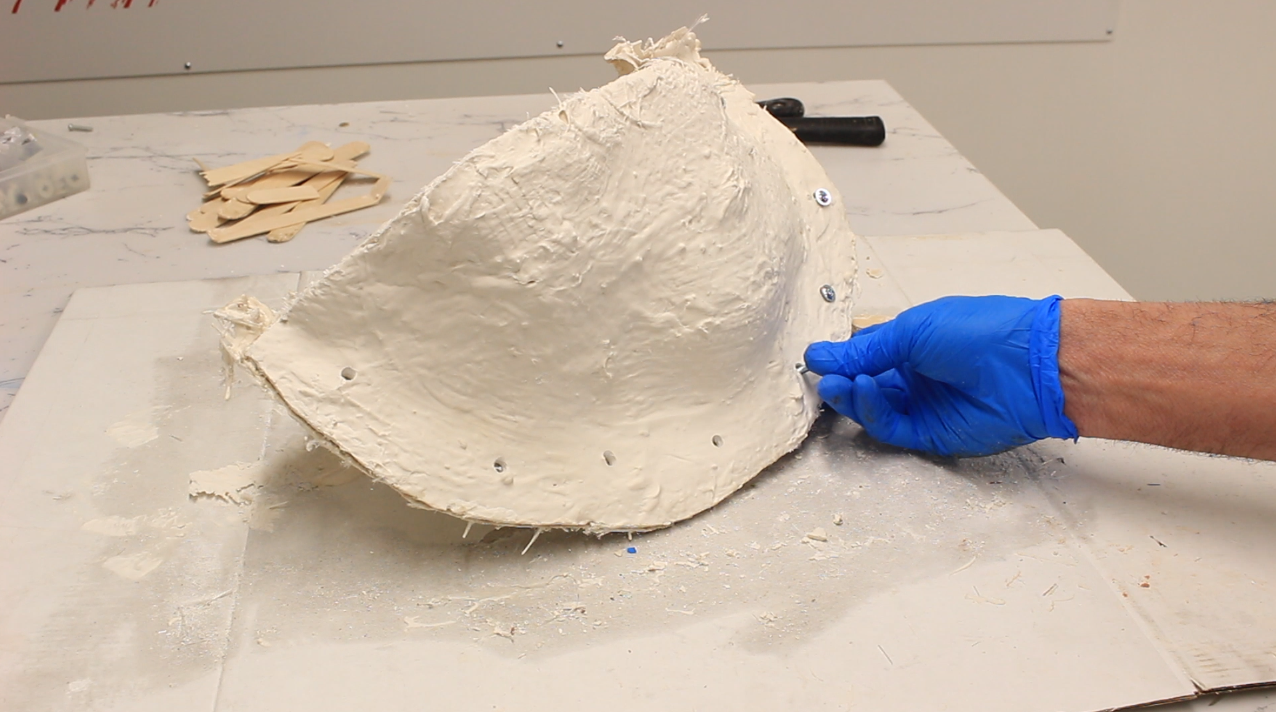
The mould is now complete! Meaning it can be bolted back together. Make sure to screw it back together tightly and make sure to visually check that the two halves have located back together correctly.
Making The Cast
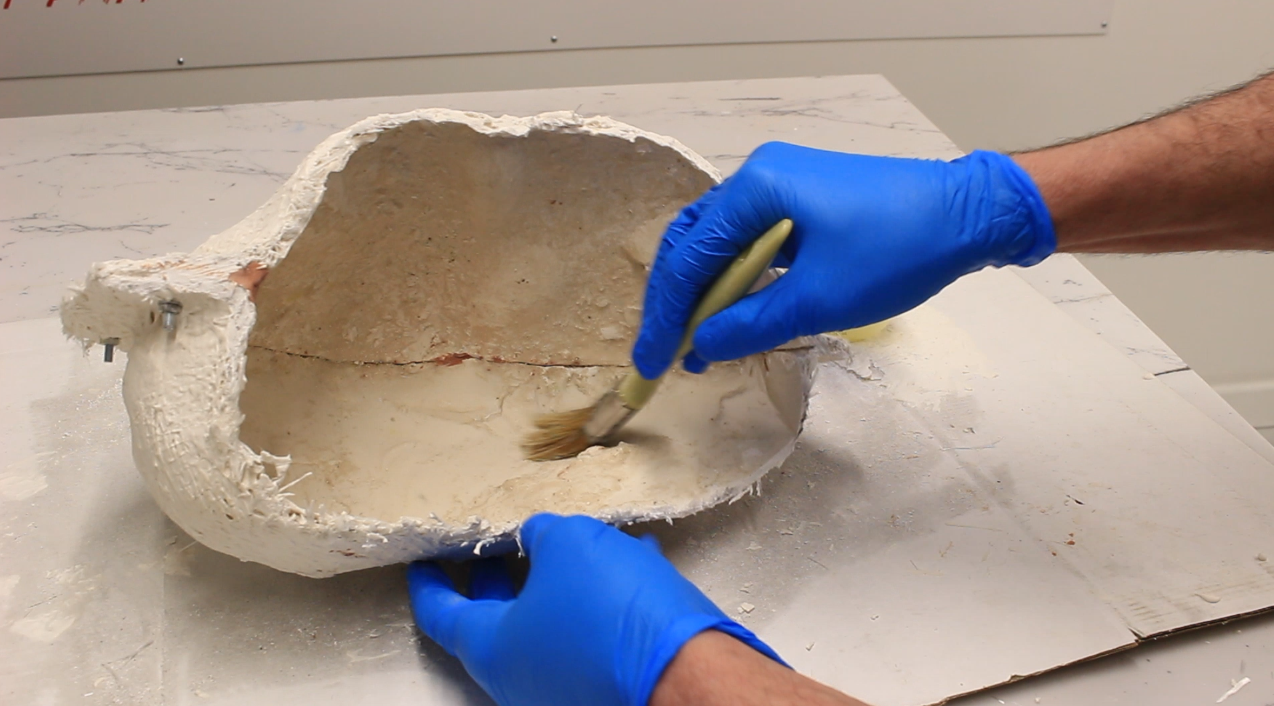
The casting process can now begin! Start off by brushing on some petroleum jelly to the inside of the mould (making sure to remove any excess) as this is going to act as a mould release.
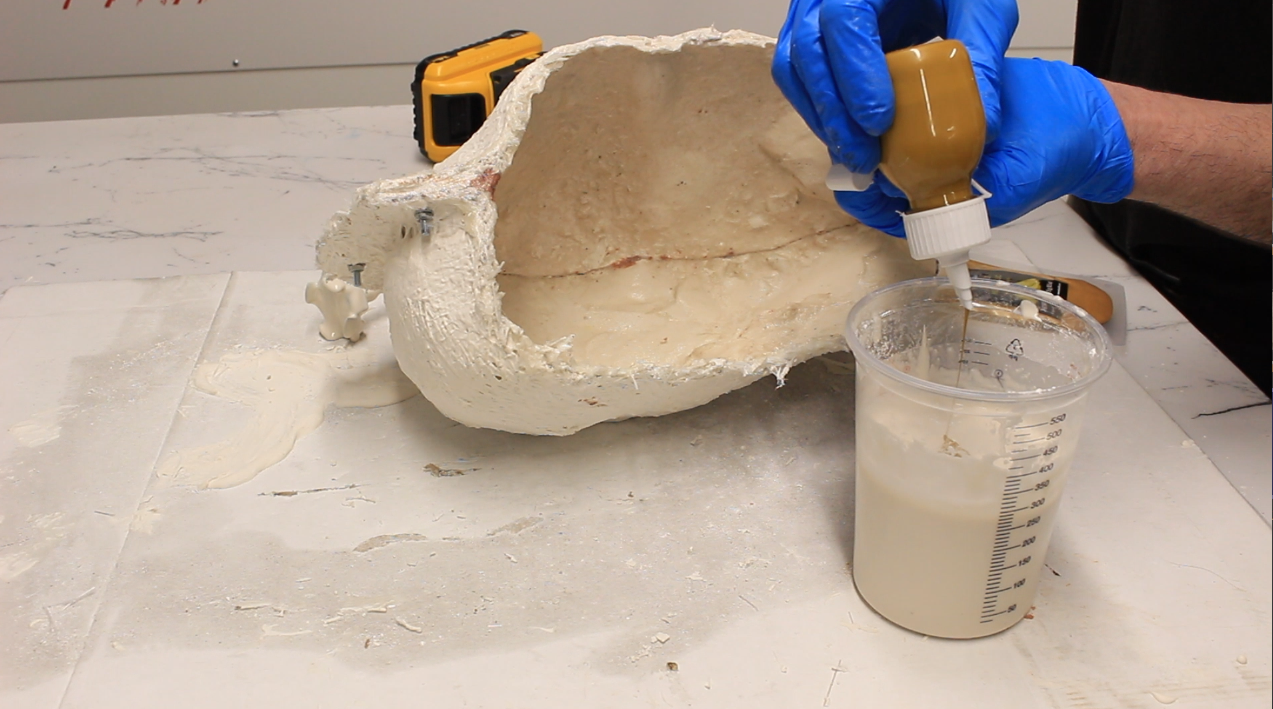
Make some A1 to be brushed onto the inside of the mould to make the cast. We pigmented the mixture with the Ochre A1 Pigment and a small amount of gold powder pigment, but you can use any pigment.
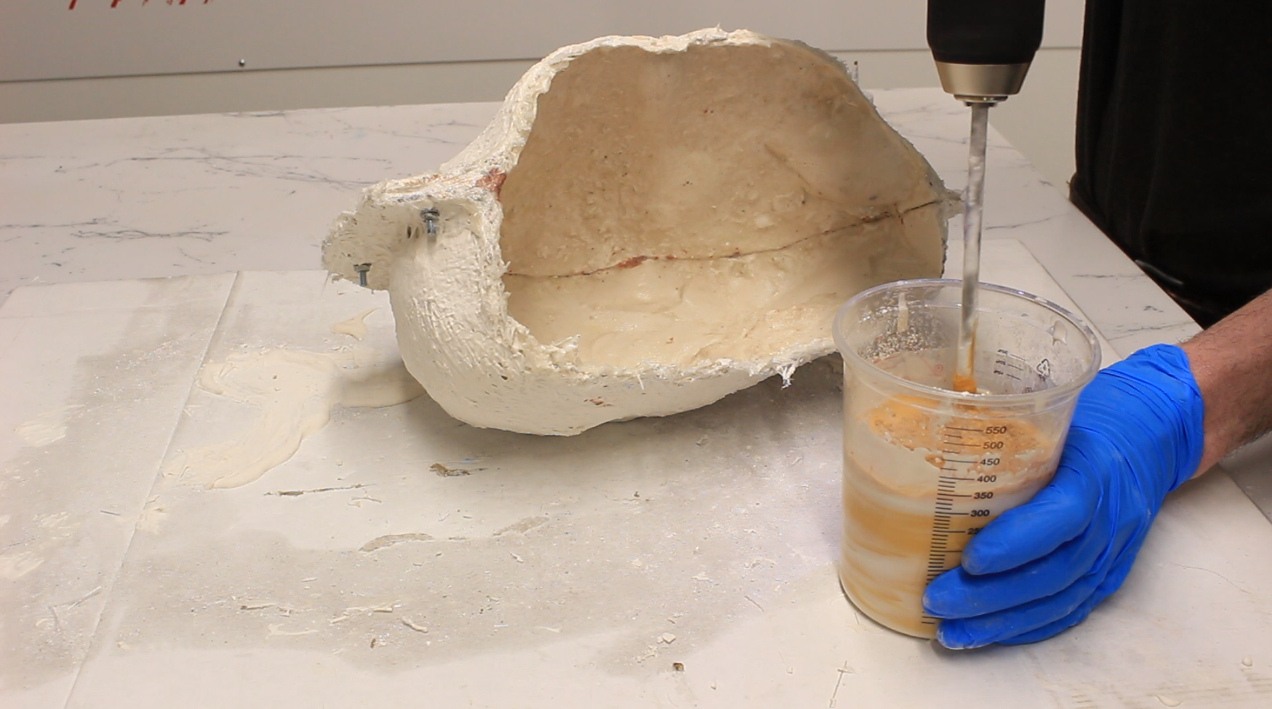
Mix the A1 and the pigments together using a drill with a mixing paddle attachment.
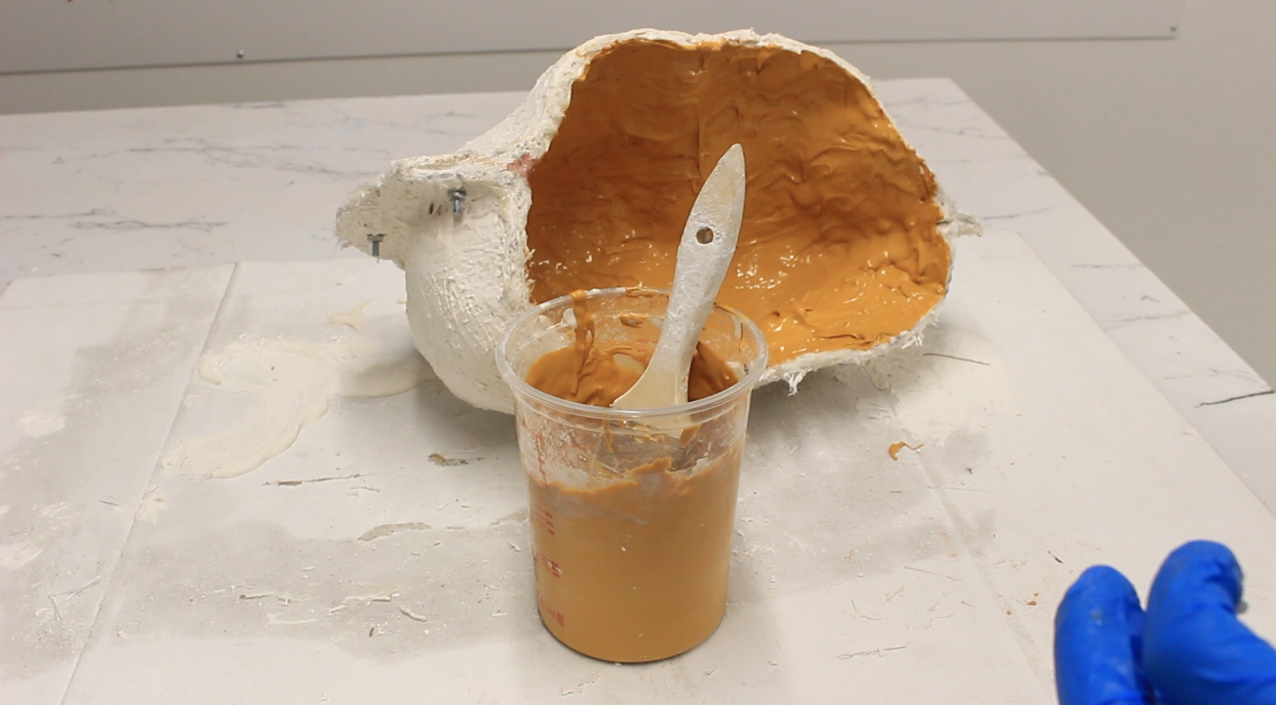
Brush on the pigmented A1 mixture to the inside of your mould. Work it into the surface to capture all the detail, ensuring that no air bubbles get trapped during the process.
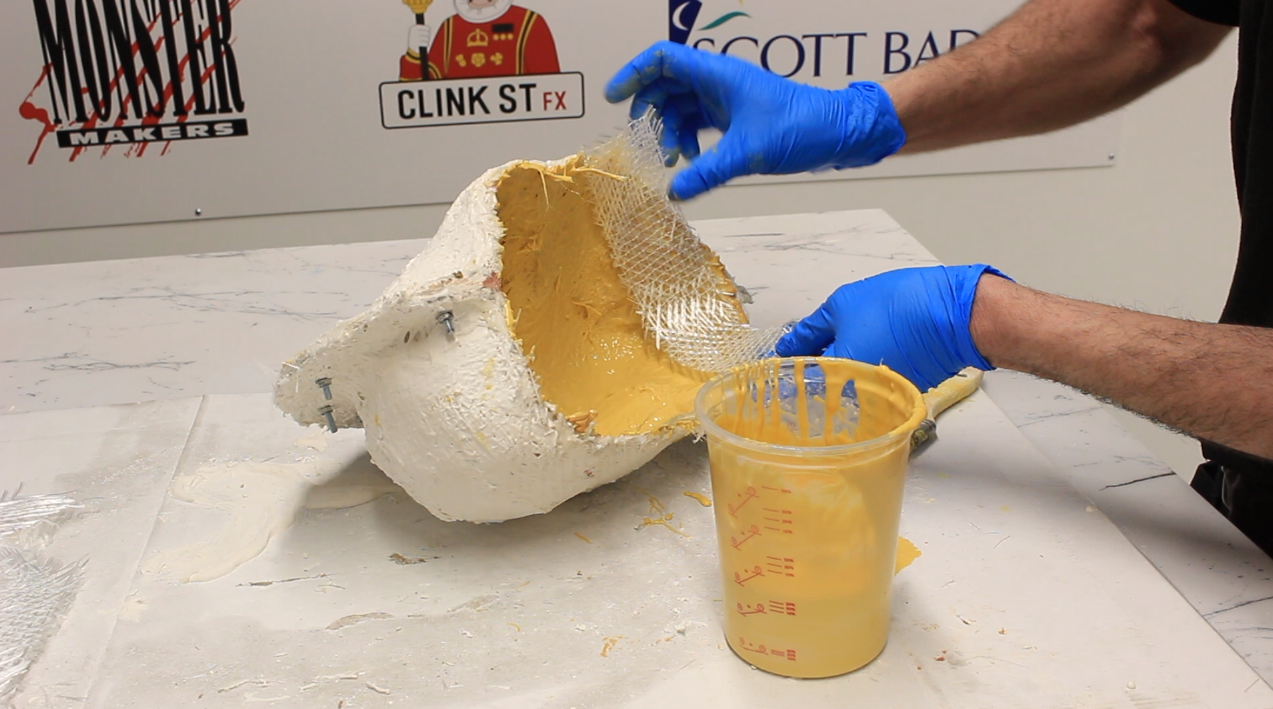
When the first layer has been applied, leave it until its just about set. Start layering the Triaxial Fibre and A1. As before, we’re going to build up three layers using the Triaxial Fibre and A1. You can make more layers depending on the object you’re looking to mould and cast, however.
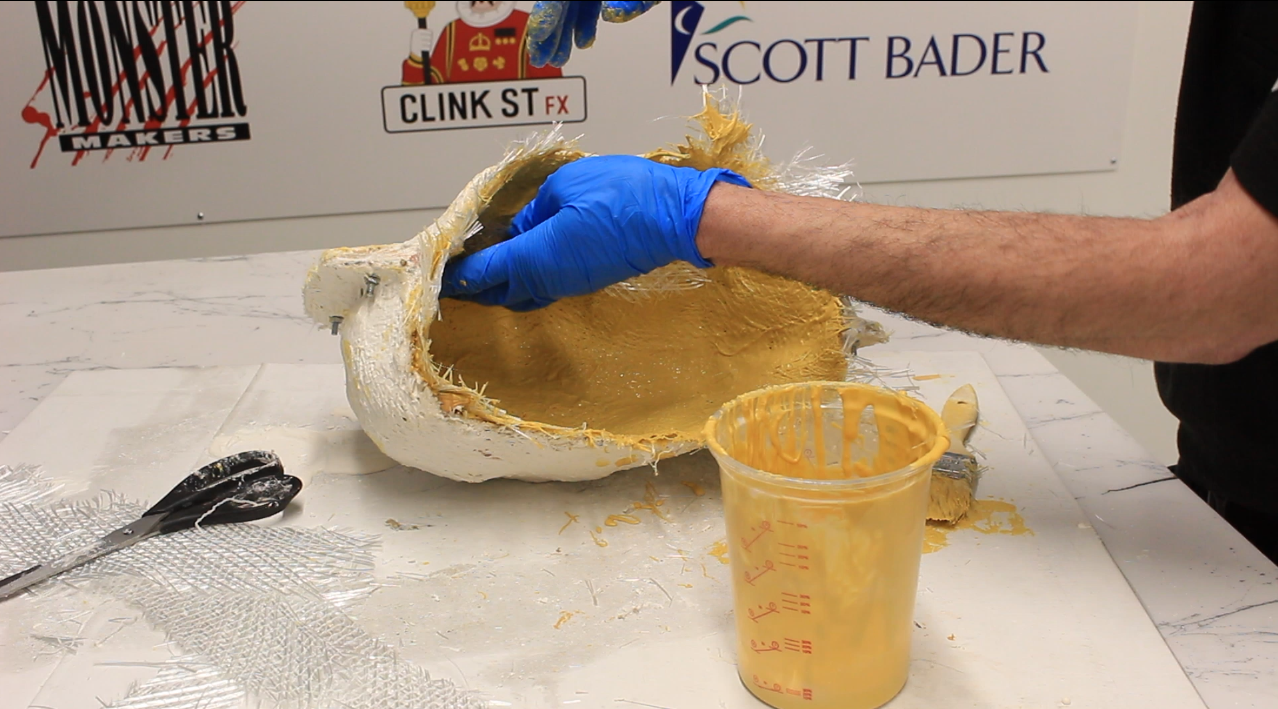
TIP: Lay the triaxial fibre just over the edge of the mould. When we trim this edge, this will mean we won’t have any un-reinforced A1 at the edge of our cast.
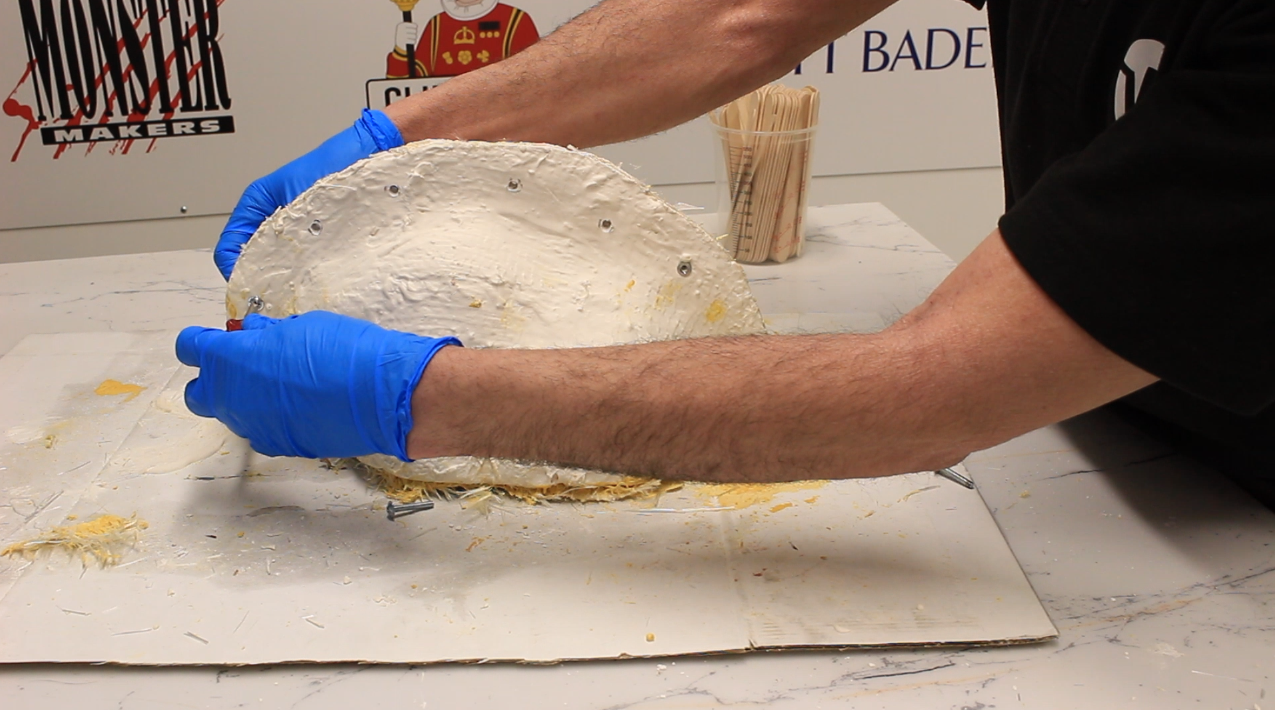
Leave to set for an hour. Now, it’s time to remove the cast from its mould. Remove all the bolts. As before, gently pry the mould apart using a scraper and hold it apart with sticks or wedges.
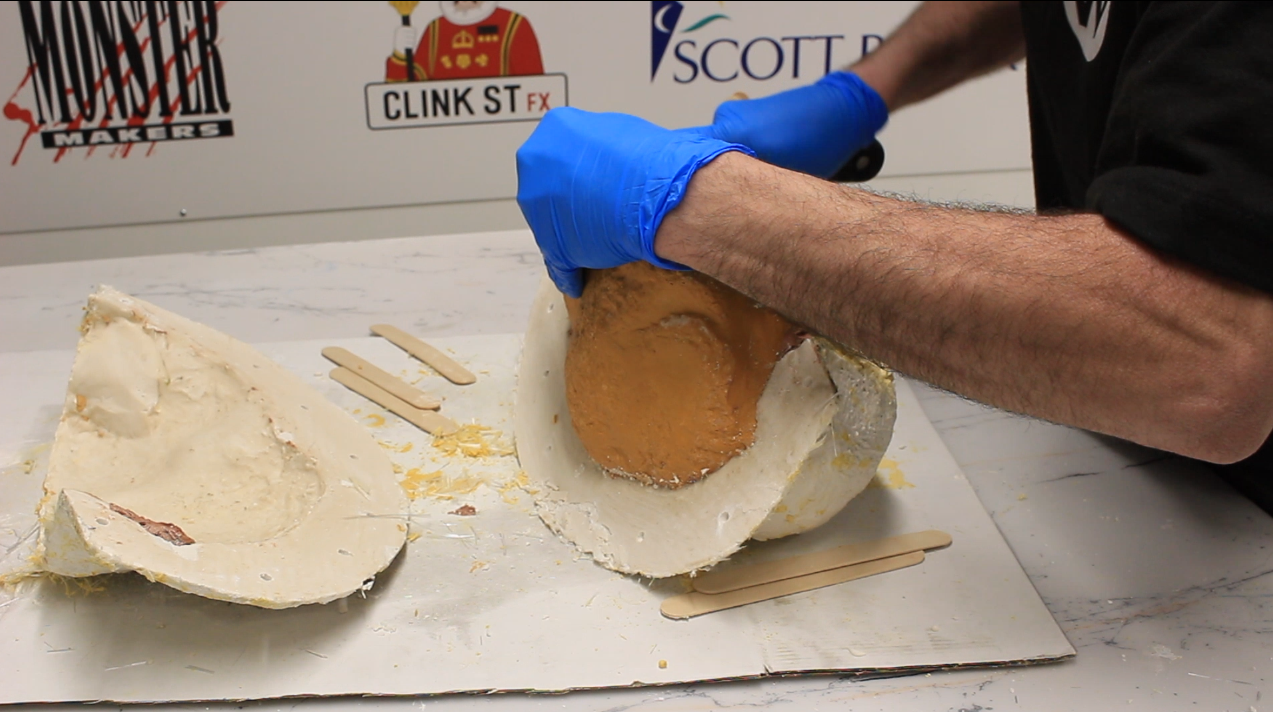
The first half of the mould should release. Now, you can carefully prise the cast out of the mould and you should have a durable, hollow cast.
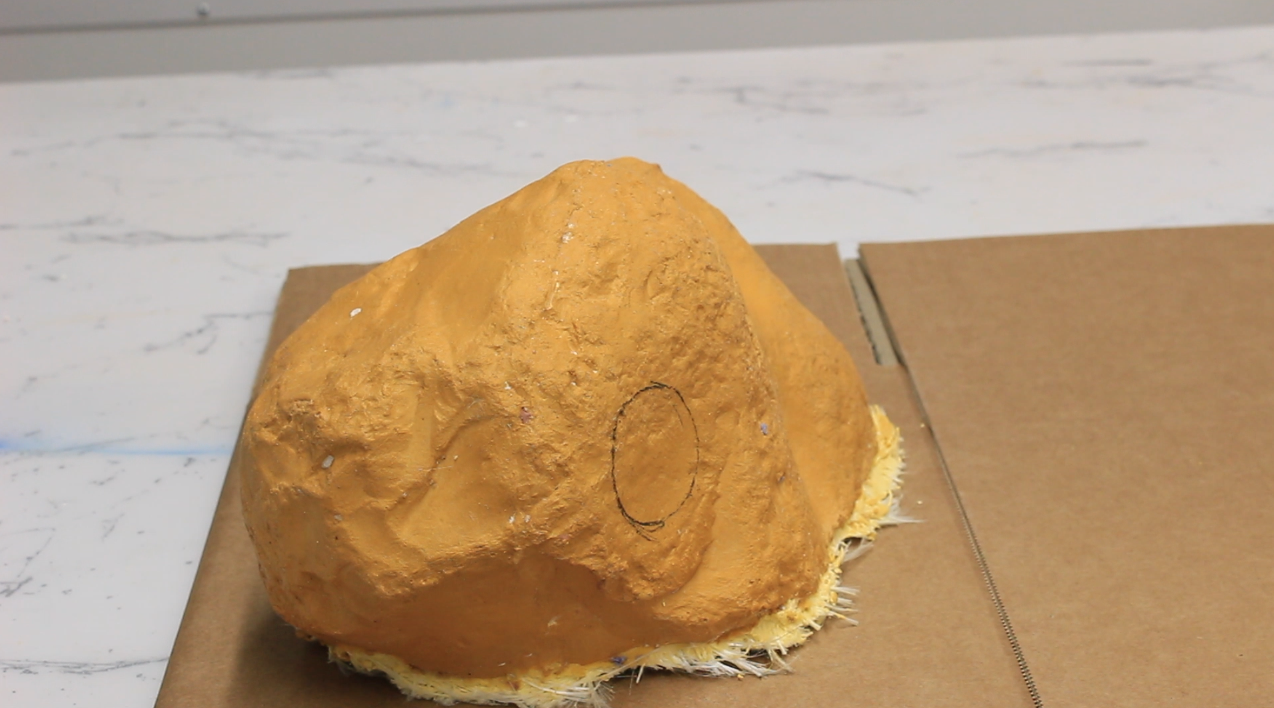
After cleaning up the cast and trimming the excess triaxial fibre off the base, we are now going to turn our ‘rock’ into a garden light. Firstly, use a pencil to mark out the size of your light and the placement.
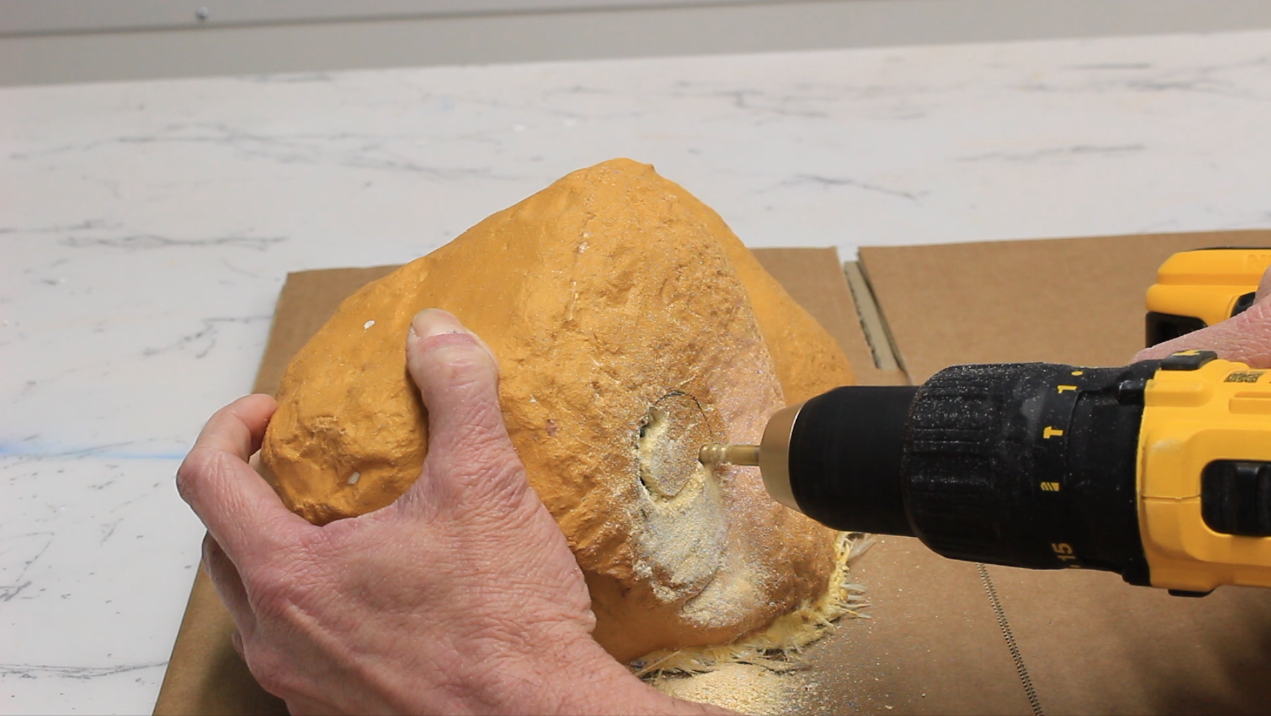
Using a suitable cutting bit, cut to your outline. Make sure to wear a mask and work in a well-ventilated area when doing this.
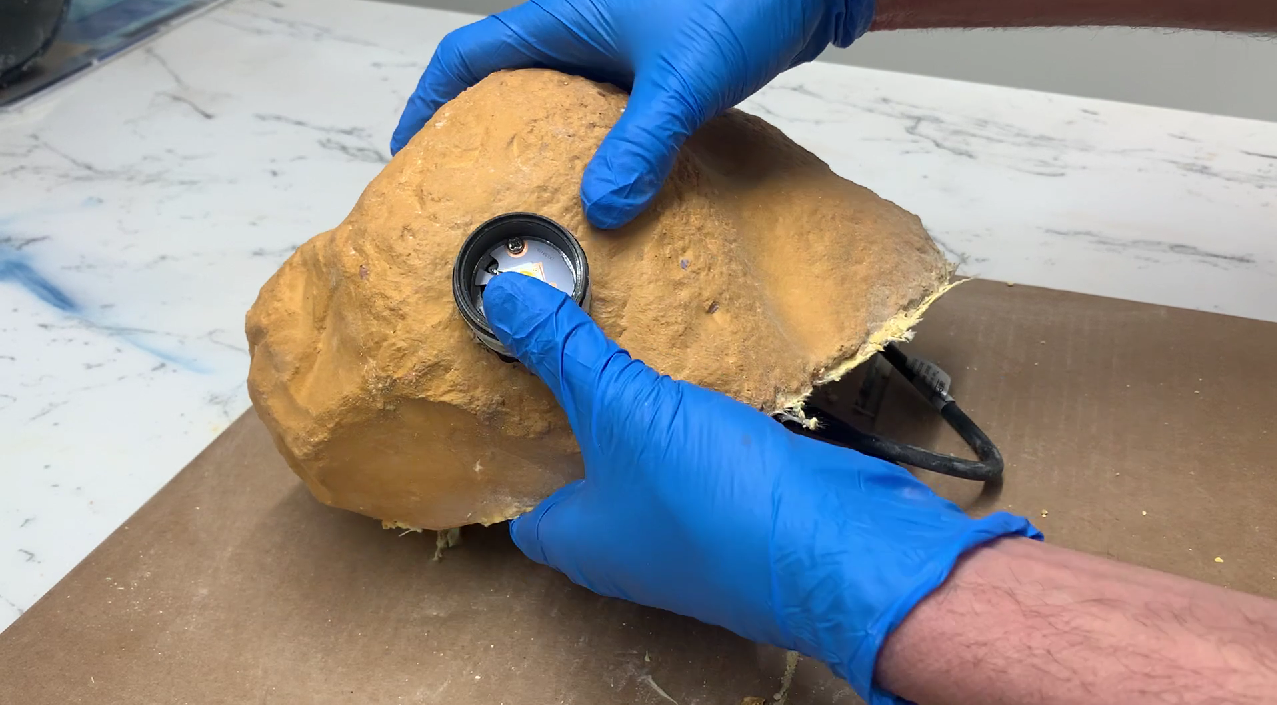
Place the light fitting through the hole to test it fits in place.
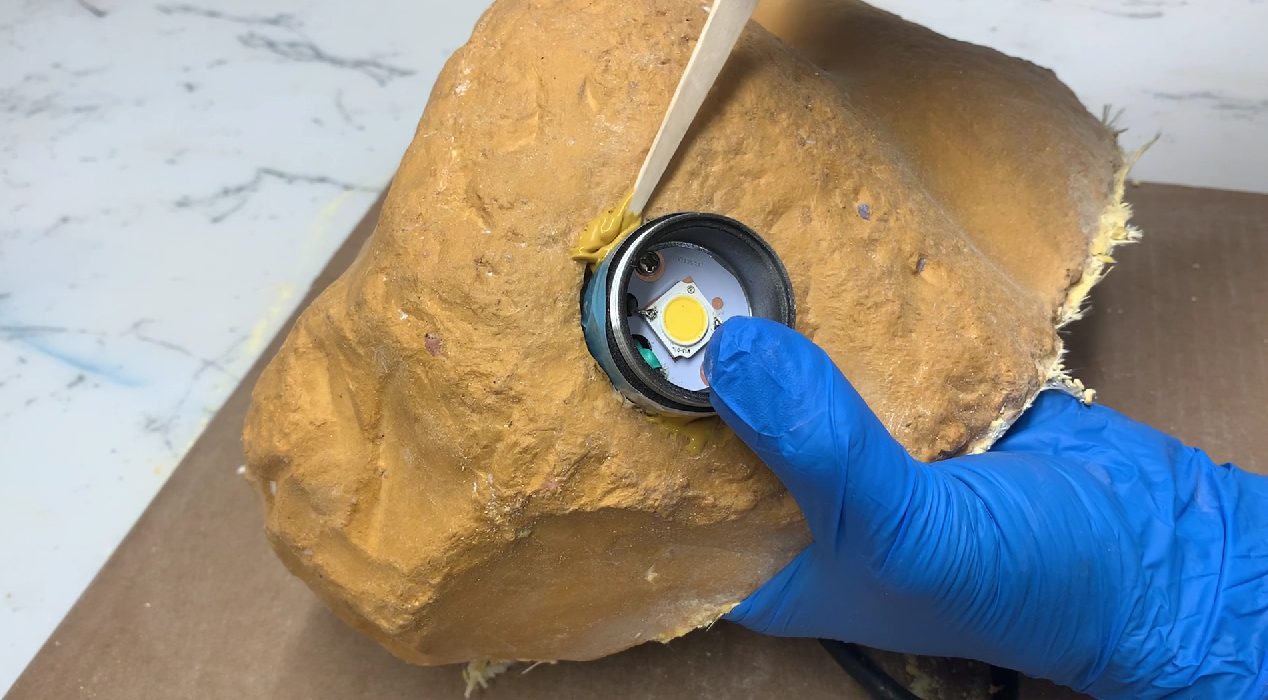
Now, mix a small amount of A1 to fill any gaps between the light and ‘rock’ to achieve a neat fit and leave to set again.
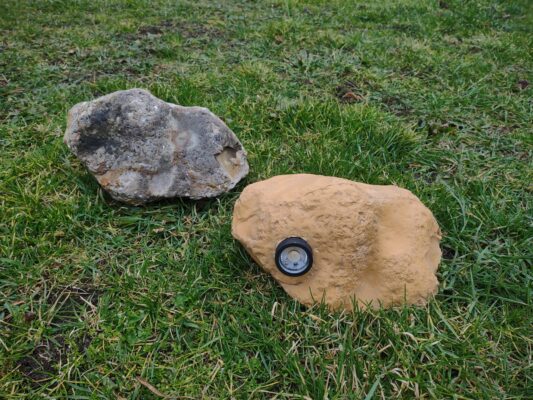
This is the final Triaxial-reinforced A1 garden ‘rock’ light. You could use any of the A1 sealers to weatherproof your casting against the rain and damp.
We would love to see what projects you use A1 for! If you’d like to get in touch to show us what you’ve created using the A1 and for a chance to be featured on our Instagram and Facebook pages, please email info@neillsmaterials.co.uk.

