FDA Platsil Gel 25 | Turn A 3D Print Into A Chocolate Cast
What is Platsil Gel 25?
Platsil Gel 25 is a 2-part platinum cure silicone that has a lower mixed viscosity than other Platsil Gels. It has a shore hardness of A25, a 1A:1B mix ratio and a 60 minute demould time. Platsil Gel 25 can be used to create prosthetic appliances and life castings making it widely used for special effects in television, theatre and film. As well as this, Platsil Gel 25 is food safe meaning it can be used to make food moulds. Making it ideal for hobbyists and industry professionals.
At Neill’s Materials, we thought it would be a fun experiment to turn a 3D print into a chocolate gift using Platsil Gel 25. However, you could mould any object you want using Platsil Gel 25 and then cast it into anything edible. You could mould and cast anything, the only limit is your creativity!
How To Turn An Anatomical Heart 3D Print Into A Chocolate Gift
Step One
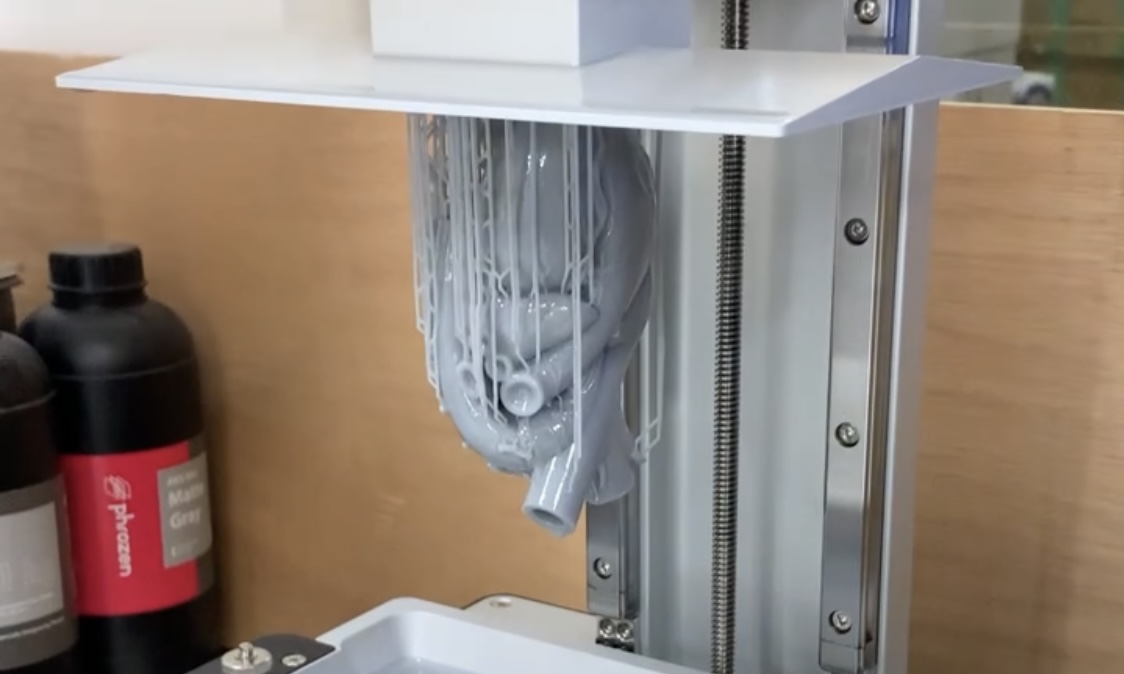
Firstly, we printed out a 3D anatomical heart using a Phrozen Sonic Mighty 4K. This is what we will be moulding using Platsil Gel 25. However, you can use any object you want.
Step Two
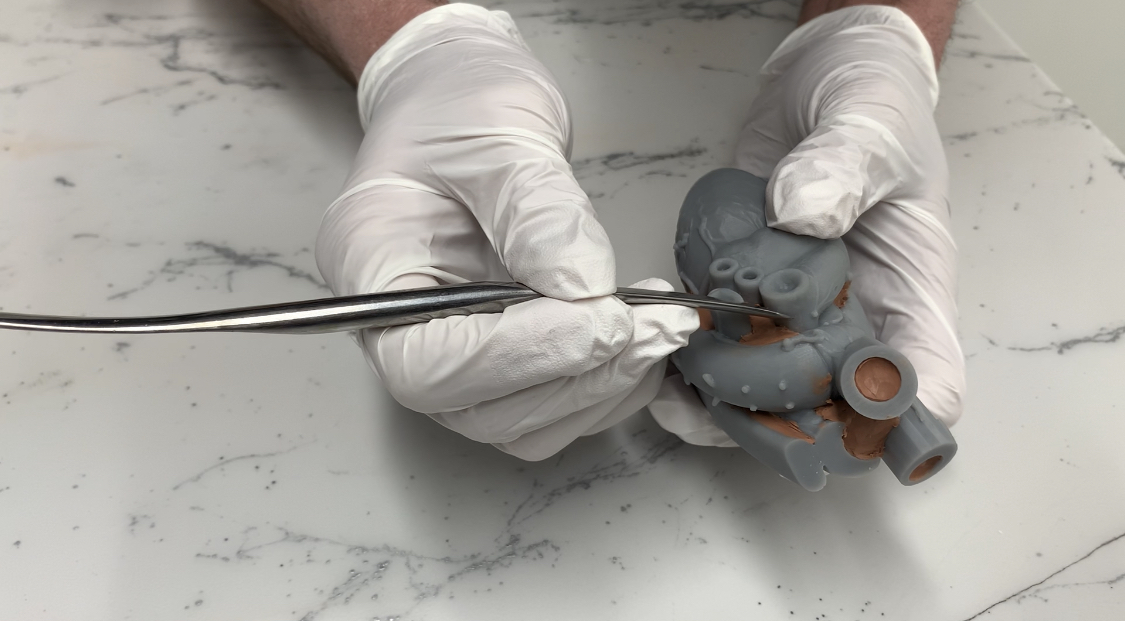
In our case, we waited for our 3D print to cure and then cleaned it in food grade Caustic Soda, before moving on to the next step. But, if you’re not using a 3D printed object you can move onto this step straight away.
Once you have the object you want to mould, you’ll need to fill in any holes/gaps so the Platsil Gel doesn’t cure in these areas. To do this, we used some Chavant NSP and a spatula to fill the gaps.
To provide extra assurance and a barrier between the 3d print/object and the moulding rubber, you could use a layer of our Supralease PTR which has FDA food and medical approval.
Step Three
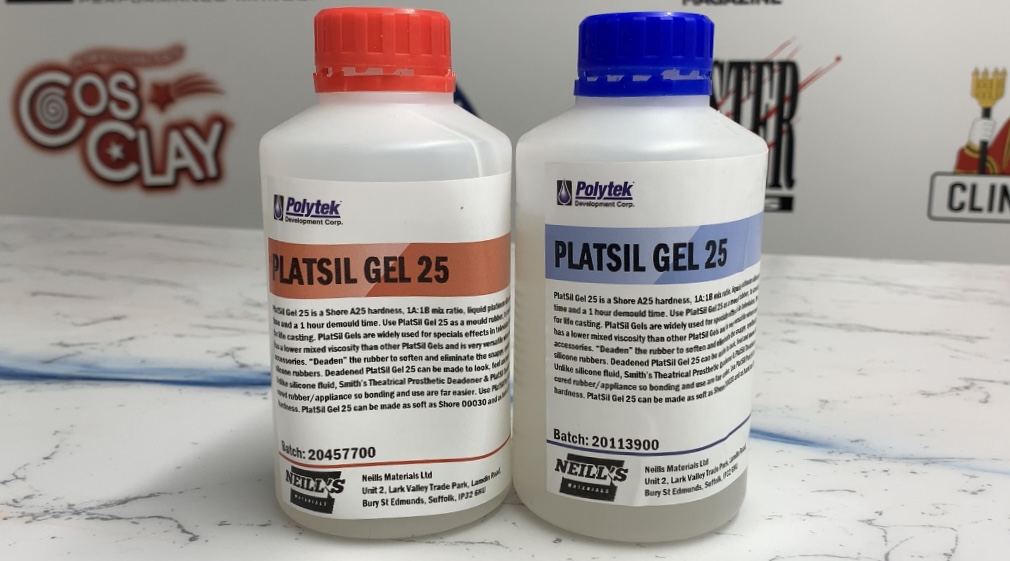
Grab your Platsil Gel 25!
Step Four
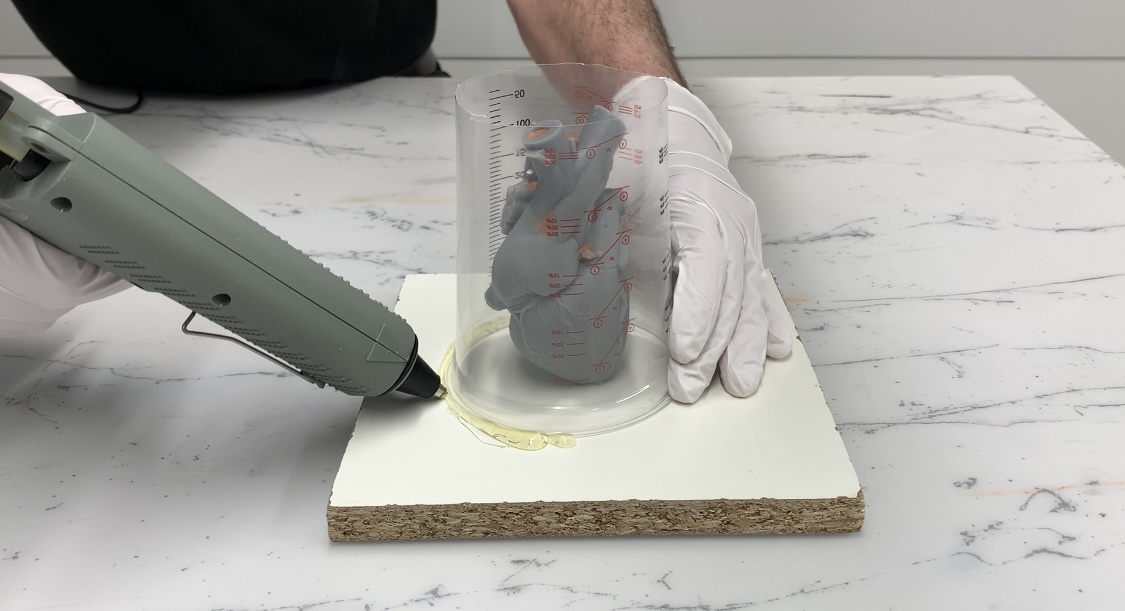
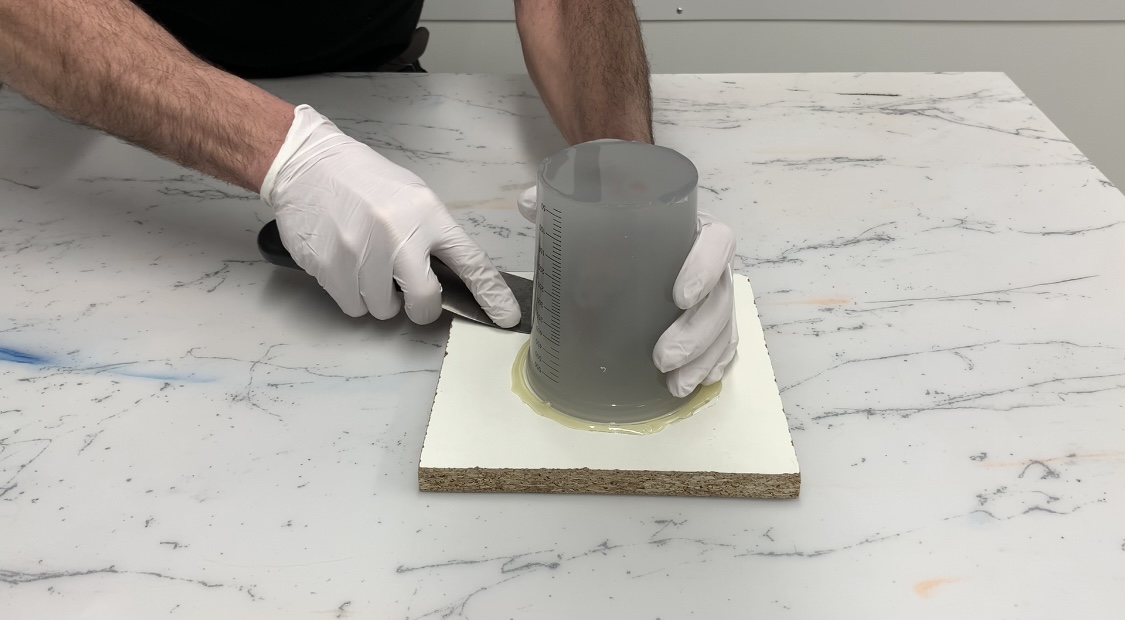
Secure your object in a container. Here, we used a plastic mixing cup with the bottom cut out to allow us to easily pour the Platsil Gel in. We also secured the base of the cup to the MDF board using a hot glue gun, this makes it leak-proof as you want to avoid the Platsil Gel leaking out.
Step Five
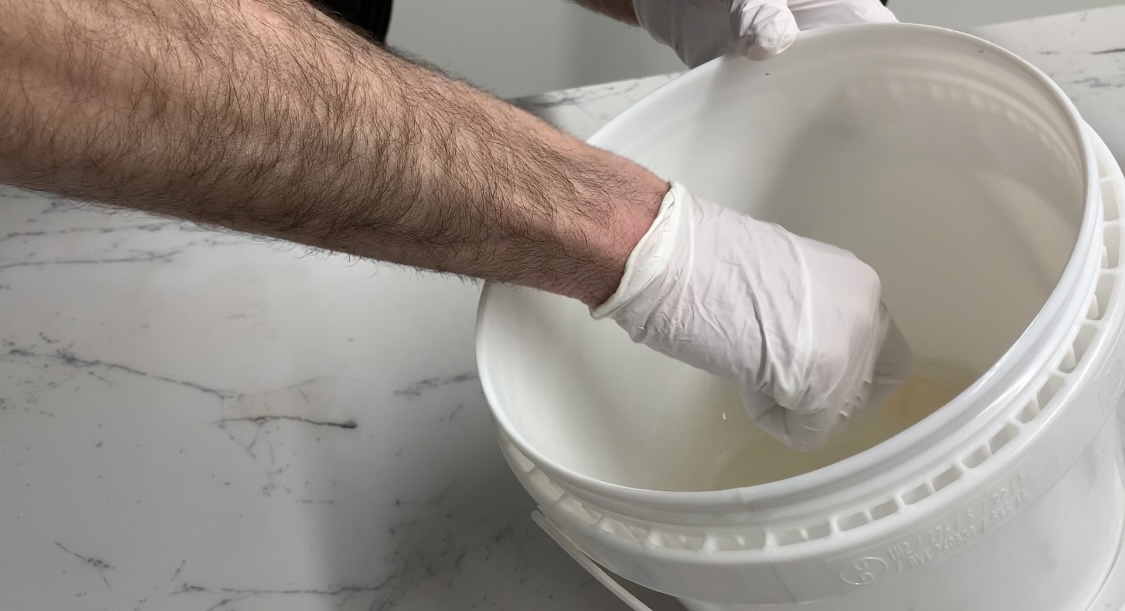
Once you have secured your object in a leak-proof container you can now mix your Platsil Gel 25 Part A and Part B together using a 1:1 ratio mix. The amount of Platsil Gel you use is dependent on the size of your object but, you want to make sure it’ll be enough to entirely cover your object.
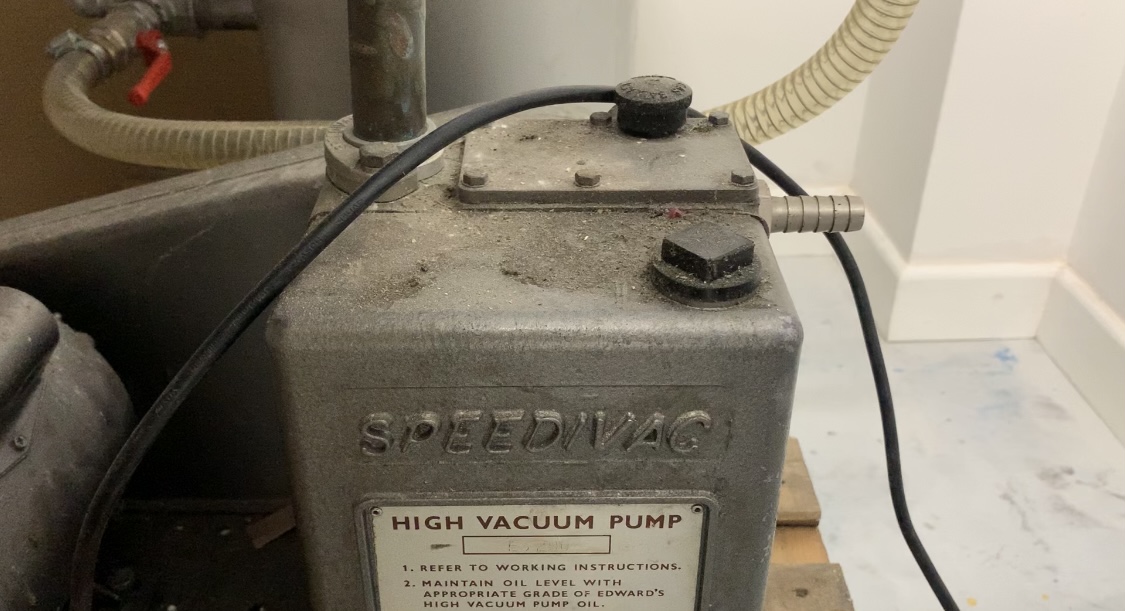
Try to avoid mixing it too vigorously as this will create air bubbles. If you have access to a vacuum chamber you can use this to get rid of the air bubbles but if not, gently tapping the bottom of the container for a few minutes will do the trick.
Step Six
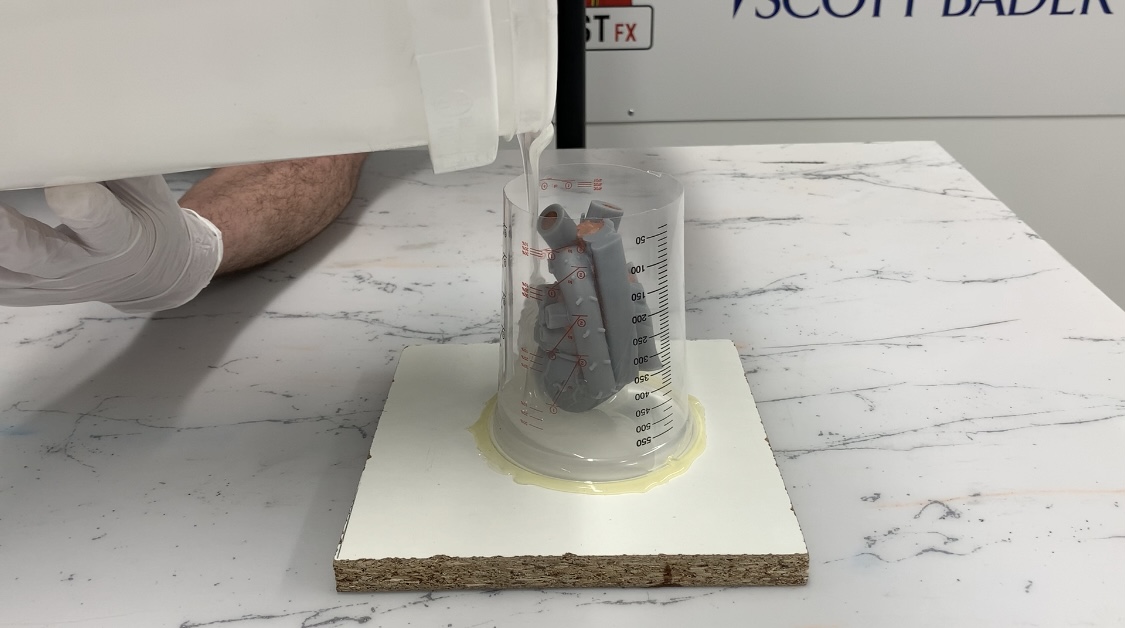
Once you have fully mixed the Part A and Part B together, you can now pour the mixture over your object. Making sure to cover it fully.
Step Seven
Leave for 60 minutes to set. Once the Platsil Gel 25 has set you can (if necessary) carefully remove the container from the surface.
Step Eight
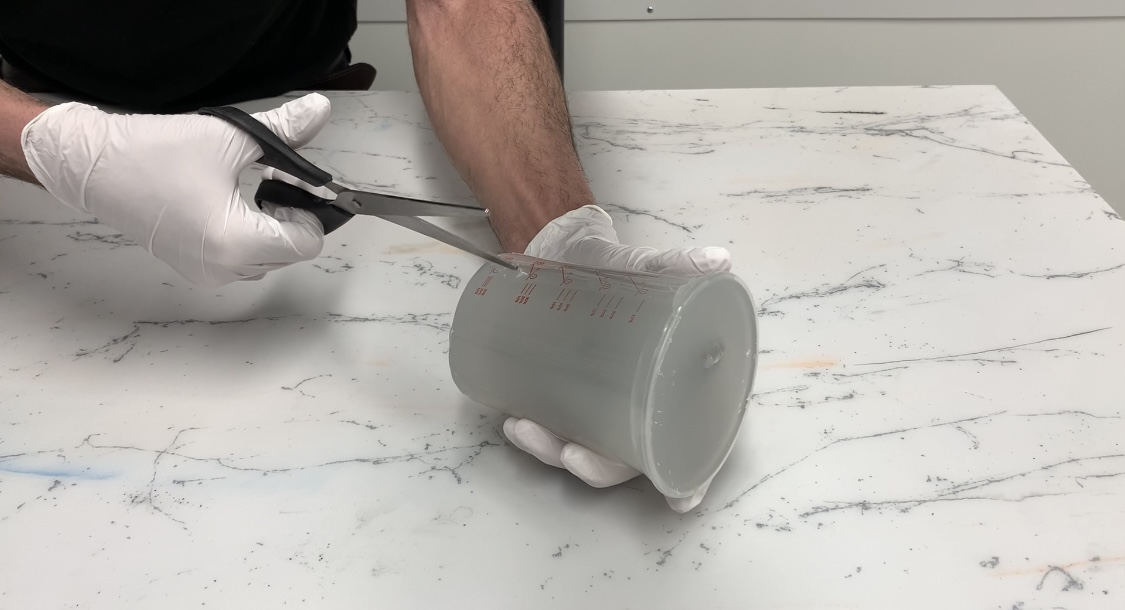
Now you can carefully remove the cured Platsil Gel from its container.
Step Nine
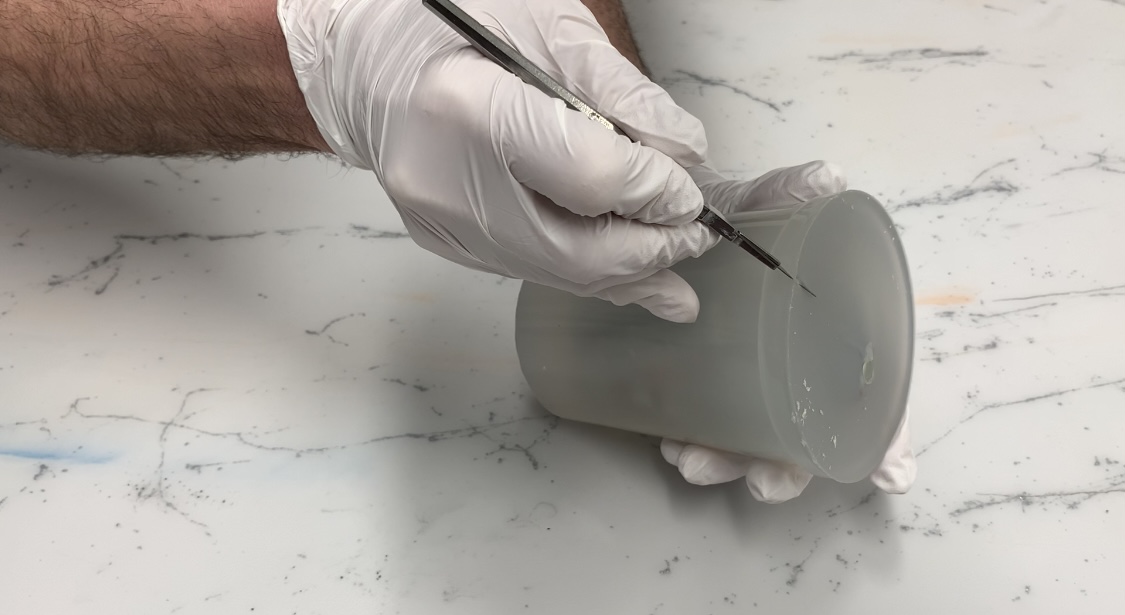
Once you have successfully removed the cured Platsil Gel from its container, carefully cut a curved line down your mould using a scalpel. This will allow you to open the mould and remove your object.
We cut a curved line as opposed to a straight one because it allows the mould to locate back together more accurately.
Step Ten
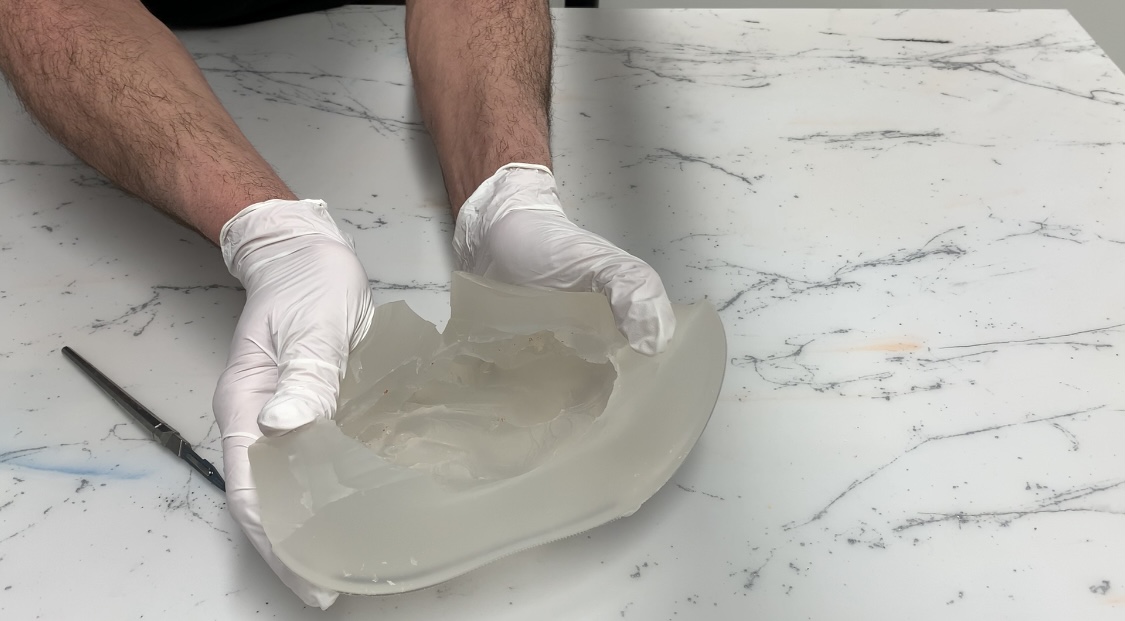
Carefully pry open the mould to remove your object. Now you will have your very own reusable mould!
Step Eleven
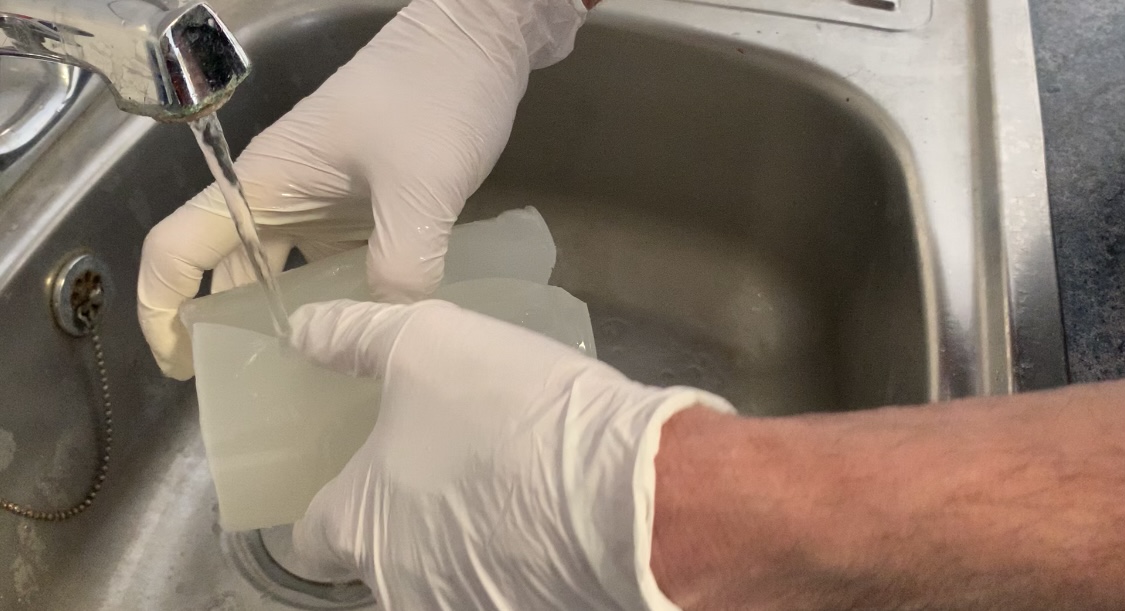
Thoroughly wash the inside of your mould to remove any debris that may have stuck to the inside. Next, dry the mould.
Step Twelve
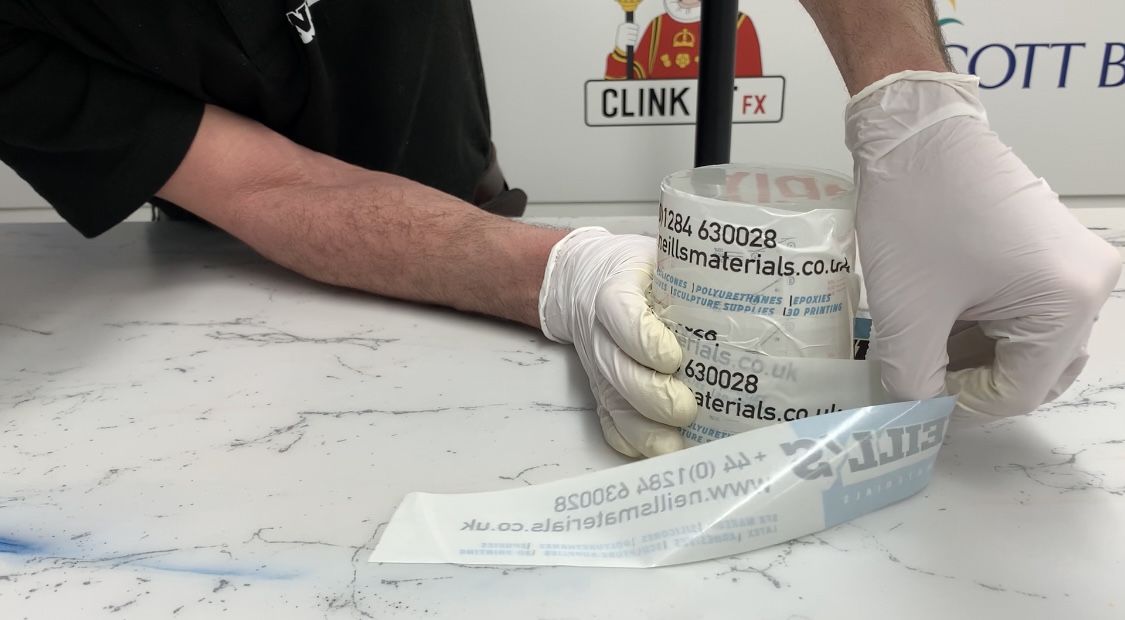
To hold the mould accurately together and to make sure none of the melted chocolate leaks out, we tightly wrapped our mould in tape.
Step Thirteen
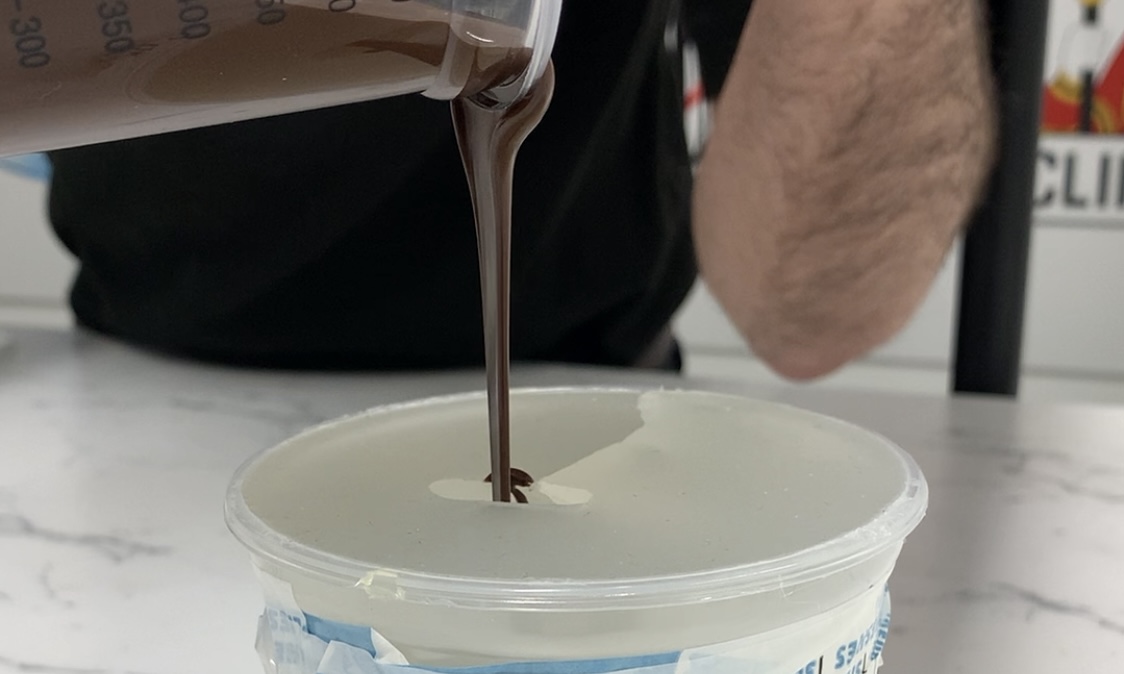
Now onto the fun part! Melt the chocolate (or your food of choice) and pour it into the mould, making sure to seal the hole afterwards.
We want our cast to be hollow, so we don’t want to pour too much chocolate into the mould; just enough to cover all the sides. However, if you want your cast to be solid then you will need to fill your mould completely.
If you are making a hollow cast, we recommend you rotate the mould for at least10 minutes after pouring or until the chocolate has set. This is so the chocolate can spread evenly on the inside of the mould.
Step Fourteen
The time it takes for your cast to set will depend on the food you used and the temperature of the room. We used melted chocolate, so once we poured into the mould and rotated it for a while, we placed it in the fridge to allow the chocolate to set faster. This took roughly a hour.
Step Fifteen
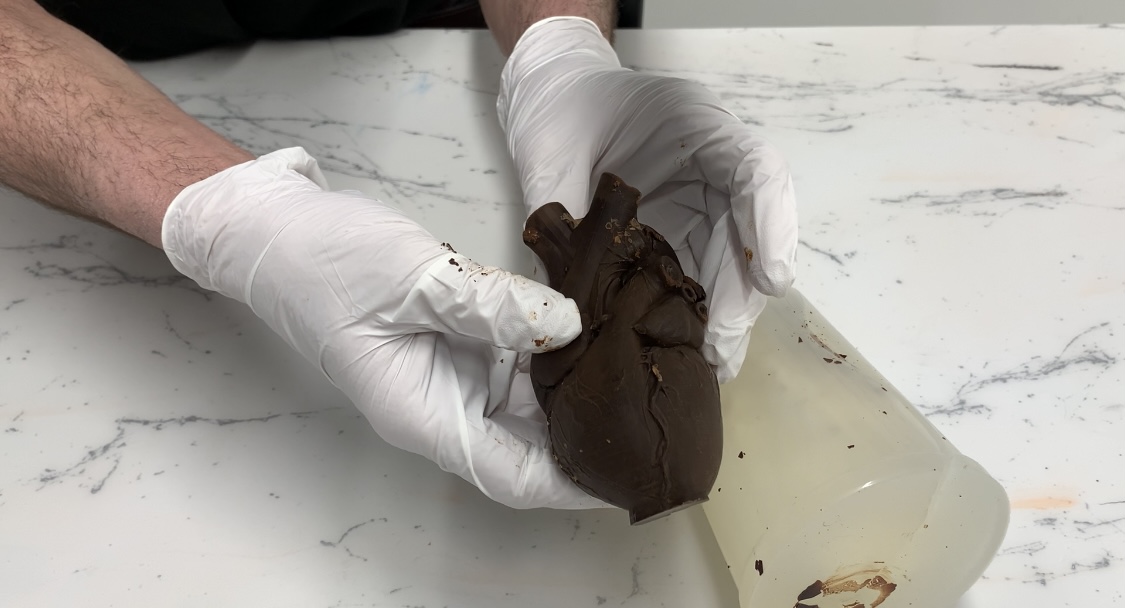
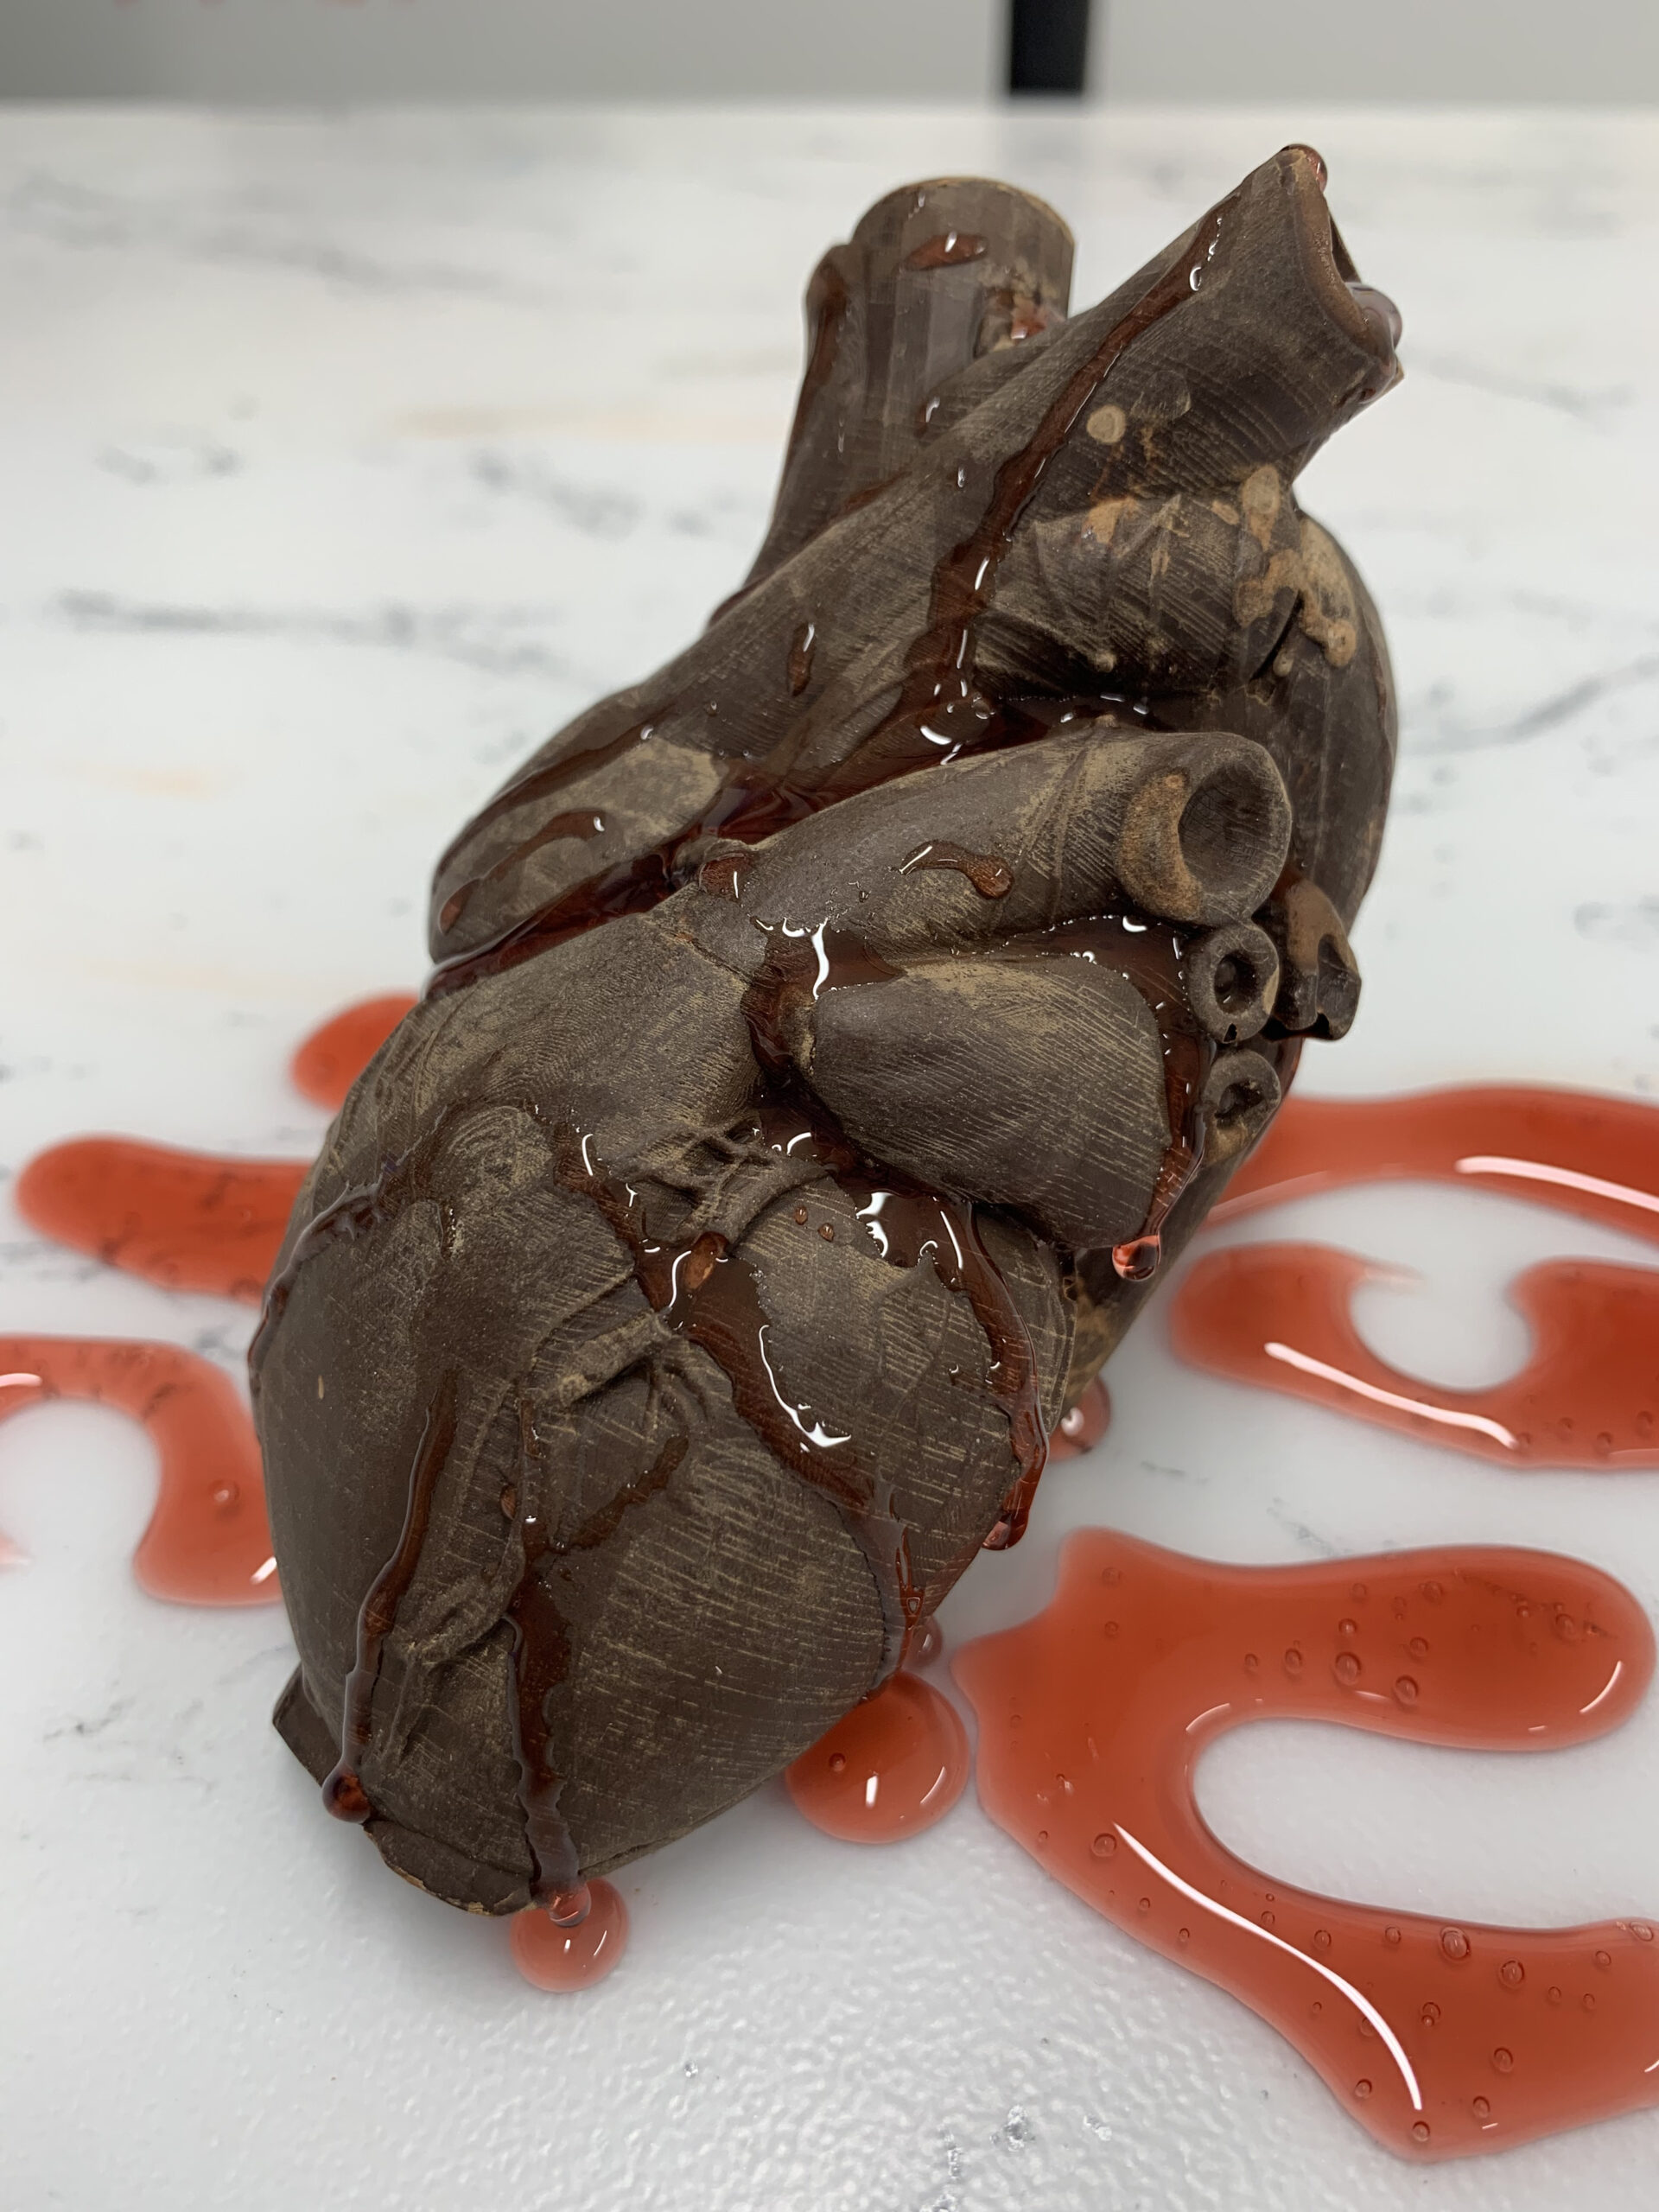
Once your cast has set, you can carefully remove it from the mould. Now you have your very own, edible chocolate sculpture!
Serve and Enjoy!