Making Terrazzo Coasters Using A1
What Is Acrylic One?
A1 Test Kit – Neills Materials
A1, the abbreviation for Acrylic One, is a two-component material consisting of a mineral powder and a water based acrylic resin. These bind in such a way that a strong material is created. For more information, CLICK HERE!
How To Make Terrazzo Coasters Using A1
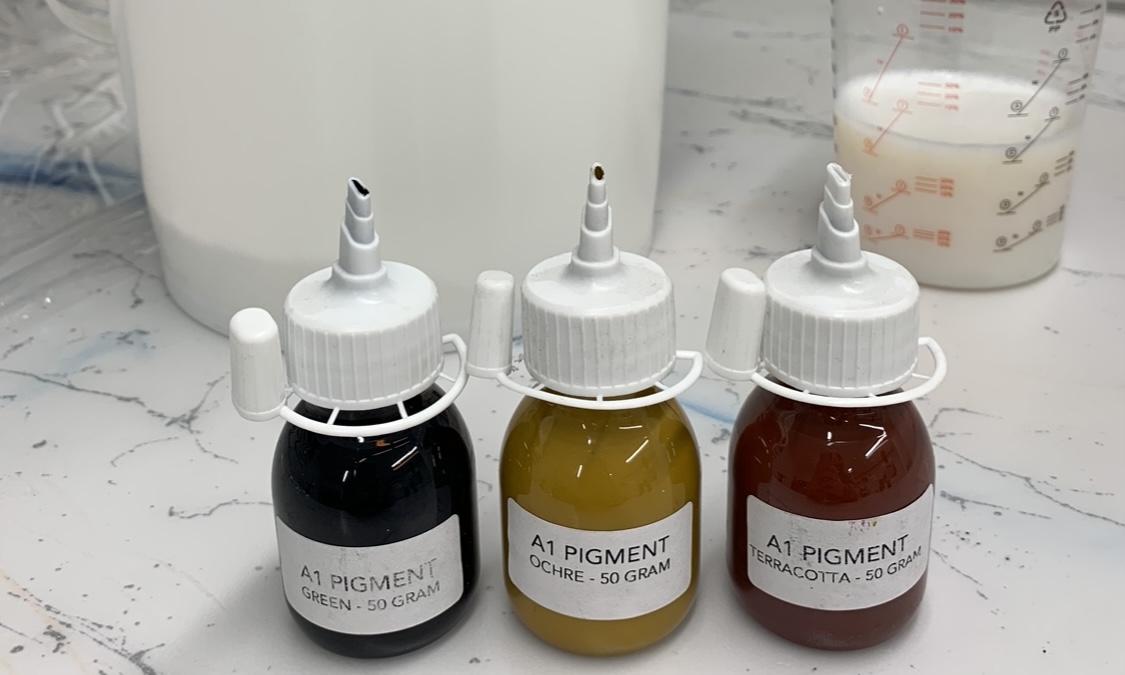
Grab your materials! Here, we have the A1 Test Kit as well as a few A1 pigments. You may choose the pigment colours of your choice.

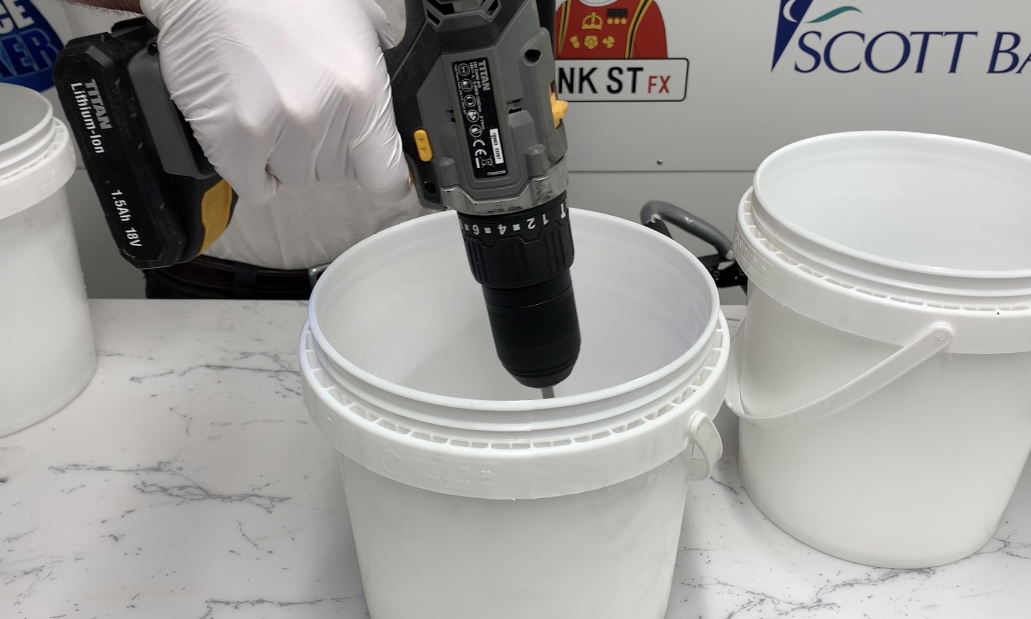
Combine a 2:1 ratio of mineral powder to liquid from the A1 Test Kit into a container and mix thoroughly. As you do this, make sure to add the liquid first and then slowly add the powder to avoid any lumps forming. Mix throughout using a mixing paddle on a drill.
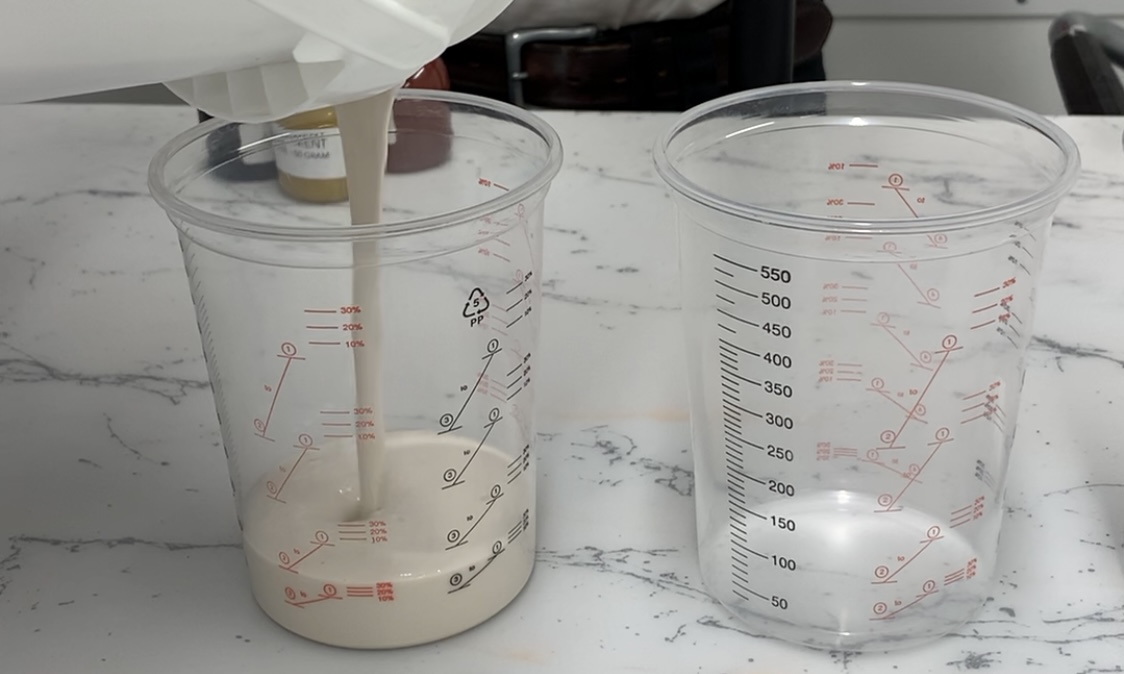
Once combined, depending on the amount of colours you would like in your coasters, separate the mixture accordingly. Here, we evenly separated the material into three mixing cups, as we wanted to incorporate three colours into our coasters.
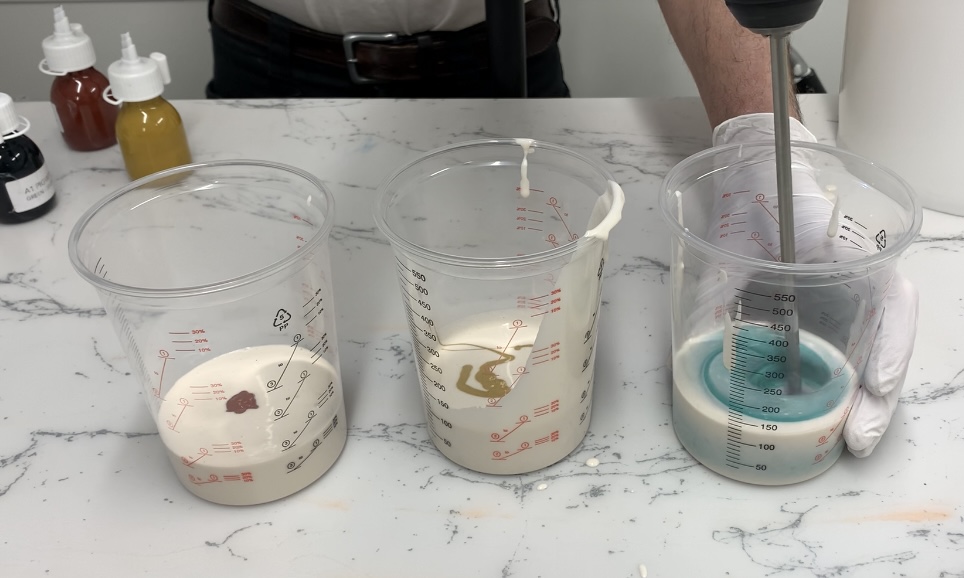
Using the A1 Pigment, pigment your separate mixtures accordingly and mix thoroughly until the A1 mixture reaches your desired colour. We pigmented our A1 with Terracotta, Ochre and Green.
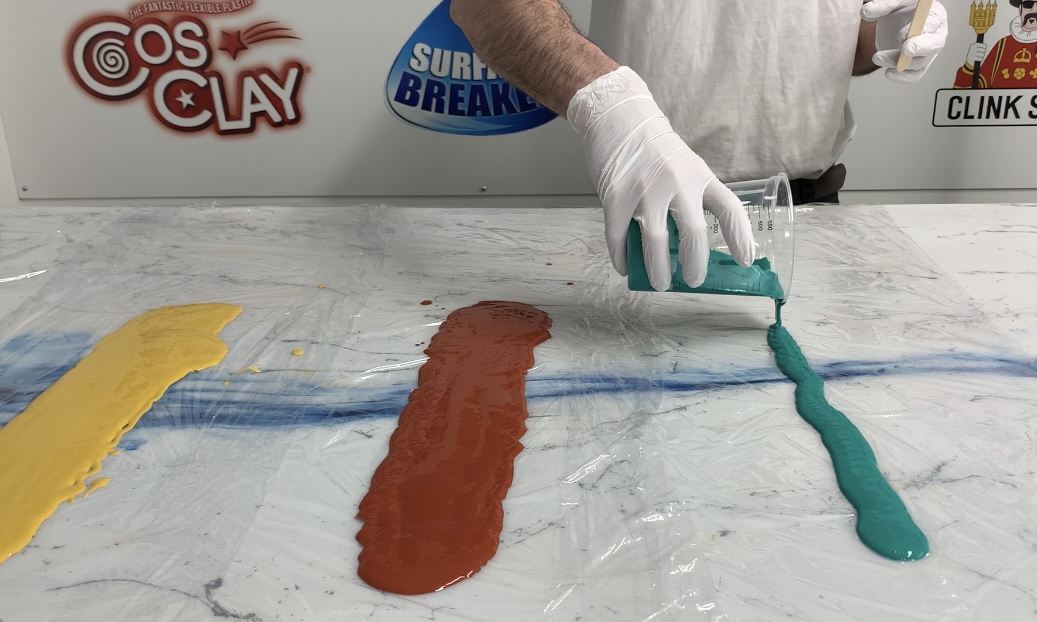
These pigmented mixtures are going to be used to make the coloured flecks that will form part of the final coaster. Place some cling film on a flat surface as this is what you’ll be pouring the pigmented mixtures onto. Once pigmented, pour the mixtures onto the cling film.
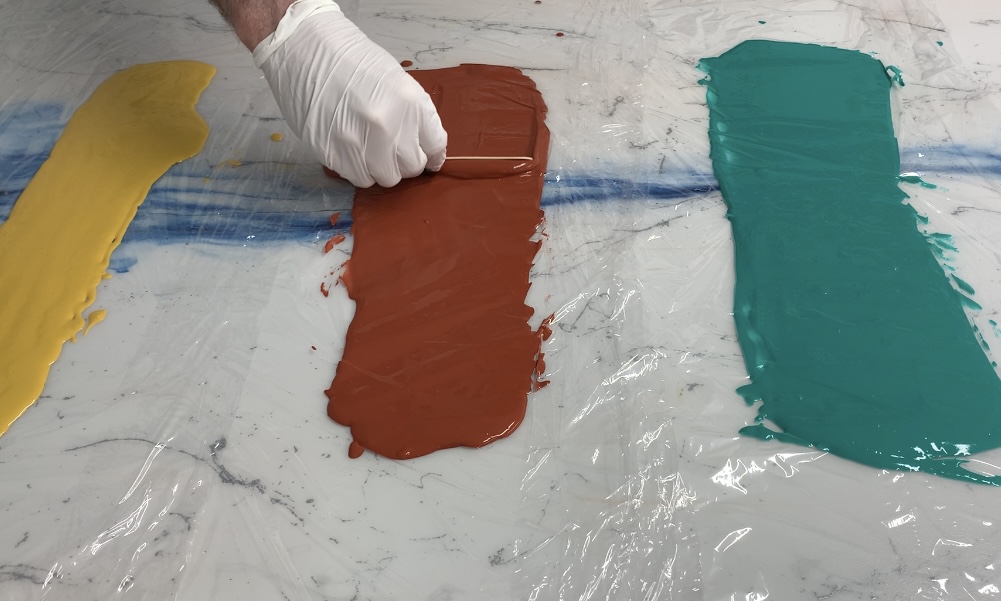
Once you have poured the pigmented mixtures, grab a Mixing Sticks to spread them out evenly and to pop any air bubbles that may have built up during the mixing process. When you are happy they are of similar thickness, leave them to set for an hour.
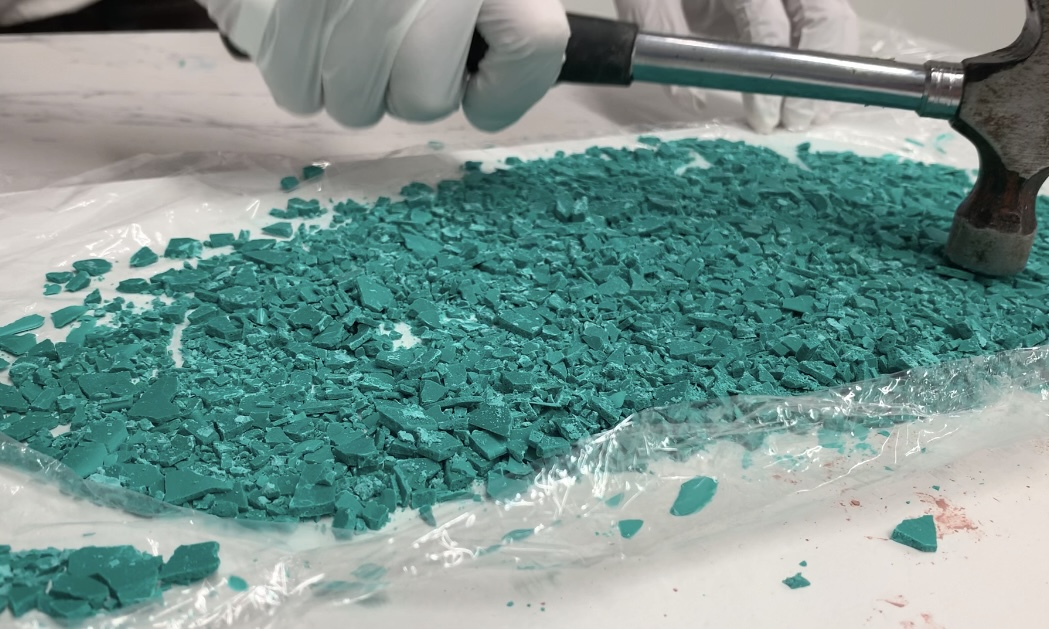
Once the A1 has set, carefully break up the solidified material using either your hands or a hammer (depending on the size you would like your flecks). Repeat this process with all of the colours.
Place the shards in cups and leave to one side. Mix up another batch of 2:1 A1 mineral powder to liquid as this will form the base material of the coaster. Mix thoroughly again and place to one side.
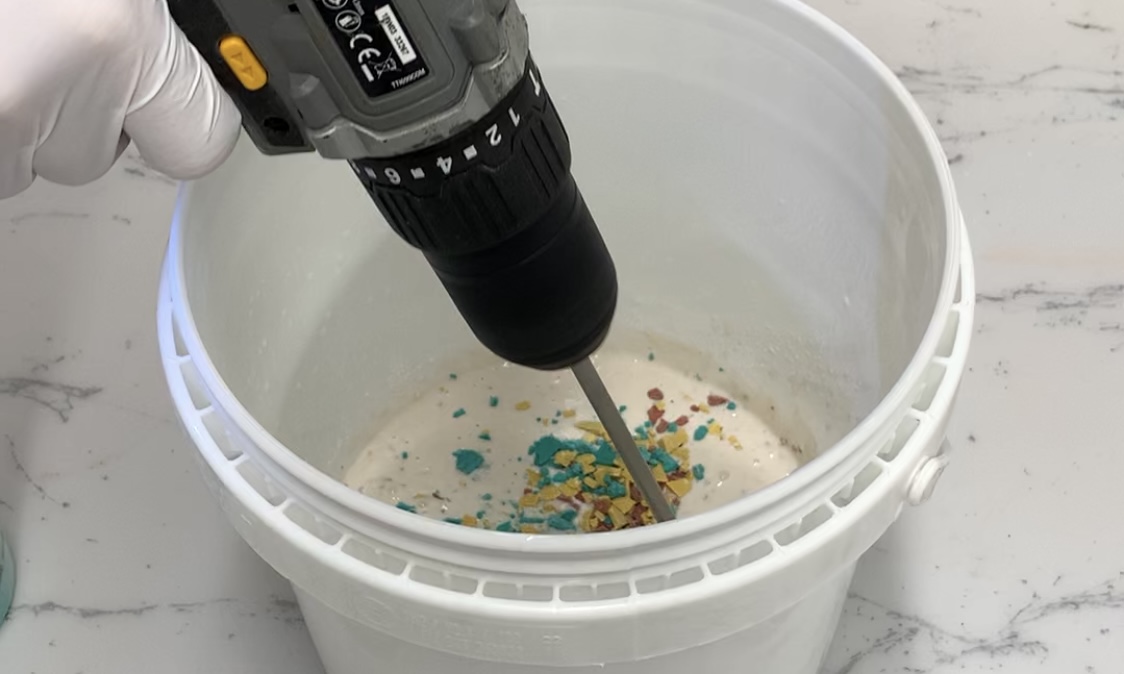
Now you have a fresh A1 mixture and your cups of A1 pigmented shards, pour your desired amount of shards into the mixture until you are happy with the consistency and colour strength. Mix thoroughly.
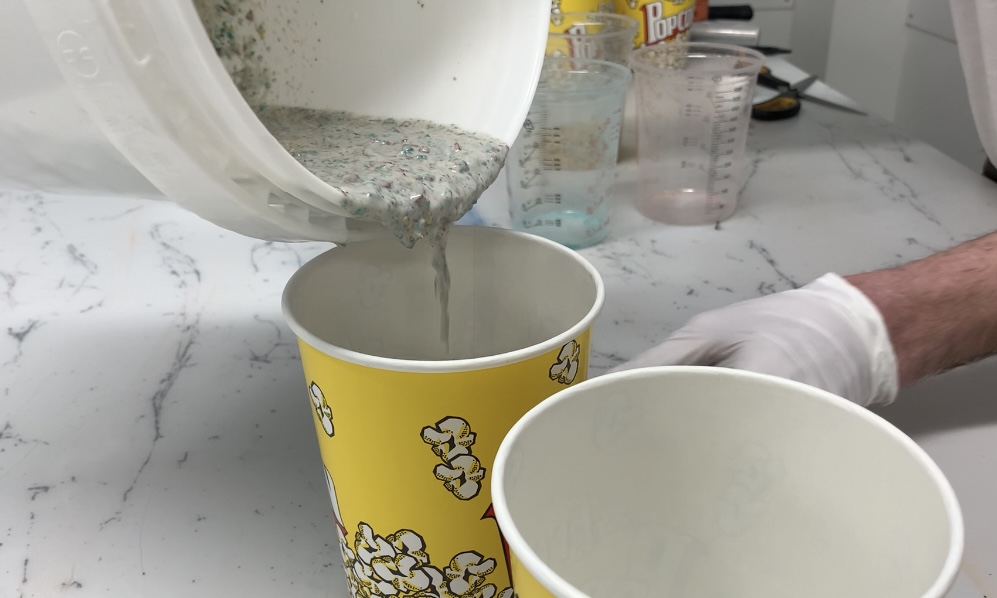
Once mixed, pour into your desired container, this will form the shape of your coaster. The amount you pour will be dependent on the desired thickness for your coasters. You can use a set of scales to keep the thickness consistent between containers.
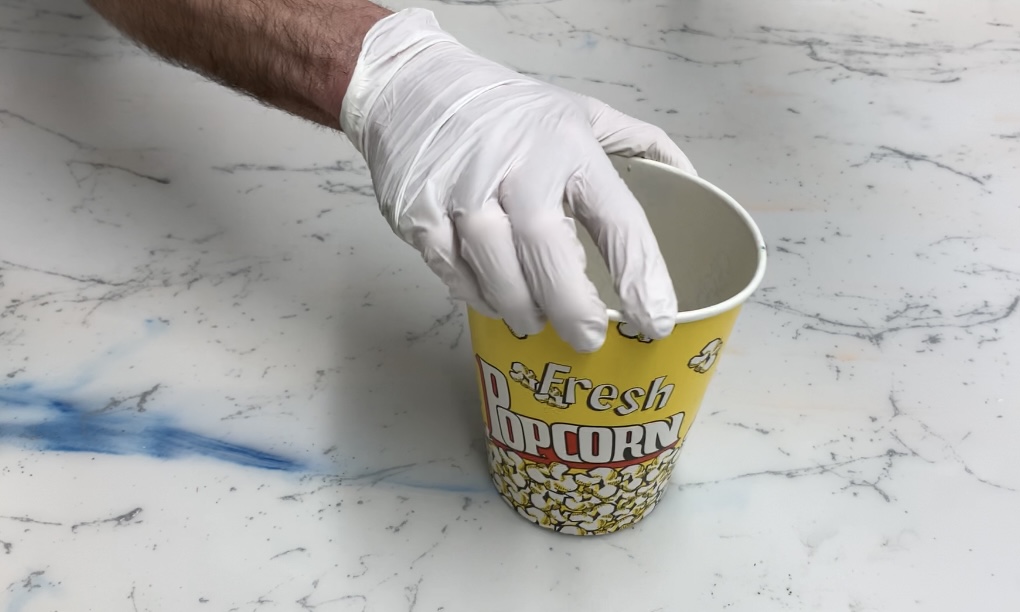
Once you have poured the mixture into the containers, gently tap them on a flat surface as this will help release any trapped air bubbles. Afterwards, leave to set for an hour

Once the coasters have set, gently pry them out of the containers. They should come out looking something like this. Now, they just need to be sanded and polished.
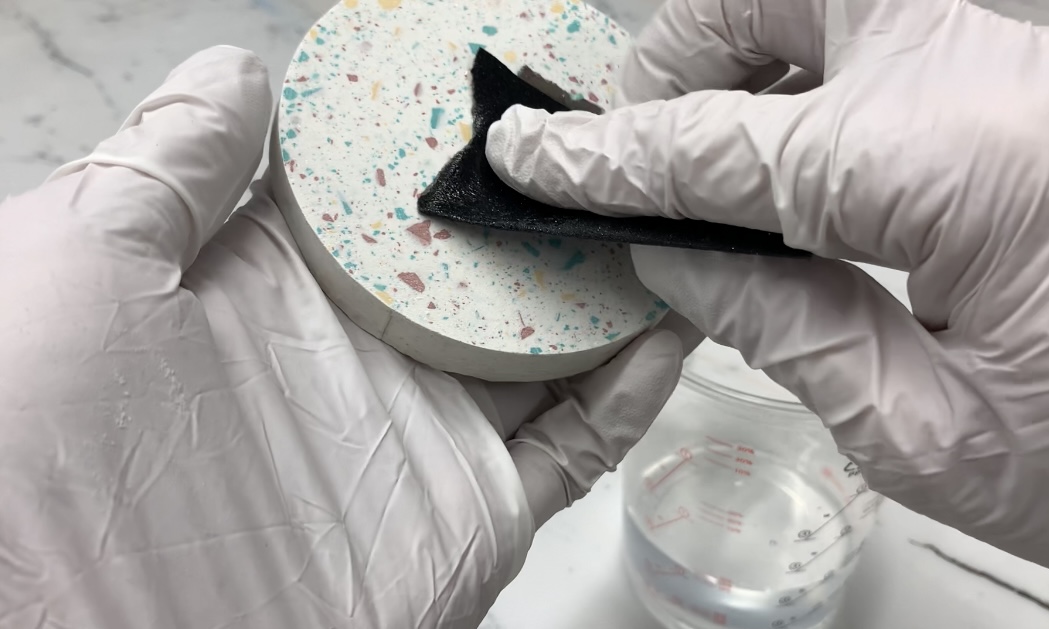
Once you’ve removed your coaster from its mould, sand and polish the surface using wet and dry paper. Once you are happy with how it is looking, you can seal it with an A1 gloss, satin, or matt sealer.
You now have a completed, handmade, Terrazzo coaster! These would be perfect to decorate your home/office with, or as a thoughtful, handmade gift for a loved one. The A1 Starter Kit’s versatility makes it perfect for hobbyists who are wanting to experiment with the material for the first time as well as, industry professionals who may be looking for a water-based and non-hazardous alternative.
We would love to see what projects you use A1 for! If you’d like to get in touch to show us what you’ve created using the A1 and for a chance to be featured on our Instagram and Facebook pages, please email info@neillsmaterials.co.uk.