How To Make A Silicone Prosthetic | Using Direct Applied Silicone Gel
Skin Imitator
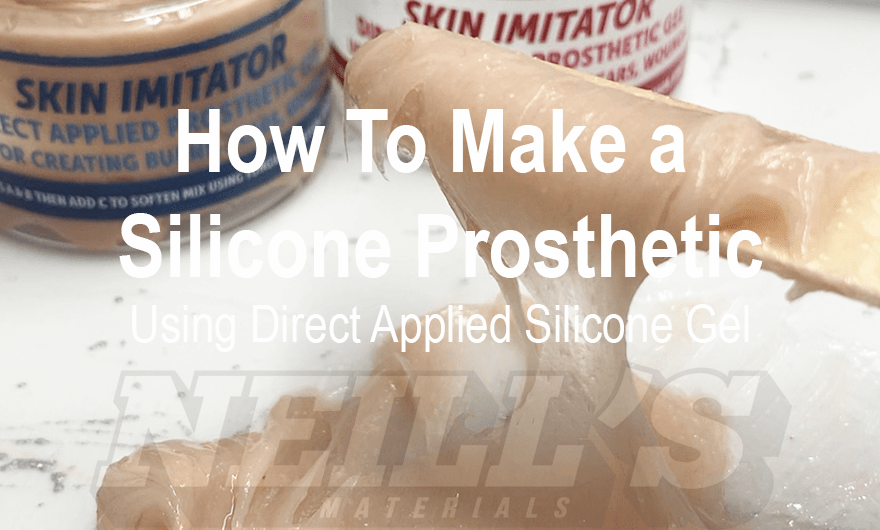
Skin Imitator is a versatile 4-part silicone system that can be directly applied to the skin. It is great for creating small to medium sized casualty makeup effects quickly. Use for; cuts, burns, scars, blisters, swelling, gunshot wounds and other fleshy trauma.
Benefits Of Skin Imitator
- Soft and versatile
- Compact and travel-friendly silicone system that can be used on-the-go to create quick casualty makeup effects.
- All components can be pigmented to your desired tone.
- Fast cure time
- Being a 4-component system means you can create a broader range of makeup effects from just one kit.
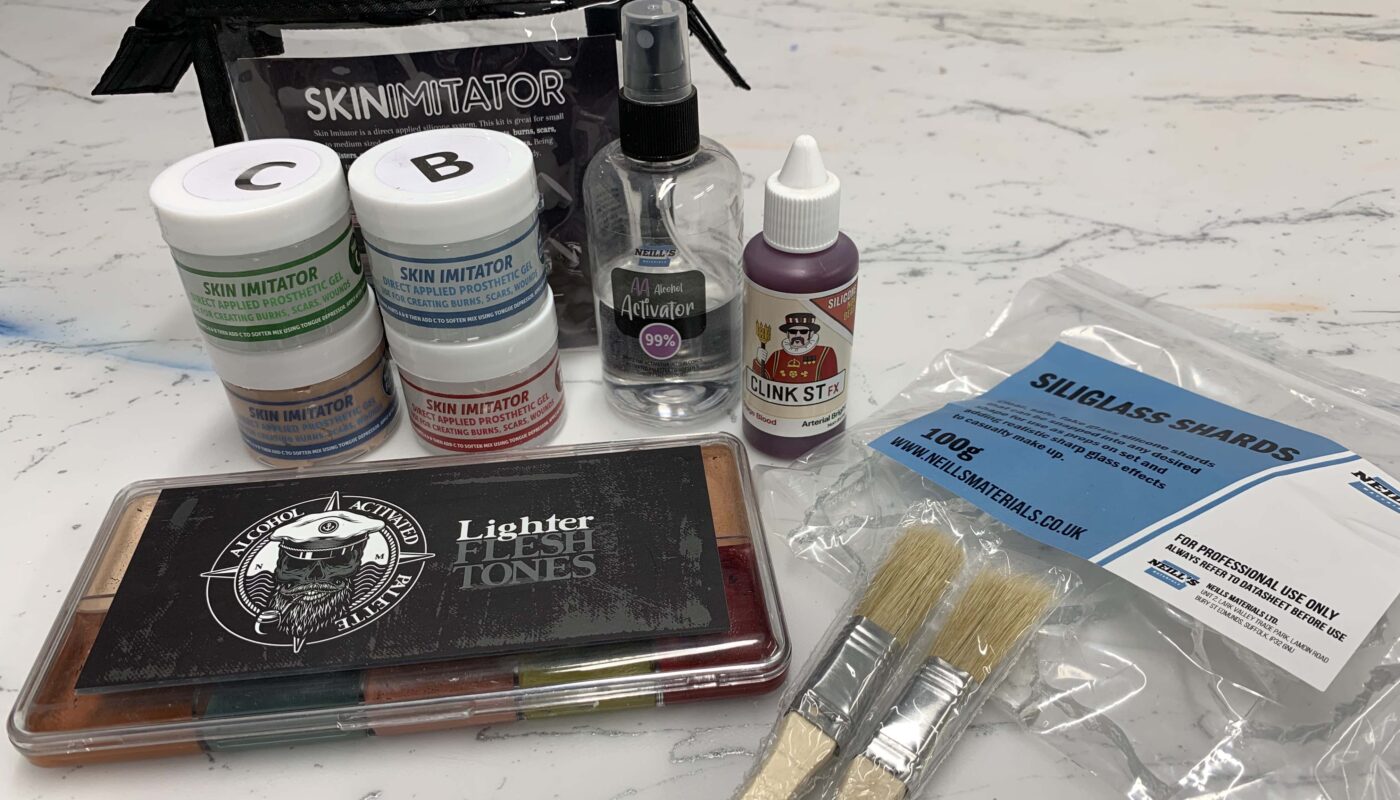
In this demonstration, a fake wound is made using the Skin Imitator 4-Component System. The Part A is mixed with the Part B, then directly applied onto the skin. The silicone is then sculpted to create a fake wound. Next, it is colour-matched to the skin using an alcohol activated palette. Lastly, fake blood and Siliglass are applied to give the appearance of a fresh wound. Perfect for creating quick wound makeup effects for Halloween, Stage Makeup and for Film & TV Special Effects.
Materials Used
Step 1 – Mix Part A & B

Mix a 50:50 ratio of silicone Part A and Part B together. Two Part B’s are provided in the kit, one of them is pre-pigmented and the other is clear. This allows you to pigment the clear silicone to your desired tone or tweak the colour of the pre-pigmented Part B.
Part C is an optional softener that can be used if required. The amount of Part C used is dependant on how soft/stretchy you want the prosthetic to be.
Step 2 – Apply the Silicone

Apply the silicone directly onto the skin. Make sure to be as quick as possible during this stage to allow yourself the maximum amount of time to sculpt into the silicone.
Blend the edges into the skin whilst the silicone is fresh and at its softest.
*In around 8 minutes the silicone will be solid enough that you can no longer sculpt into it, and at 10 minutes it will be cured. However, this is dependant on room and body temperature.*
Step 3 – Sculpt Your Wound Effect

Sculpt your desired effect into the silicone. Skin Imitator is great for creating special effects cuts, burns, scars, blisters, swelling and gunshot wounds!
We used a Skin Imitator Modelling Tool to create our wound effect. Make sure to use a blunt, rather than sharp edge tool when working directly on skin.
Step 4 – Create Texture

You can use texture stamps, texture rollers and tools or simply a Stipple Sponge to create texture on the silicone. This will help to remove any gloss or shine.
However, make sure the silicone has set enough before stippling it to ensure the material doesn’t grab onto the tools.
Step 5 – Pigment the Prosthetic
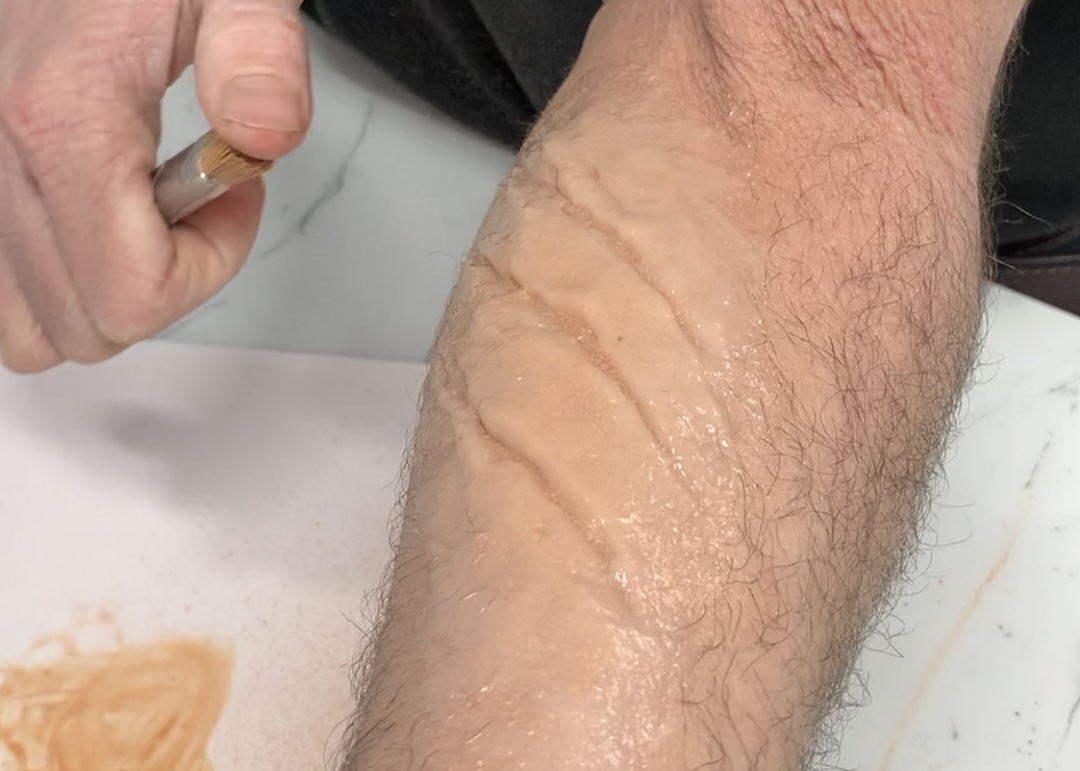
Pigment your silicone prosthetic to your desired tone. Use alcohol with your alcohol activated palette to create a weak colour mix. This will help to maintain the translucency of the silicone and look more natural on the surface then a more opaque mix. We spritzed the colour onto the silicone by flicking it from the shortened bristles of a brush.
We used our Alcohol Activated Lighter Flesh Tone Palette with a bottle of Alcohol Activator Spray.
Step 6 – Minimise Shine
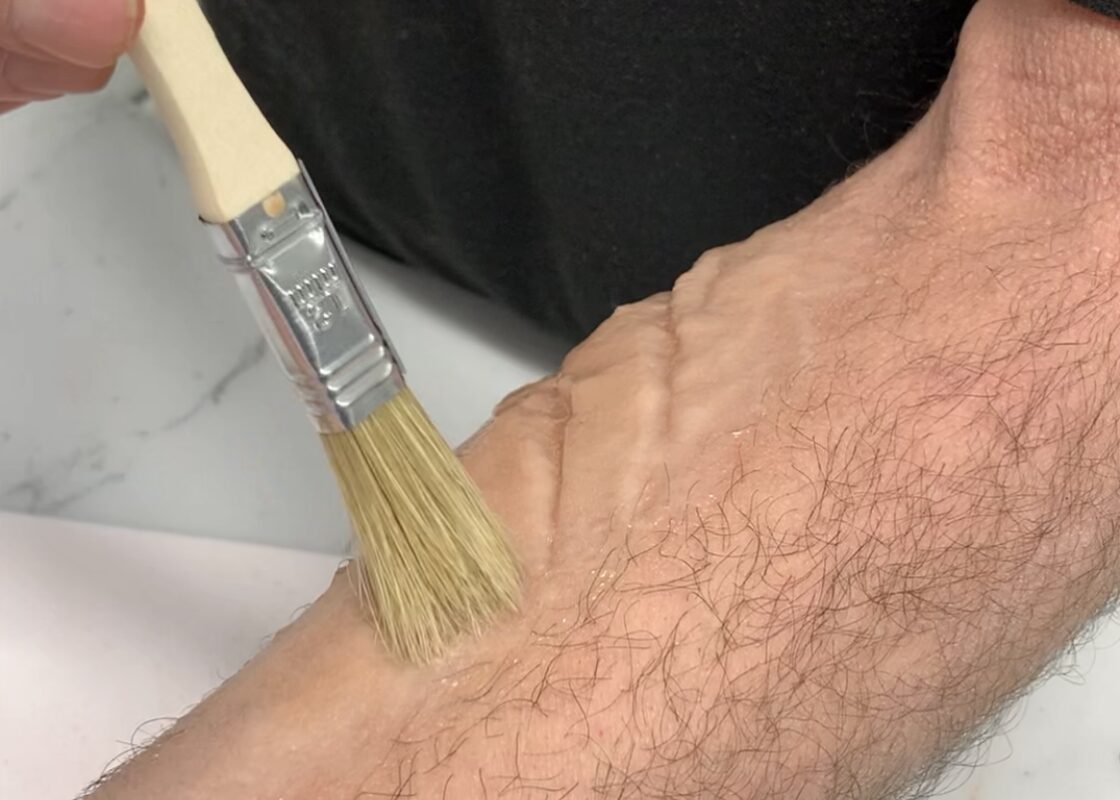
Once set, use matting powder (we used baby powder) and a dry brush to gently brush over the prosthetic surface. This will reduce any of the remaining glossy areas in crevices etc.
Step 7 – Begin Adding Details to the Prosthetic
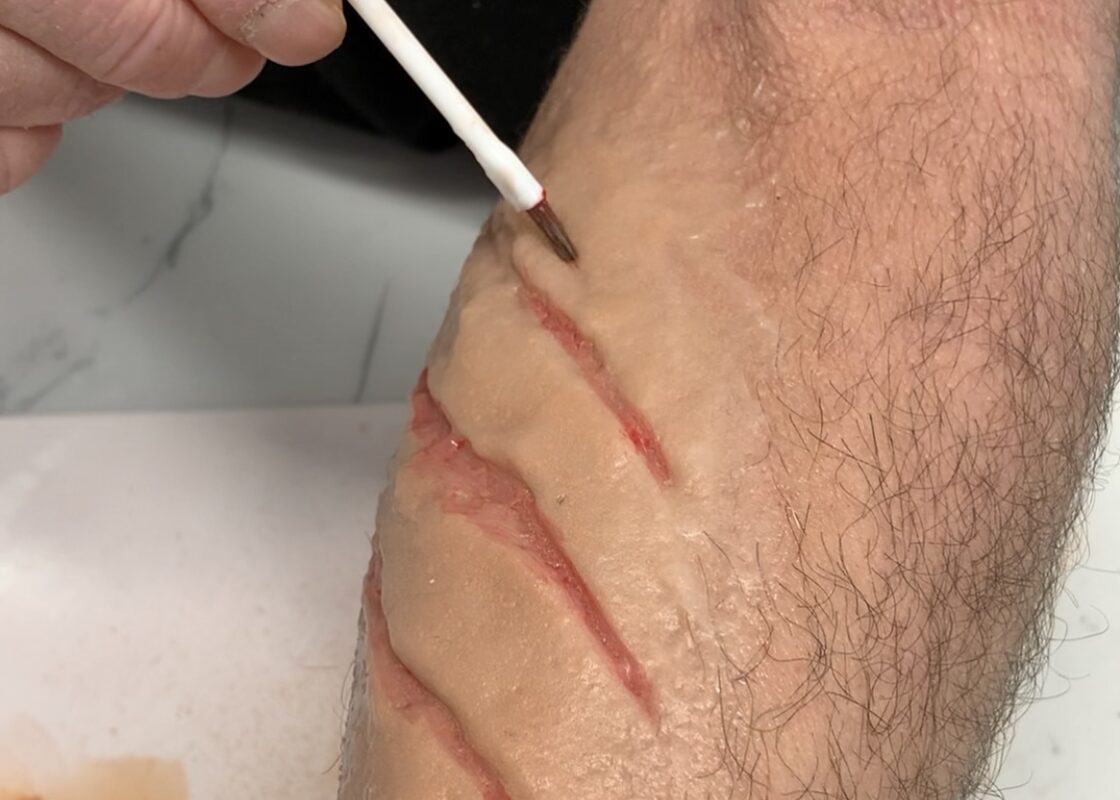
Using the stronger red tone from our Alcohol Activated Lighter Flesh Tone Palette, brush into the ‘wounds’ with a small brush. This will give a red ‘flesh’ like base to work with, before applying the fake blood.
Step 8 – Apply the Fake Blood
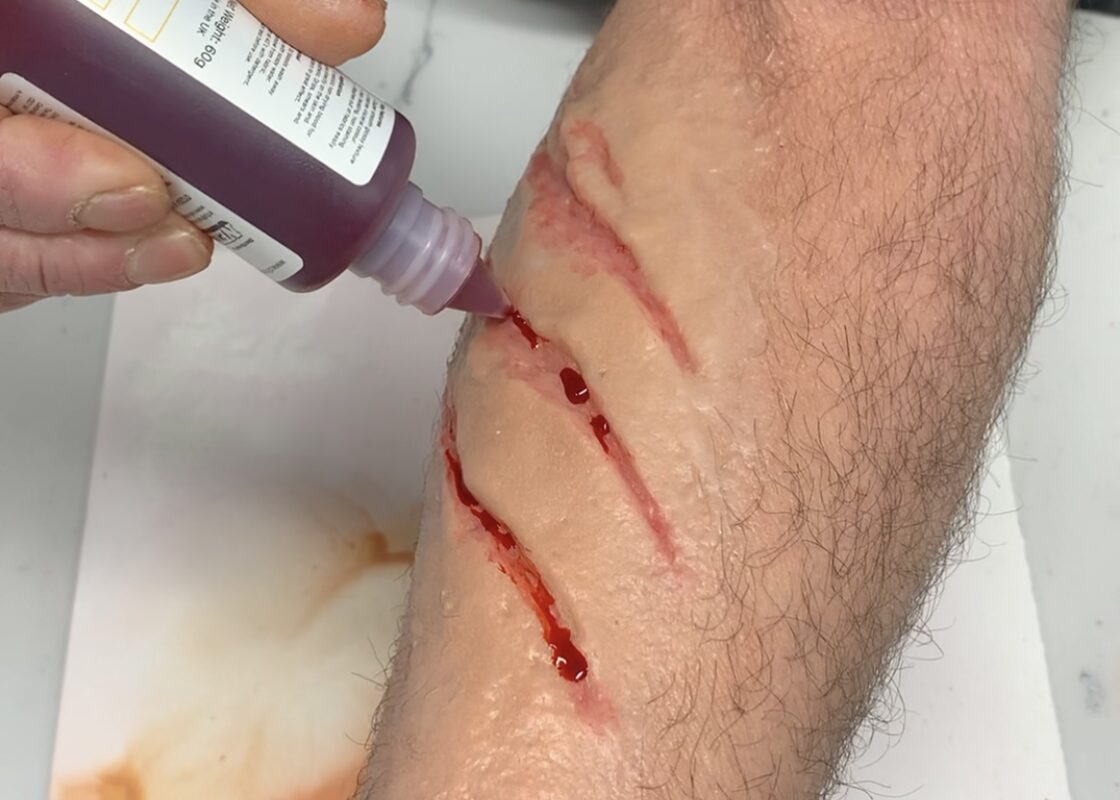
Apply the fake blood to the silicone wound. *TIP – less is more*
We used the Clink Street FX Arterial Bright Blood.
Step 9 – Blend the Blood
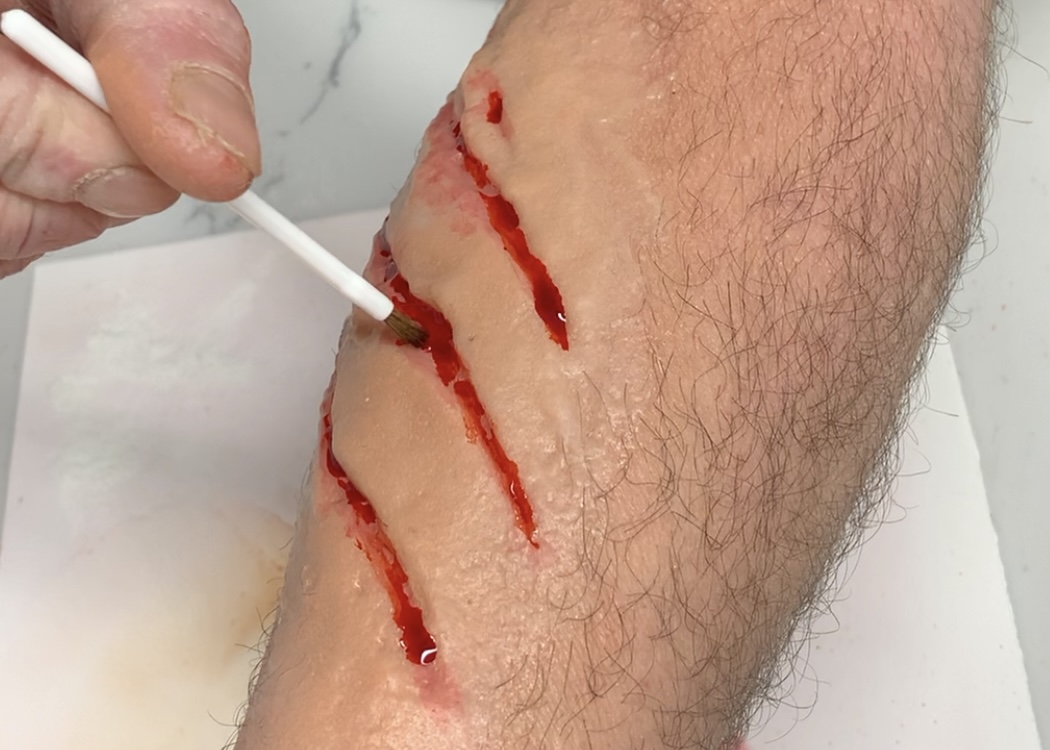
Using a small brush, brush the ‘blood’ through the ‘wound’ and around the edges to make it appear more natural.
Step 10 – Apply Siliglass Shards
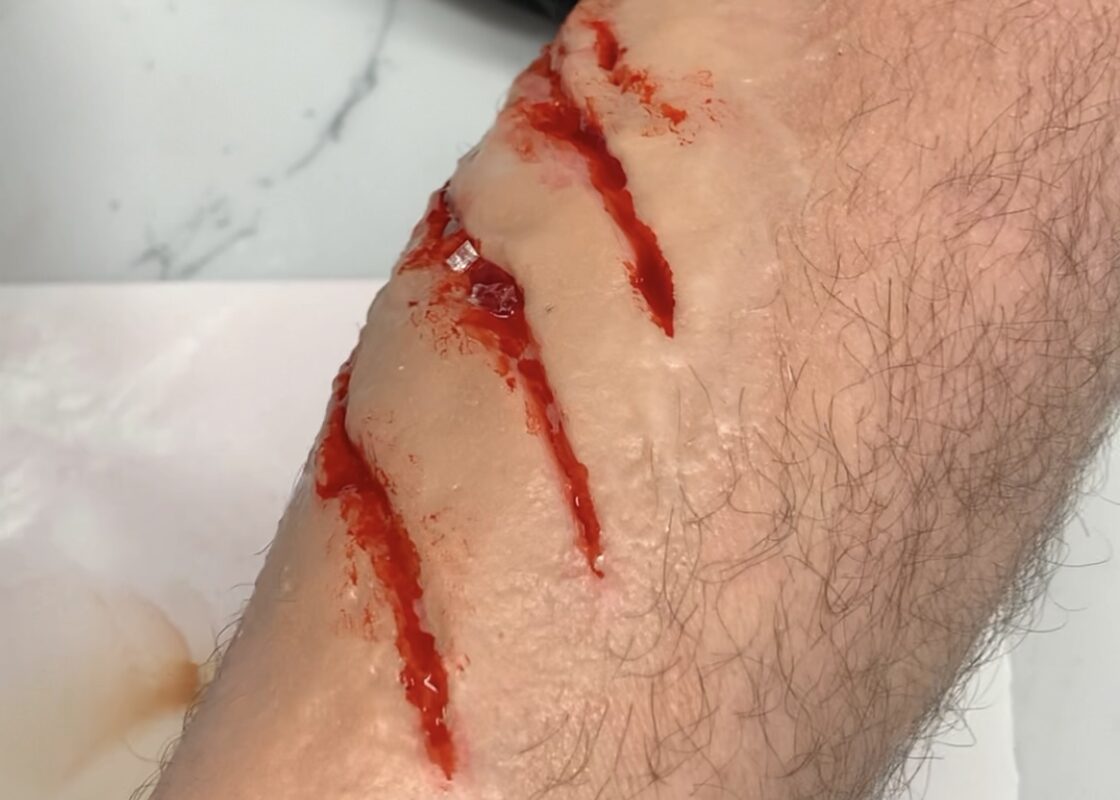
Apply the Siliglass Shards into the prosthetic, making sure to push them in firmly. This will give the appearance of an open wound with glass shards inside.
Final Result
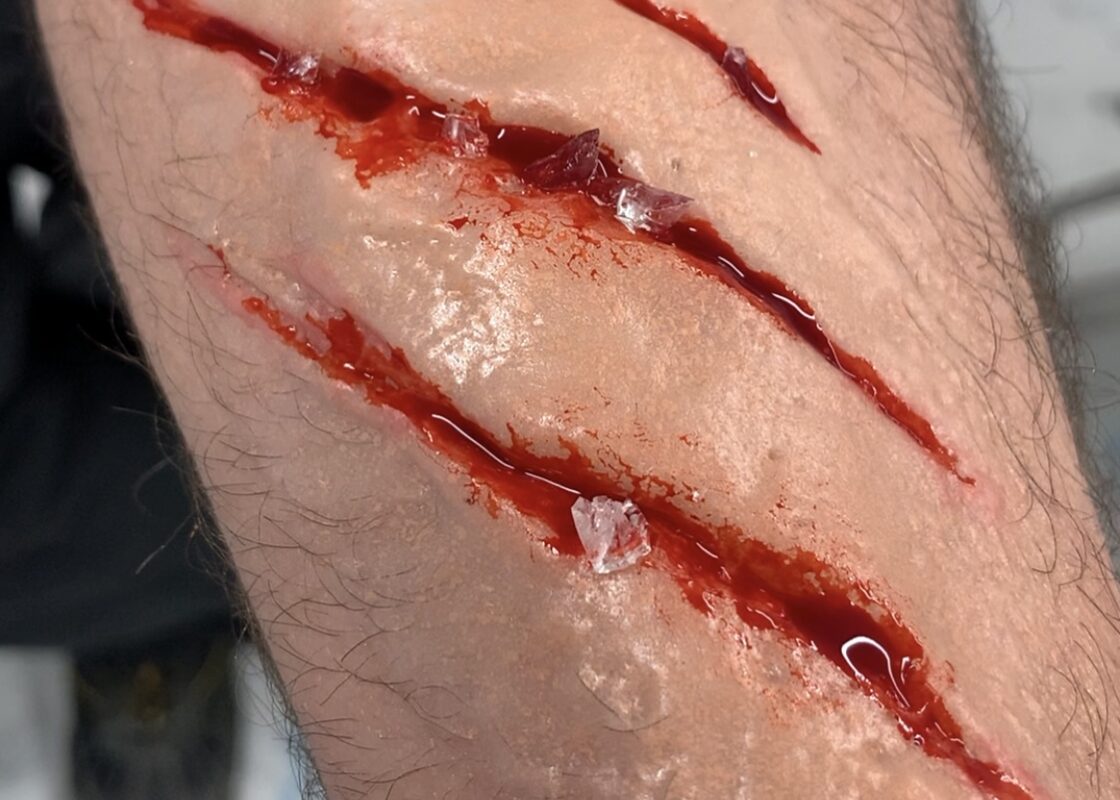
Here is the end result!
Using our Skin Imitator 4-Component System you are able to quickly create any small to medium sized casualty makeup effects. This compact & travel friendly kit is a perfect addition to any makeup artists bag.
Get in touch to show us what you’ve created using our Skin Imitator! By emailing info@neillsmaterials.co.uk

