Moulding & Casting An Object Using FS 20 & A1
Moulding & Casting | What Is FS 20?
FS 20 is a 1:1 mix, fast setting, 20 Shore A addition cure silicone. FS 20 provides a quick full cure, in the region of 20-25 minutes, but has a working time of around 8 minutes. That’s more than double the working time of Transil 20, but with the same fast cure time! This allows it to be vacuumed and makes it easier to work with when doing brush on moulds. FS 20 also has a very low viscosity and incredible tear strength, making it fantastic to use for moulding & casting objects.
Platsil FS 20 – Neills Materials
A1 Test Kit – Neills Materials
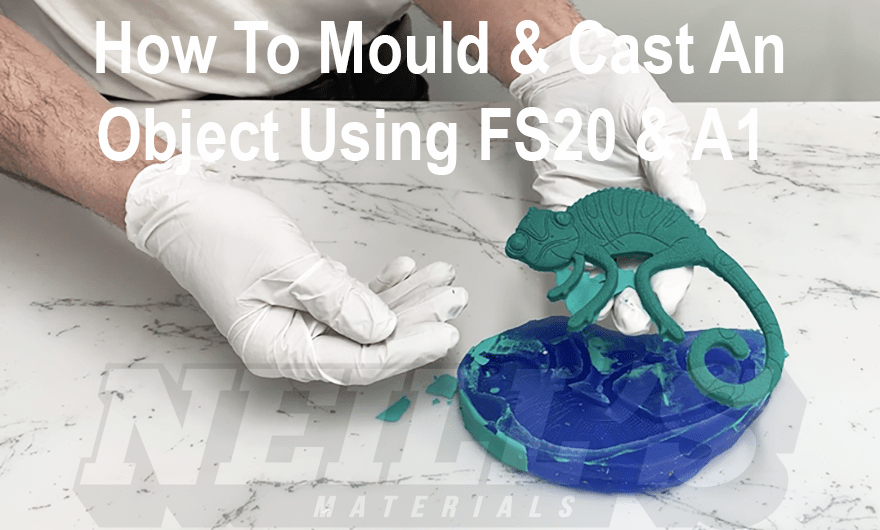
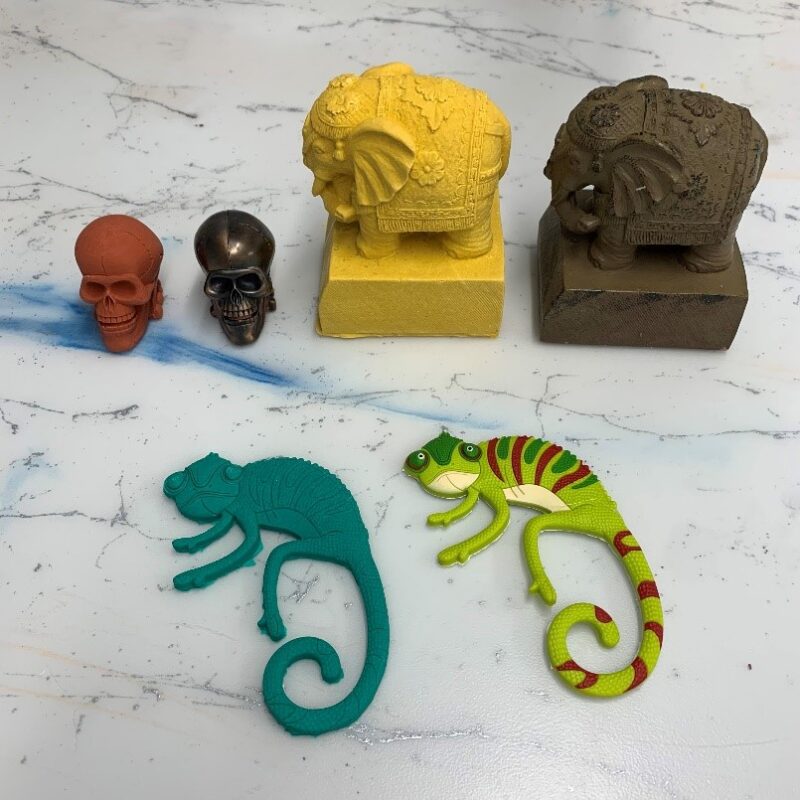
You may mould and cast whatever object/shape you like with FS 20 and A1 but we decided to opt for this novelty lizard fridge magnet!
How To Mould & Cast An Object Using FS 20 & A1

Firstly, depending on the object you are moulding and casting, you will need an appropriate container that fits the object securely to ensure that no silicone leaks out. As we are moulding quite a flat object, we decided to use a piece of board with a ‘wall’ of Chavant NSP to secure the object and the silicone.

Next, place your object into its secure container. If your object is light you may need to secure it down to stop it from floating. Place this to one side whilst you mix up the FS 20 silicone. We mixed FS 20 (enough to cover your object) with a couple drops of our Blue Silicone Pigment. However, the silicone can be left clear. When this has been mixed, carefully pour the silicone over the object so that it is fully submerged. If any silicone leaks out, make sure to clean up the spillages.

Leave to set for an hour.

Once the silicone has set, carefully remove the mould from the Chavant.

Now you can remove the object from its silicone mould.
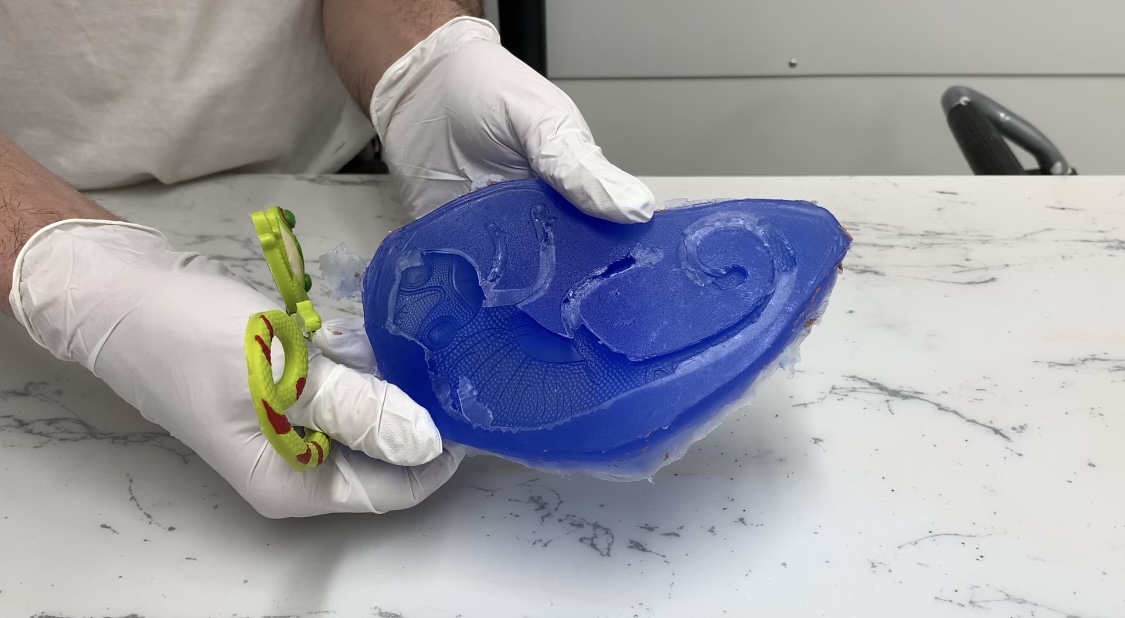
You should now have a silicone mould of your object.
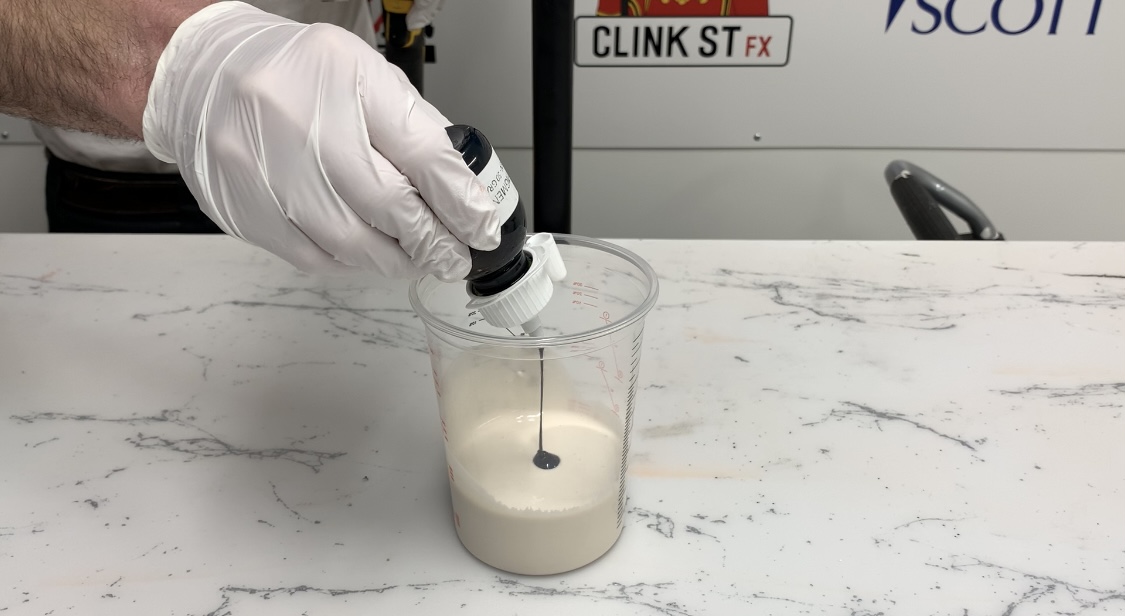
Once you have your silicone mould, you will need to mix up some A1 using a 2:1 ratio. This is going to be used to cast your object. You can pigment your A1 mixture to your desired colour, we used the Green A1 Pigment.
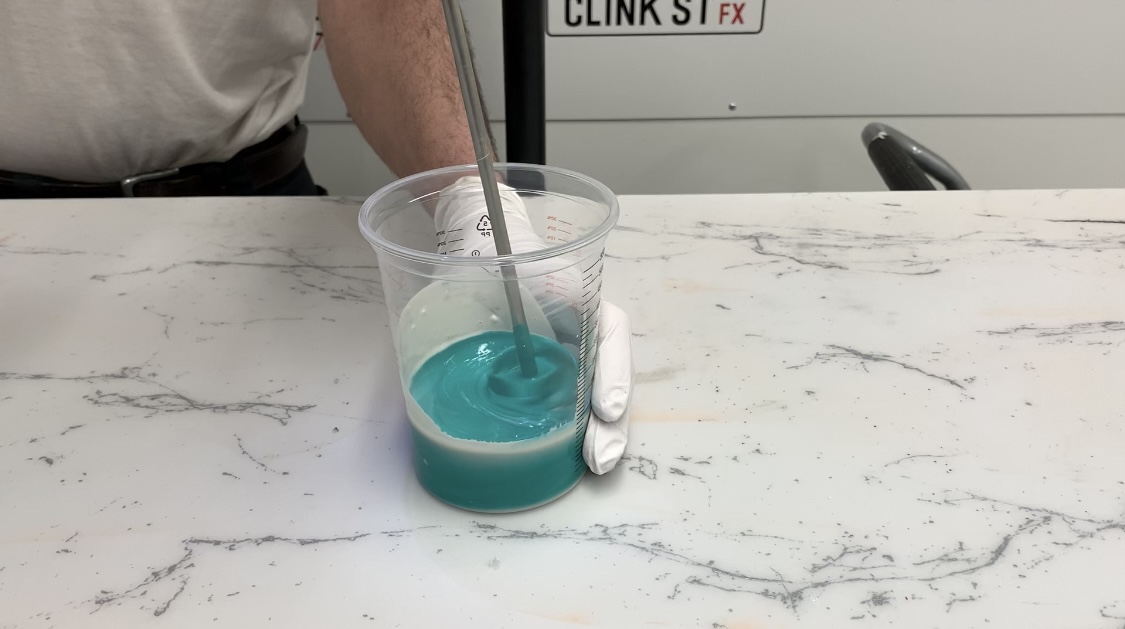
Next, mix using a drill with a paddle attachment until the A1 is fully pigmented.

Once pigmented to your desired colour, pour the pigmented A1 into your silicone mould. Make sure it is filled evenly to the brim.
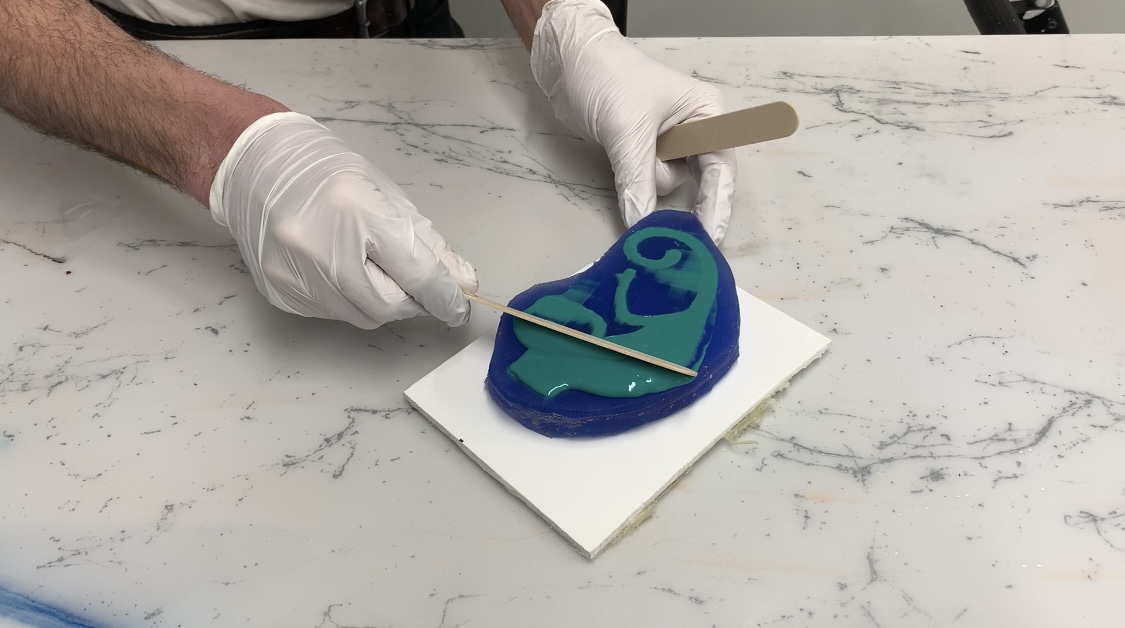
Grab a Mixing Stick and scrape off any excess A1 to ensure the surface is completely even, as you will want a flat base for the finished cast.

Leave to set for an hour. Once the A1 has set, you can gently remove the cast from its mould.
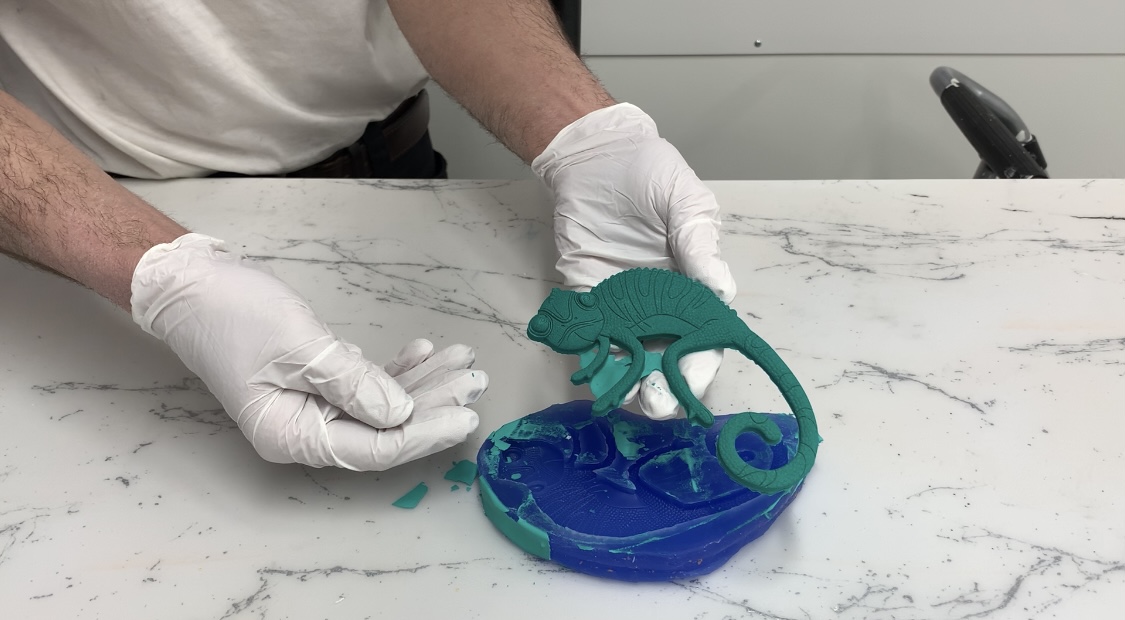
You now have your very own silicone mould (made from FS 20) and cast made from A1. The silicone mould can be used again and again to cast out your desired object in A1 or other materials.
A1 can be used to cast a variety of objects, as we have demonstrated here. Its versatility makes it great for hobbyists and industrial professionals, as well as people looking to experiment with the material for the first time. The fact that A1 is water-based and non-hazardous makes it perfect for schools, colleges, universities and small businesses without extraction facilities.
We would love to see what projects you use A1 for! If you’d like to get in touch to show us what you’ve created using the A1 and for a chance to be featured on our Instagram and Facebook pages, please email info@neillsmaterials.co.uk.

