How Can I Reduce or Remove Air Bubbles in my Casting?
There are two reasons why your casting may have air bubbles in it:
Mixing Process
The first reason is because your mixing process introduced air into the mix. To minimise this, try mixing by hand with a tongue depressor or paddle for larger mixes. Stir gently, moving in a figure 8, being careful not to whip air into the mix. Be sure to scrape the sides and bottom of the container while mixing. Pour gently as well to minimise turbulence that may be created by the pouring action.
Mould Design
The second reason you may have bubbles is because the design of your mould creates some undercut conditions that trap air during the pour. Try tilting the mould during and/or after the pour to let the trapped air escape. Some call this “burping” the mould.
If you are still having trouble with bubbles, casting the part under pressure will usually solve this. Unfortunately, if you didn’t pressure cast or vacuum cast, you may have some bumps or pimples on your casting. However, these can usually be sanded off much easier than trying to fill a bunch of bubbles.
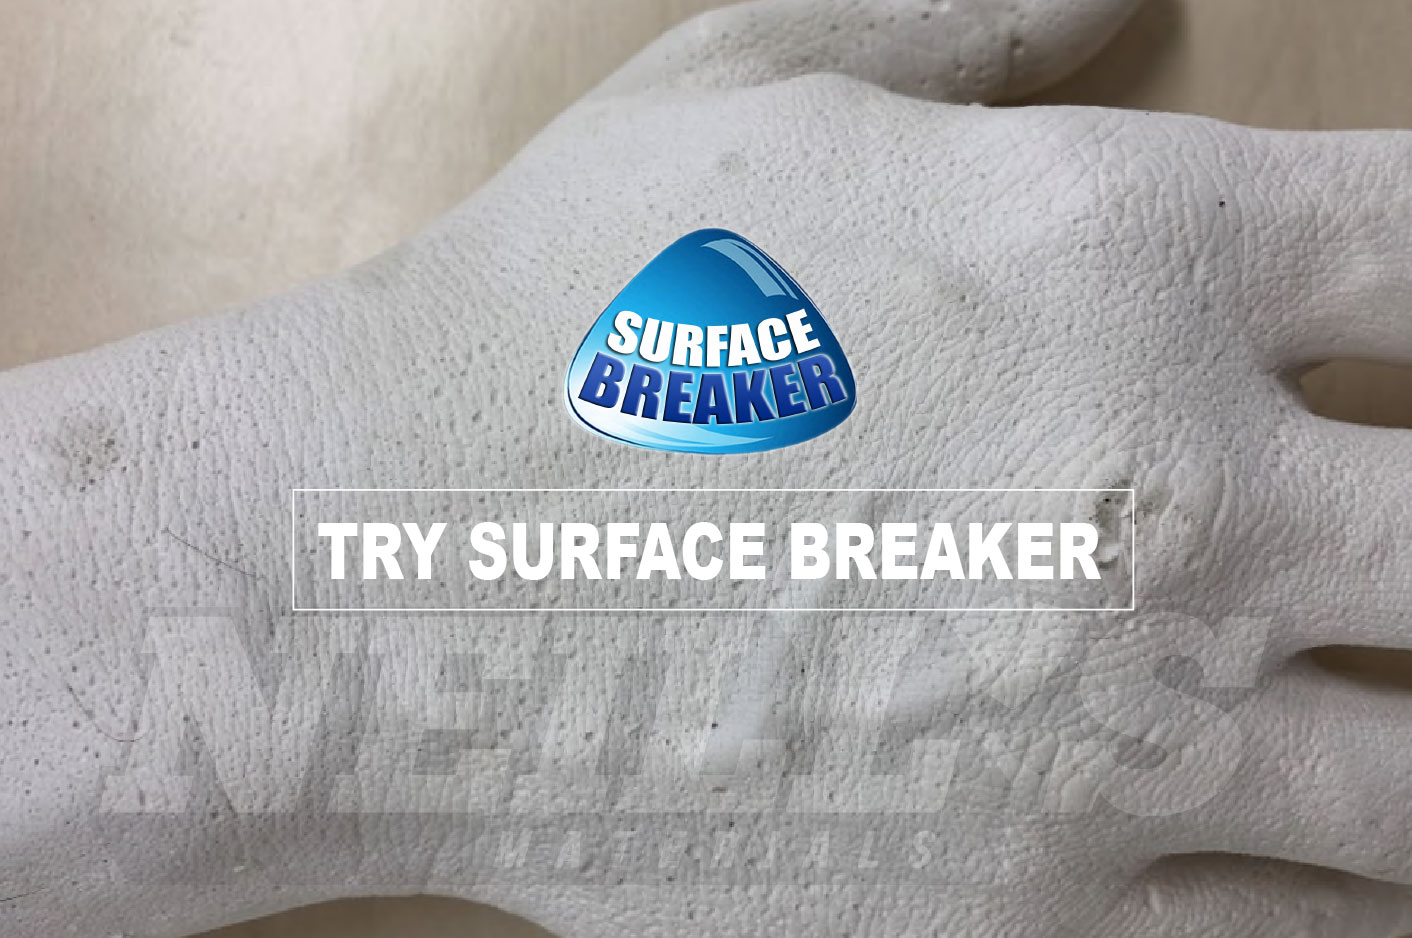
TIP: Use Surface Breaker® to prevent bubbles from forming when taking plaster casts from silicone moulds and when taking plaster or alginate moulds from casts and sculpts.

Hand cast which has been taken from a silicone mould using standard techniques – bubbles can be seen covering large areas of the surface of the piece, producing a poor-quality finish.

The same cast taken using Surface Breaker® – this piece is smooth, highly detailed and completely bubble-free. After a quick clean-up, it’s ready to go!
Original Source: Polytek Development Corp.