Sonic Mini 8K – 3D Printer Setup Guide
Unboxing the Sonic Mini 8K
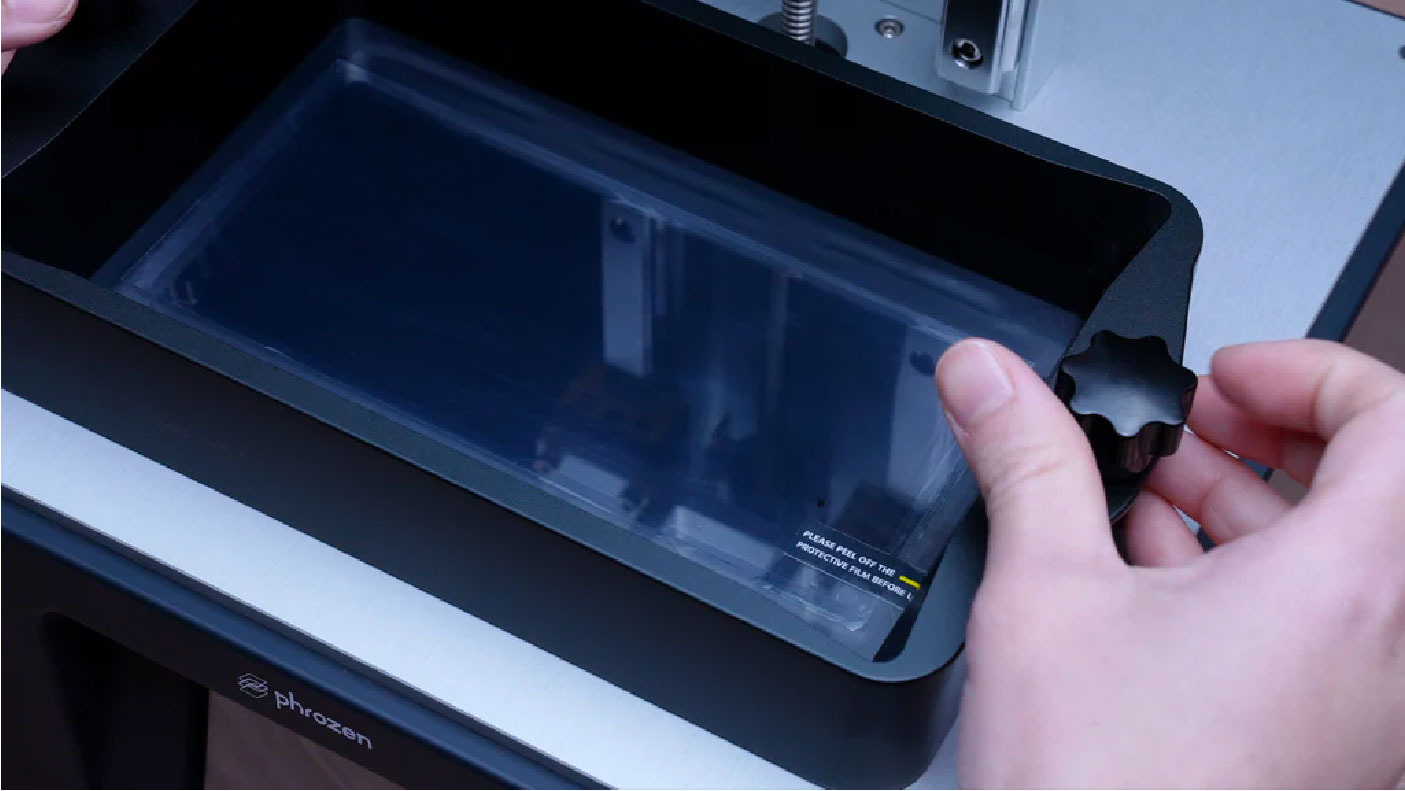
Remove the plastic cover and then remove the resin vat.
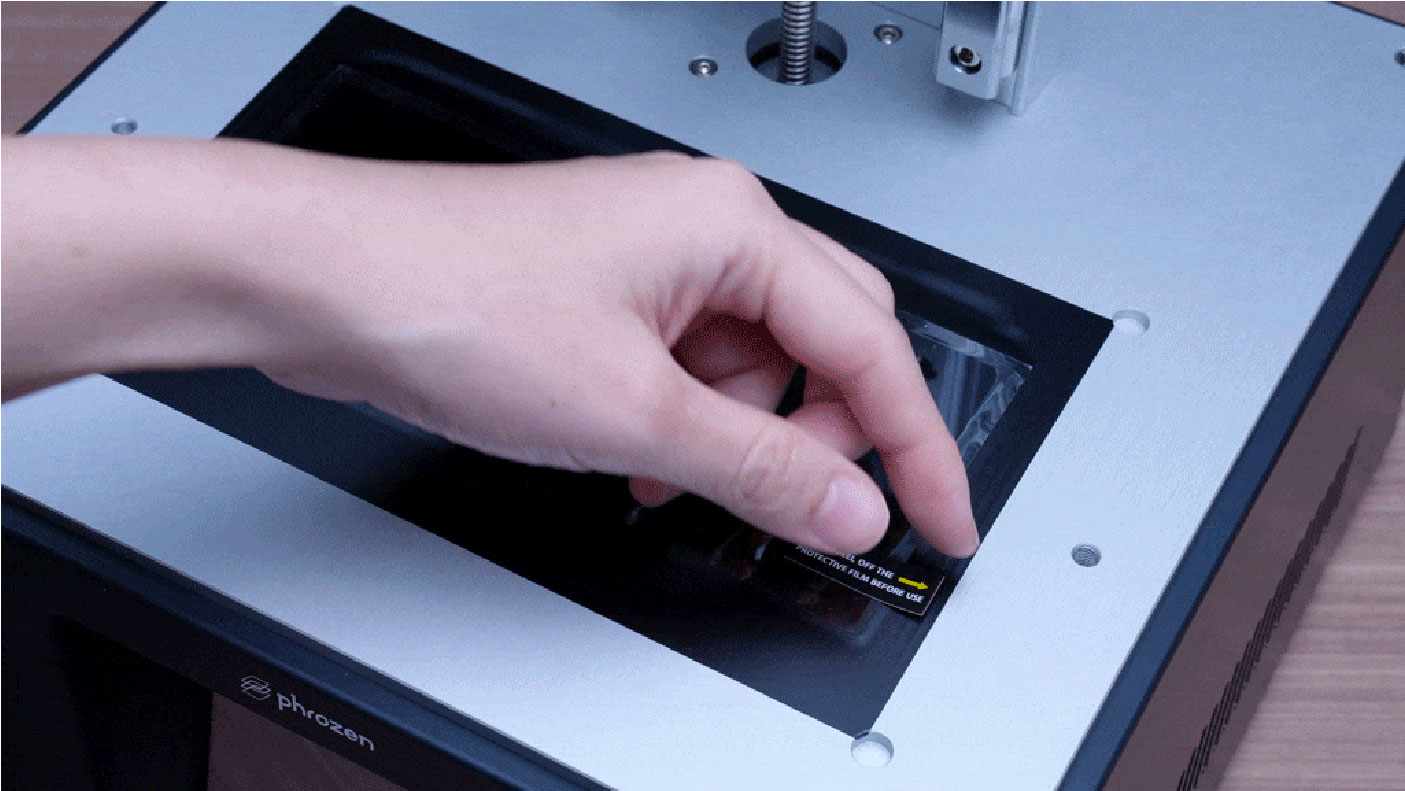
Peel off the protective film on the LCD before printing with the Sonic Mini 8K.
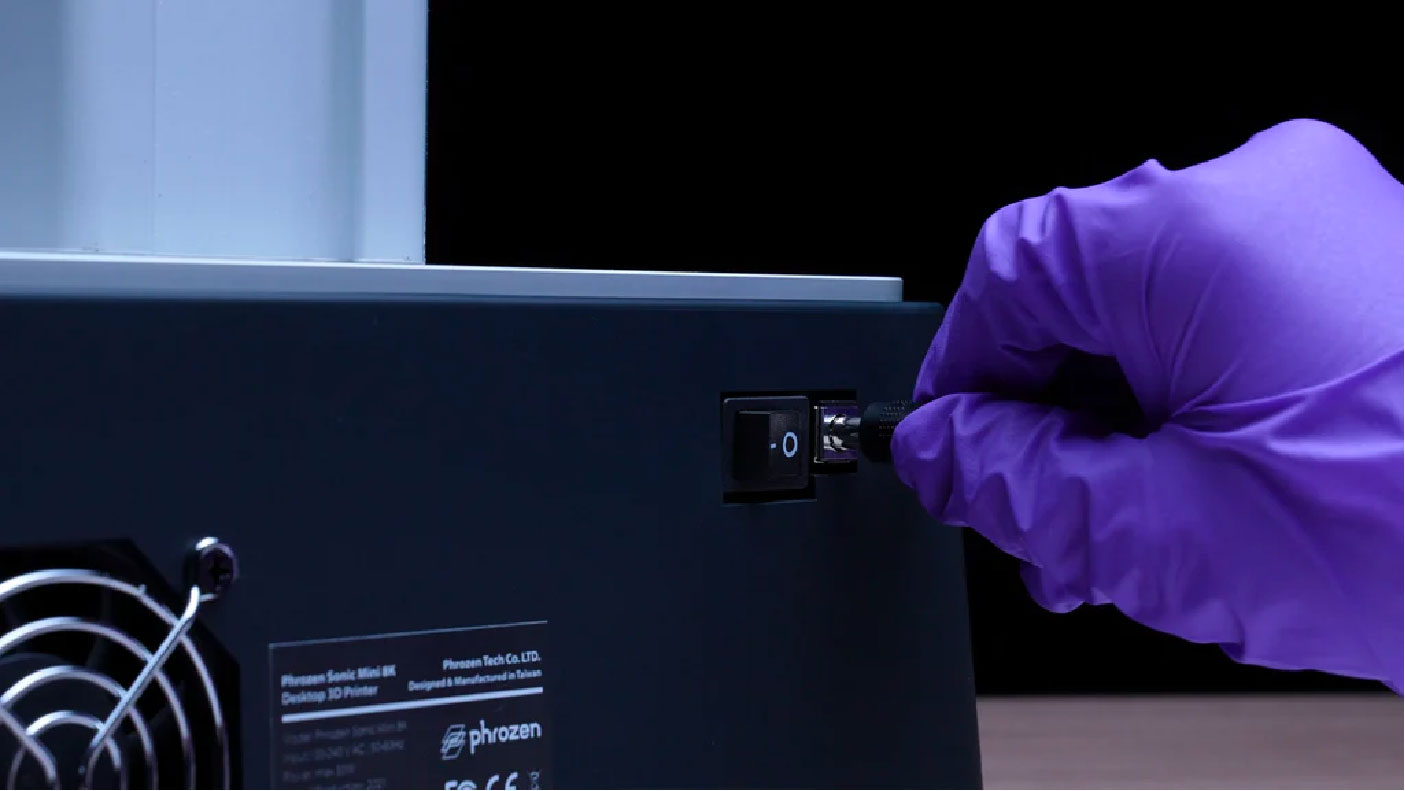
Plug in the power cable located at the back of the Sonic Mini 8K.
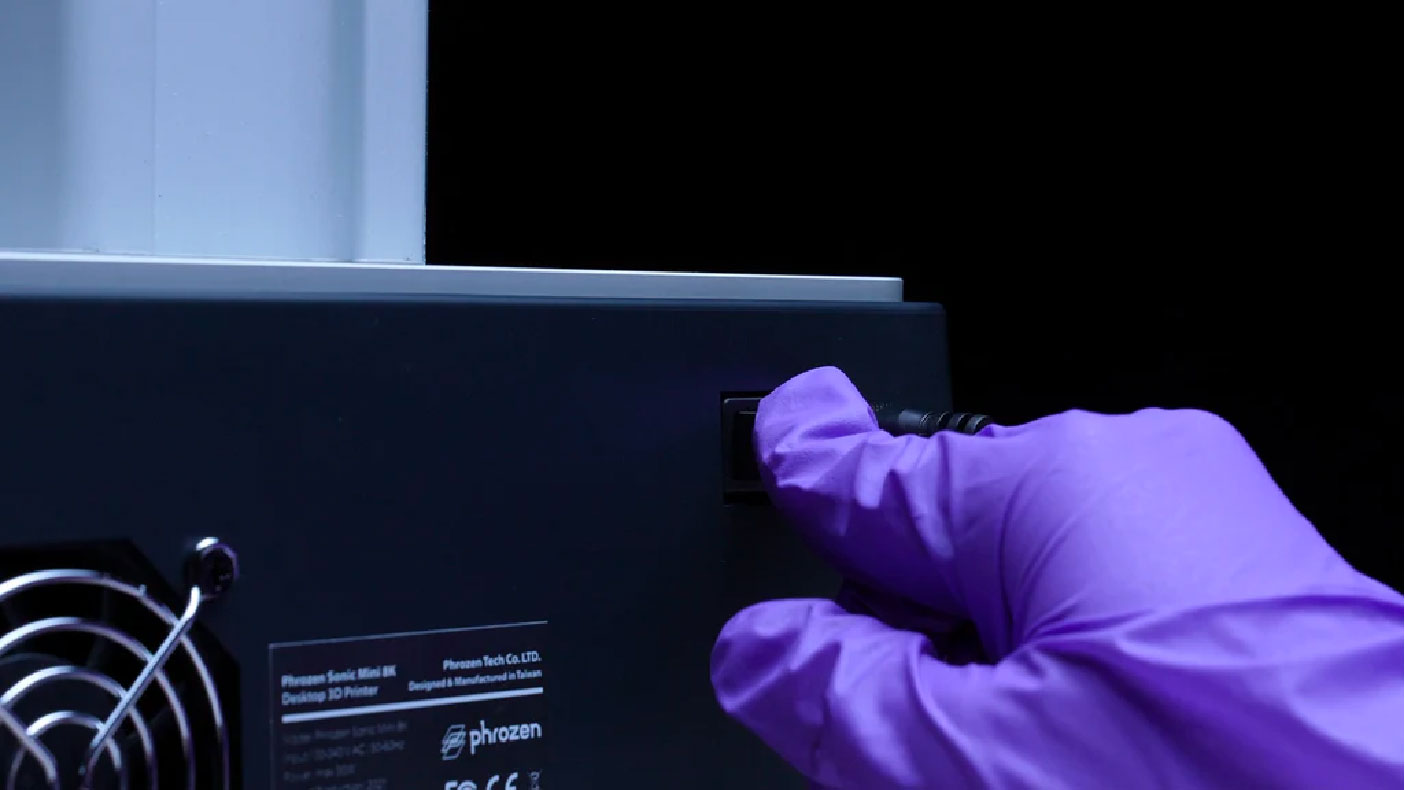
Turn the switch on. It may take up a few seconds for the touch panel to light up. Once you hear a loud beep, it means the device is ready for use.
Watch the Full Video or Follow the Step by Step (below)
Performing an LCD Test on the Sonic Mini 8K
Before printing, you may need to check the status of your Sonic Mini 8K’s LCD screen. This is to ensure that both the UV lights and the 7.1” Mono-LCD screen are functioning properly. We will guide you through the steps of performing an LCD test and how you can read the test:
Caution! DO NOT look directly into the light. Improper exposure to UV light may cause painful eye and/or skin injuries.
Step 1: LCD Test
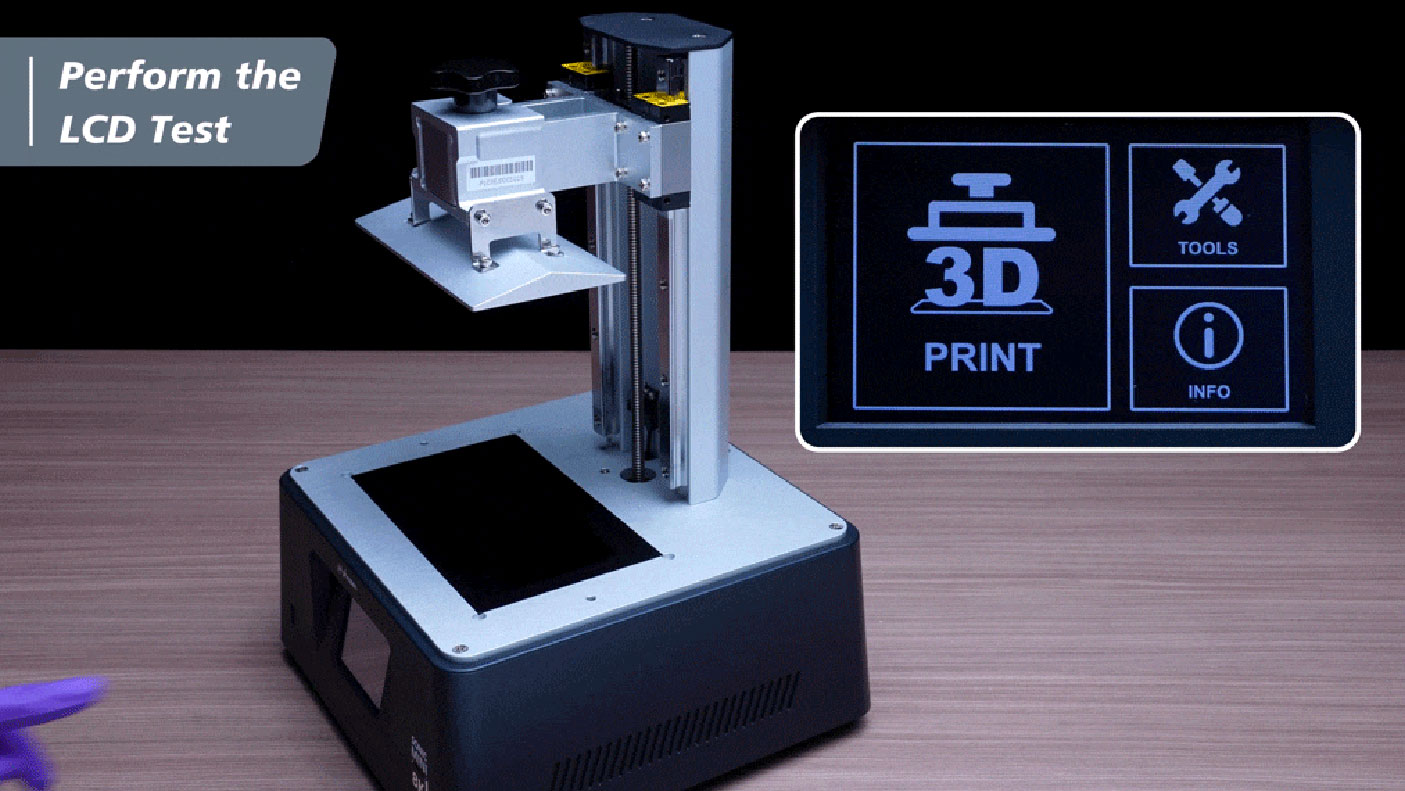
On the touch panel, click TOOLS, then click on LCD TEST:
A white rectangle will appear on the LCD screen. Run this test to make sure that the image shown on the LCD screen matches the one shown on the touch panel.
Step 2: Vat Cleaning
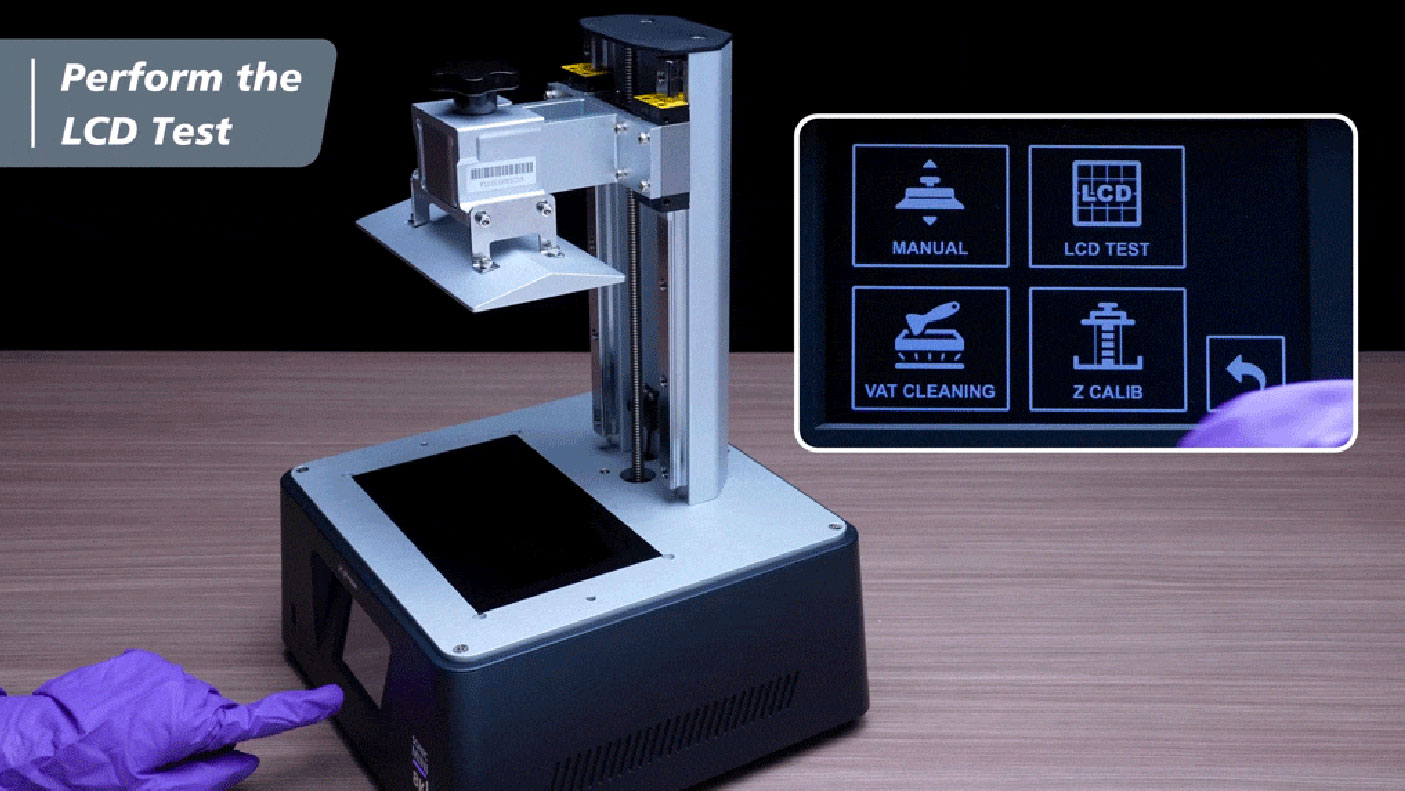
Click TOOLS, then click VAT CLEANING.
Set the Vat Cleaning exposure time to 15 seconds.
Then click on Next.
On the LCD screen, a bright blue square will appear. Run this test to make sure the UV lights are distributed evenly.
Performing Z-axis Calibration on the Sonic Mini 8K
Z-axis calibration is essential for every 3D printer. Run this test to make sure that the building plate is levelled to the LCD screen. This is to ensure that models and prints will adhere to the building plate.
We will guide you through the steps of calibrating your Sonic Mini 8K LCD 3D printer by using a piece of A4 paper:
Step 1: Loosen the Screws on the Building Plate
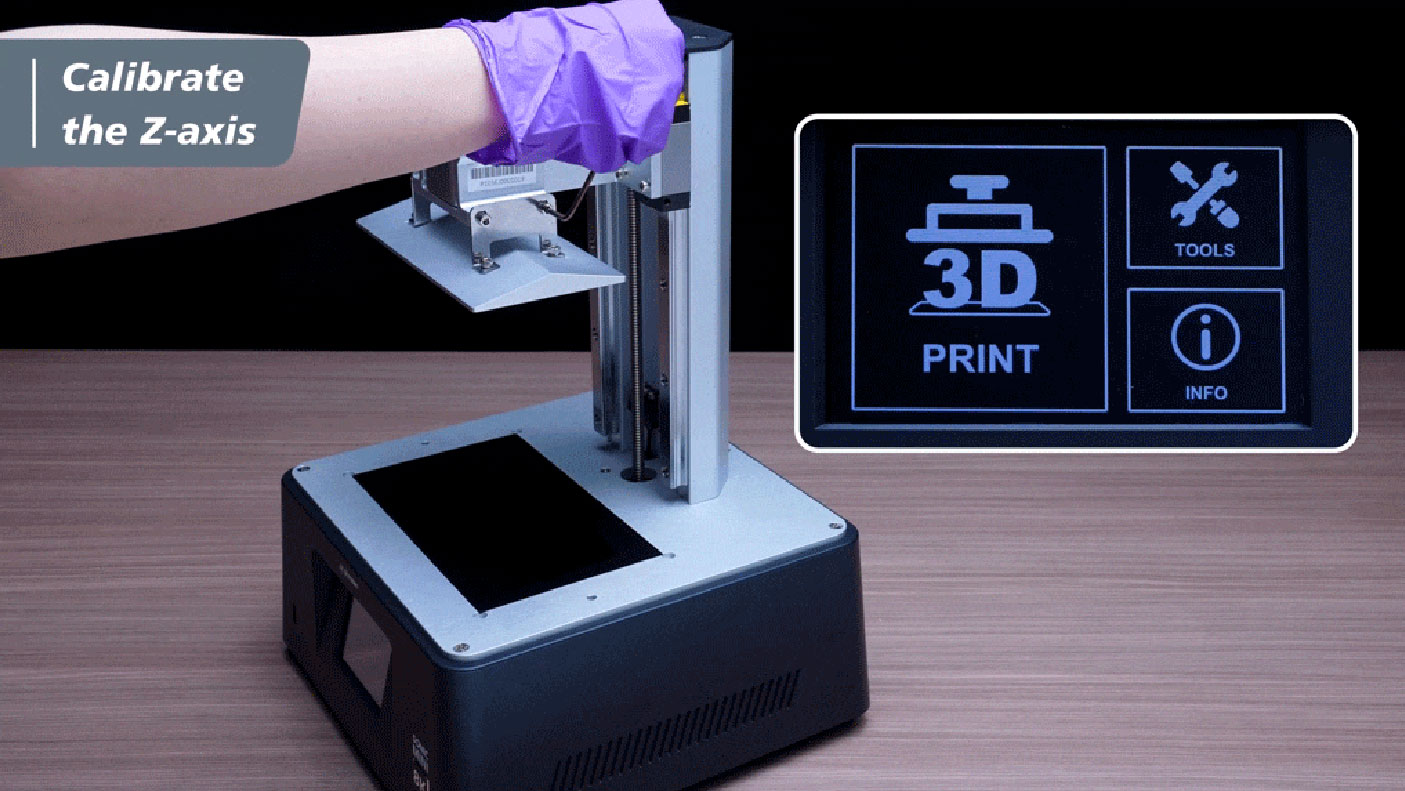
Use the Allen wrench included in the toolbox to loosen all 4 screws on the sides of the building plate in a counterclockwise direction. After loosening it, double-check to see if the plate is loose and movable.
Step 2: Place a piece of paper on the LCD
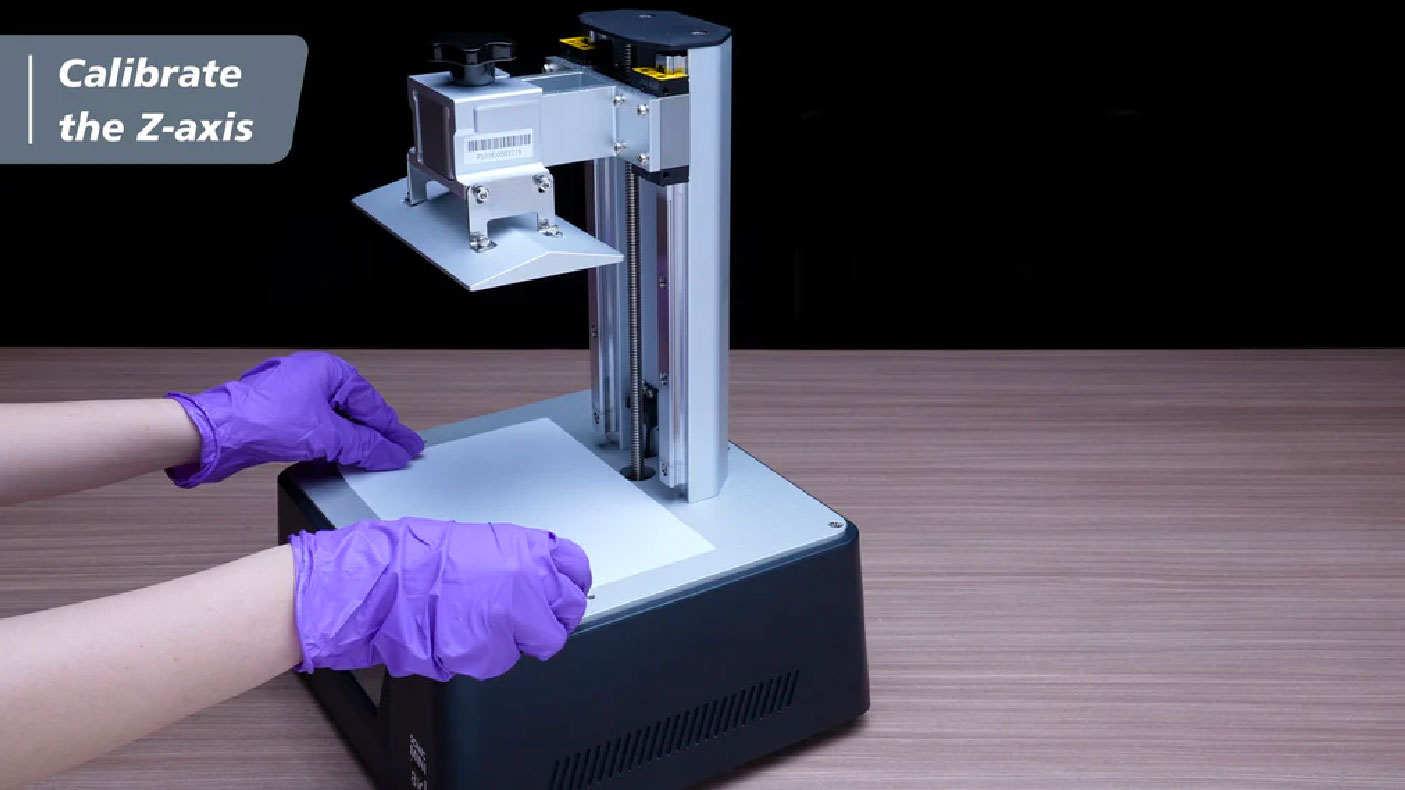
Prepare a piece of A4 paper (roughly 0.07-0.10 mm thick) and lay it flat on the LCD screen. This piece of paper will be used for levelling the building plate.
Step 3: Settings
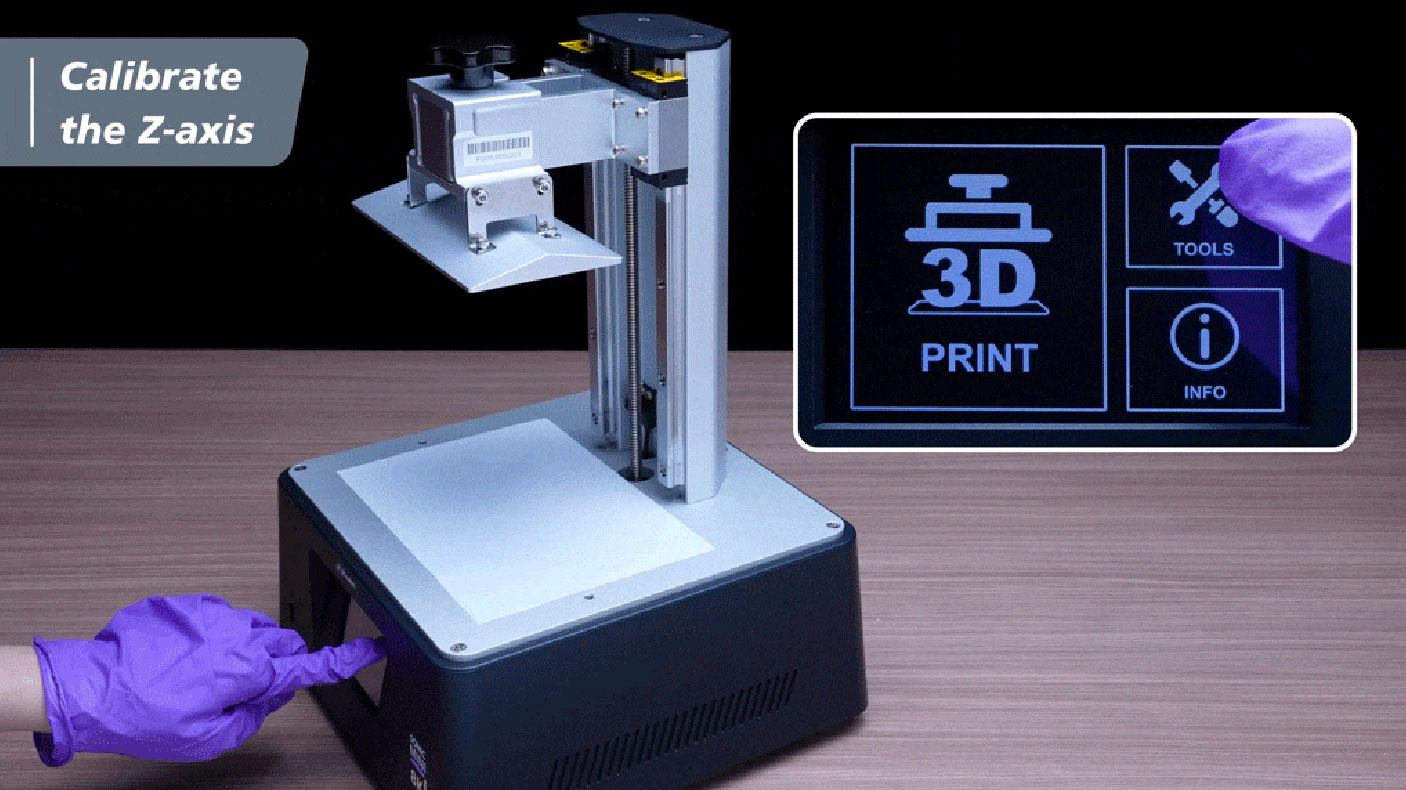
On the touch panel, click TOOLS, then click Z CALIB on your touch panel to begin the calibration process.
Click NEXT and wait for 1-2 minutes as the building plate extends to touch the LCD screen.
Step 4: Apply Pressure on the Building Plate
Once the building plate has touched down, apply pressure and press down firmly on the sides of the building plate. Pull on the piece of paper to make sure the building plate is laying tight against it.
Step 5: Tighten the Screws in a Cross Pattern Order
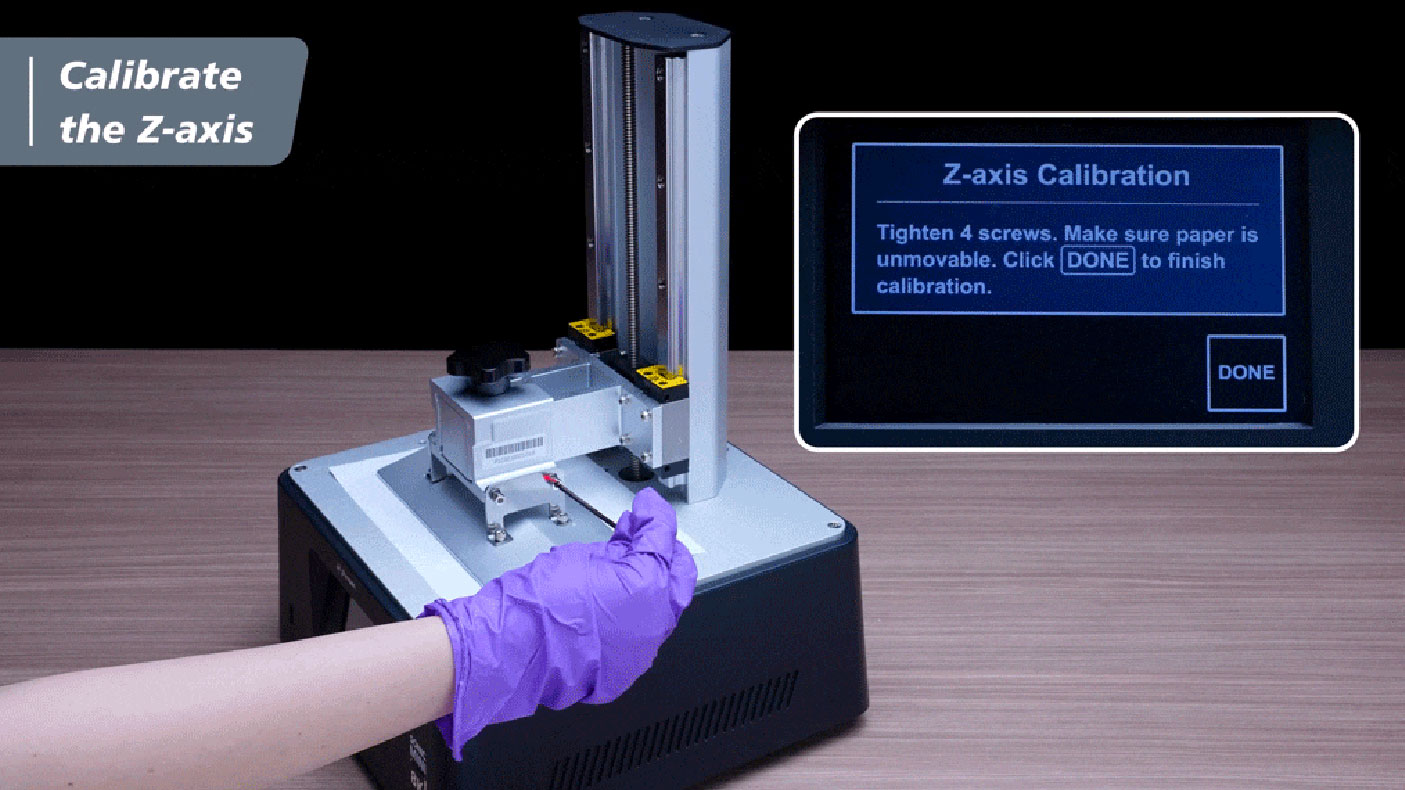
Once you have successfully adjusted the building plate, tighten all four screws on the sides of the building plate in a clockwise direction while pressing down on the building plate with the other hand, in a cross pattern order, e.g., top-right, lower-left, top-left, and lower-right.
Step 6: Double-Check Z-axis Calibration
Tug on all four corners of the A4 paper to check for pressure intensity. If it is tight, please proceed onto the next step. If it isn’t, please calibrate the Z-axis one more time.
Step 7: DONE
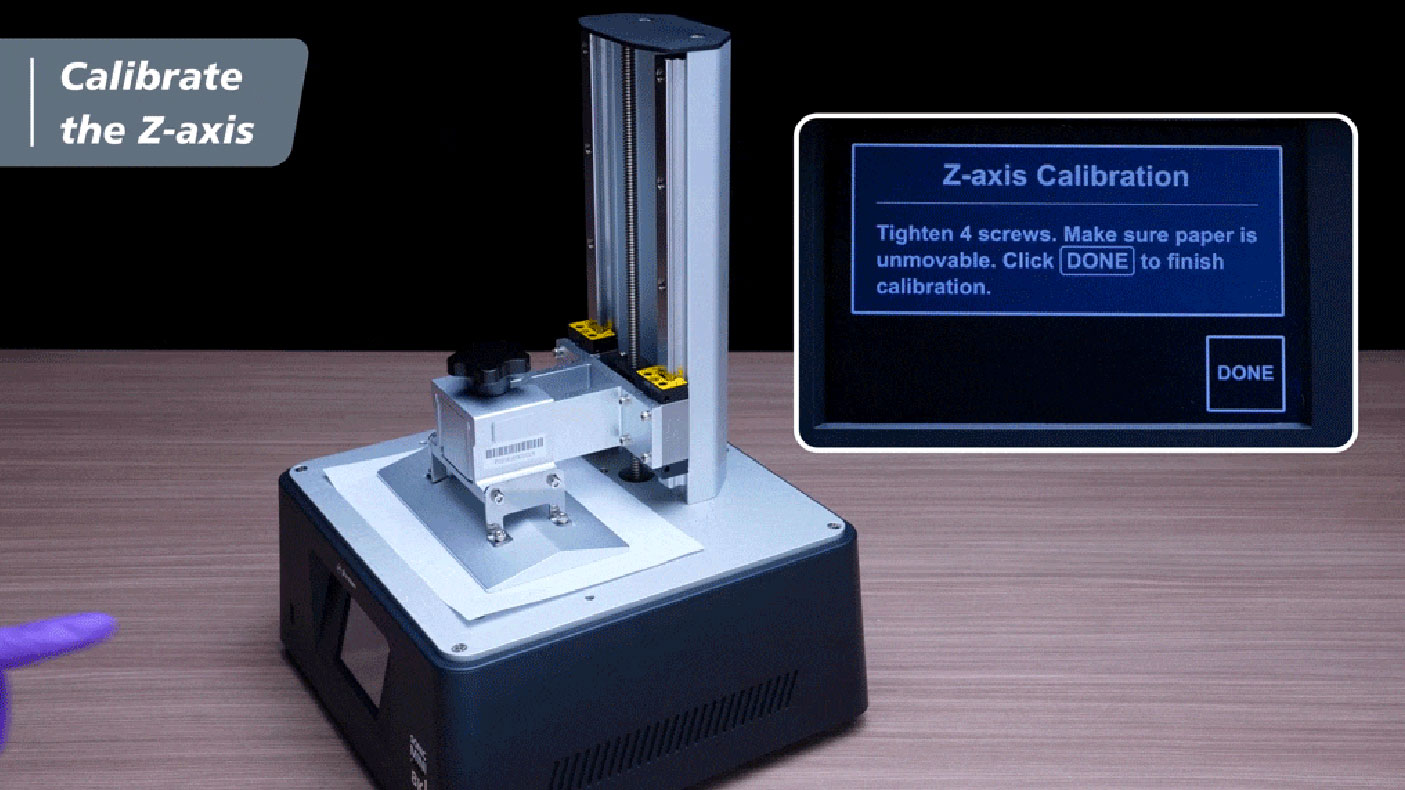
Click DONE on the touch panel and wait for the building plate to retract. Once the plate has retracted, remove the A4 paper.
Sonic Mini 8K: First Print with Phrozen Test File
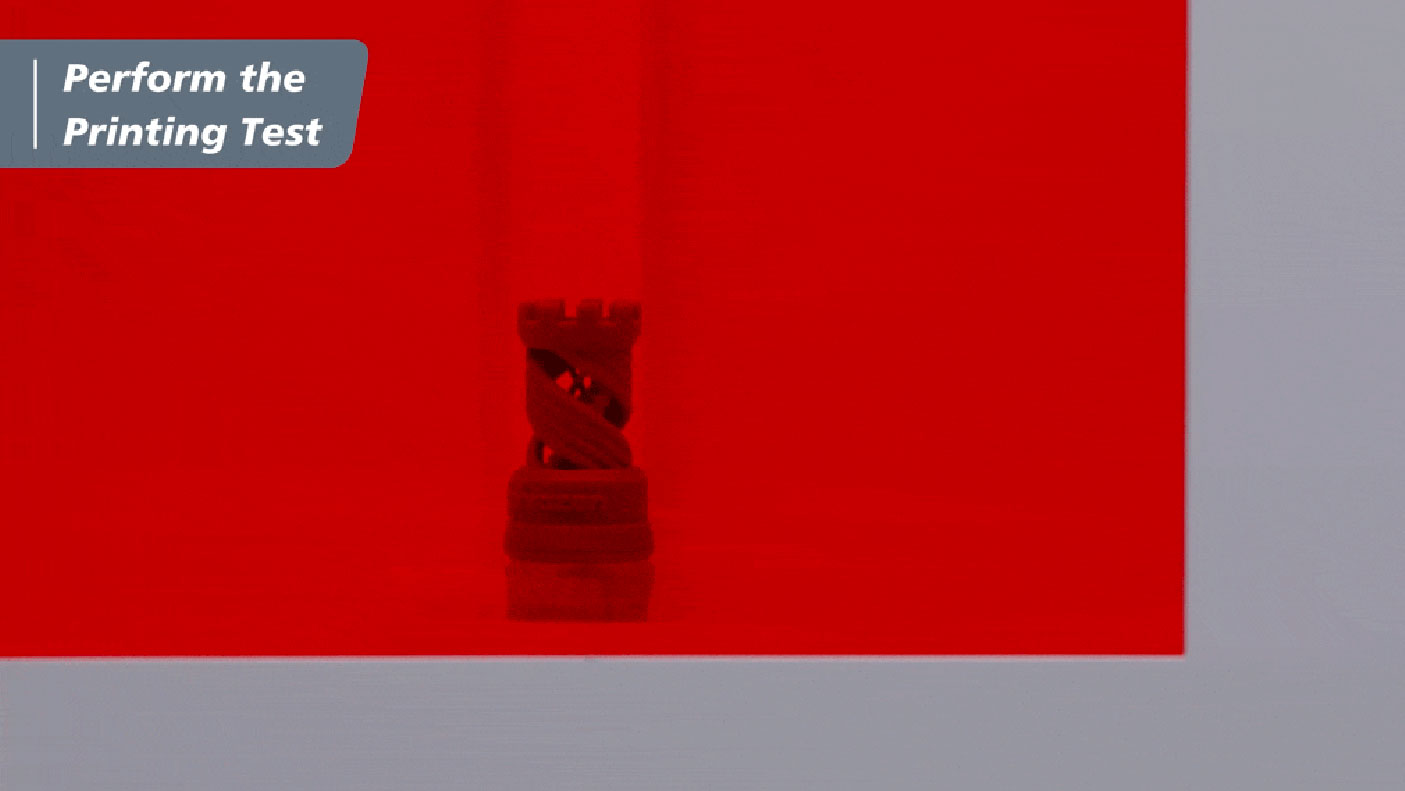
After correctly calibrating your Z-axis, it’s time for you to test out your first print with the Sonic Mini 8K! We have included a test file in the USB drive for you to test out the LCD 3D printer with Aqua-Grey 8K Resin.
Step 1: Suiting Up
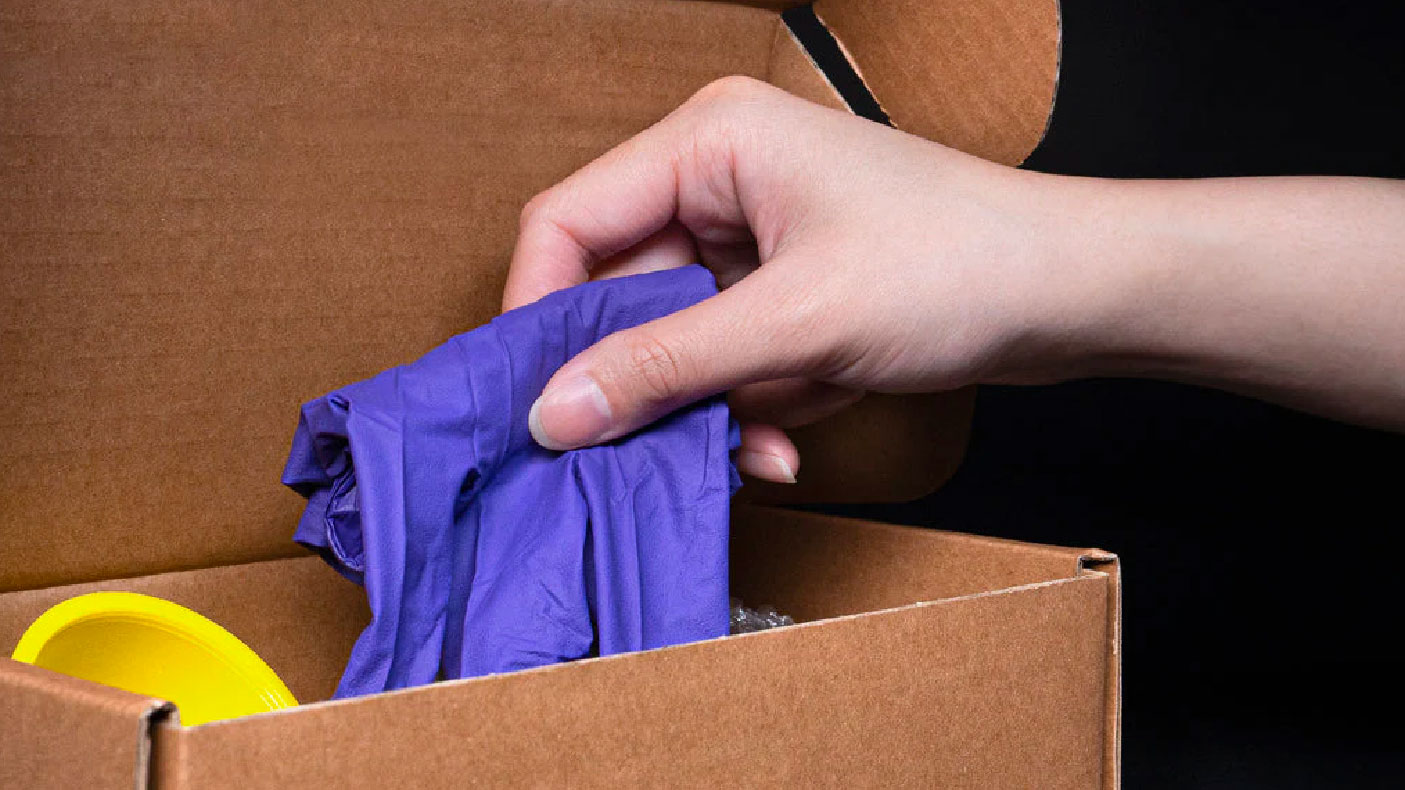
As direct contact with resin may cause allergic reactions, it is advisable to wear PPE (Personal Protective Equipment) masks, goggles, and gloves while printing.
Step 2: Install the Resin Vat
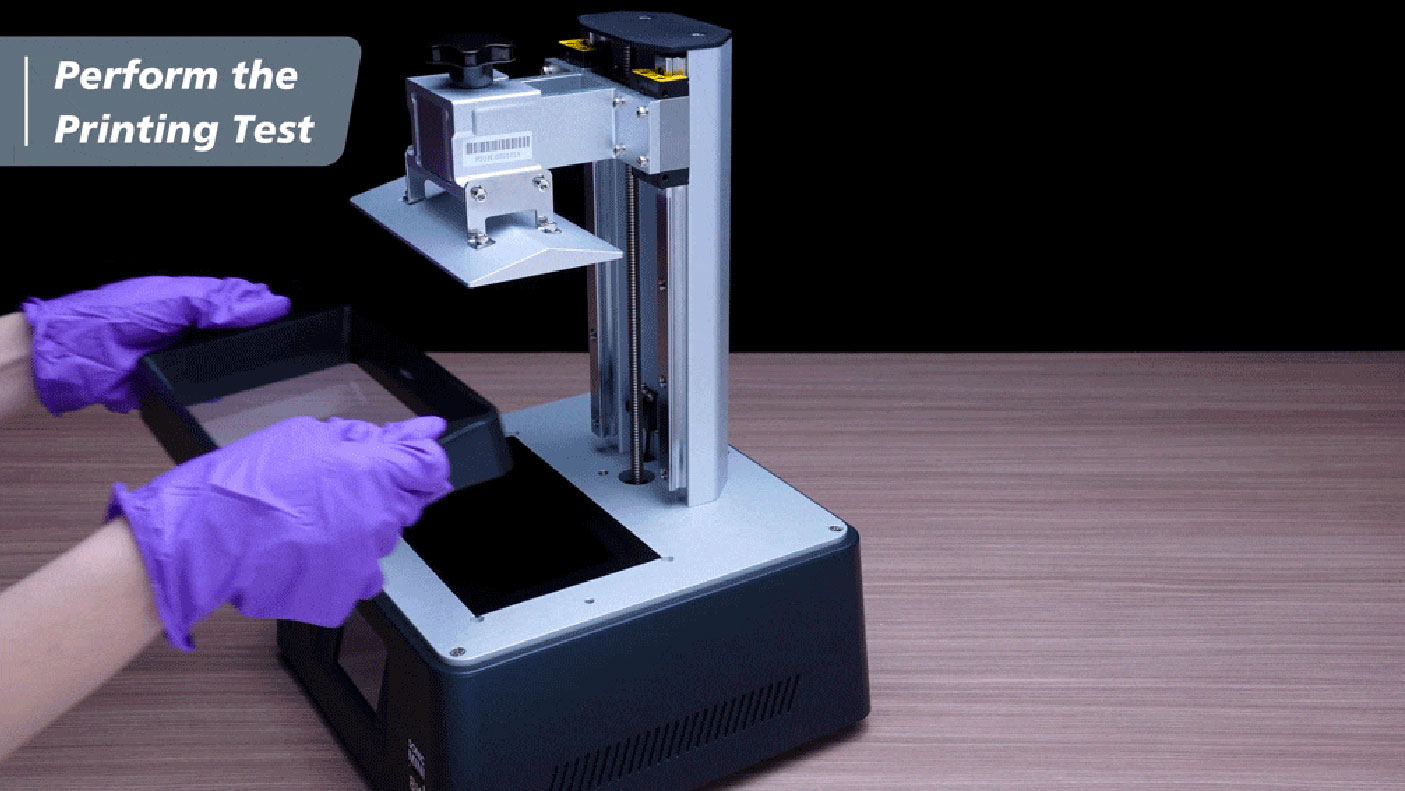
Install the resin vat. Please make sure that the bottom screws of the resin vat are perfectly aligned with the platform grooves. Then tighten the screws on both sides.
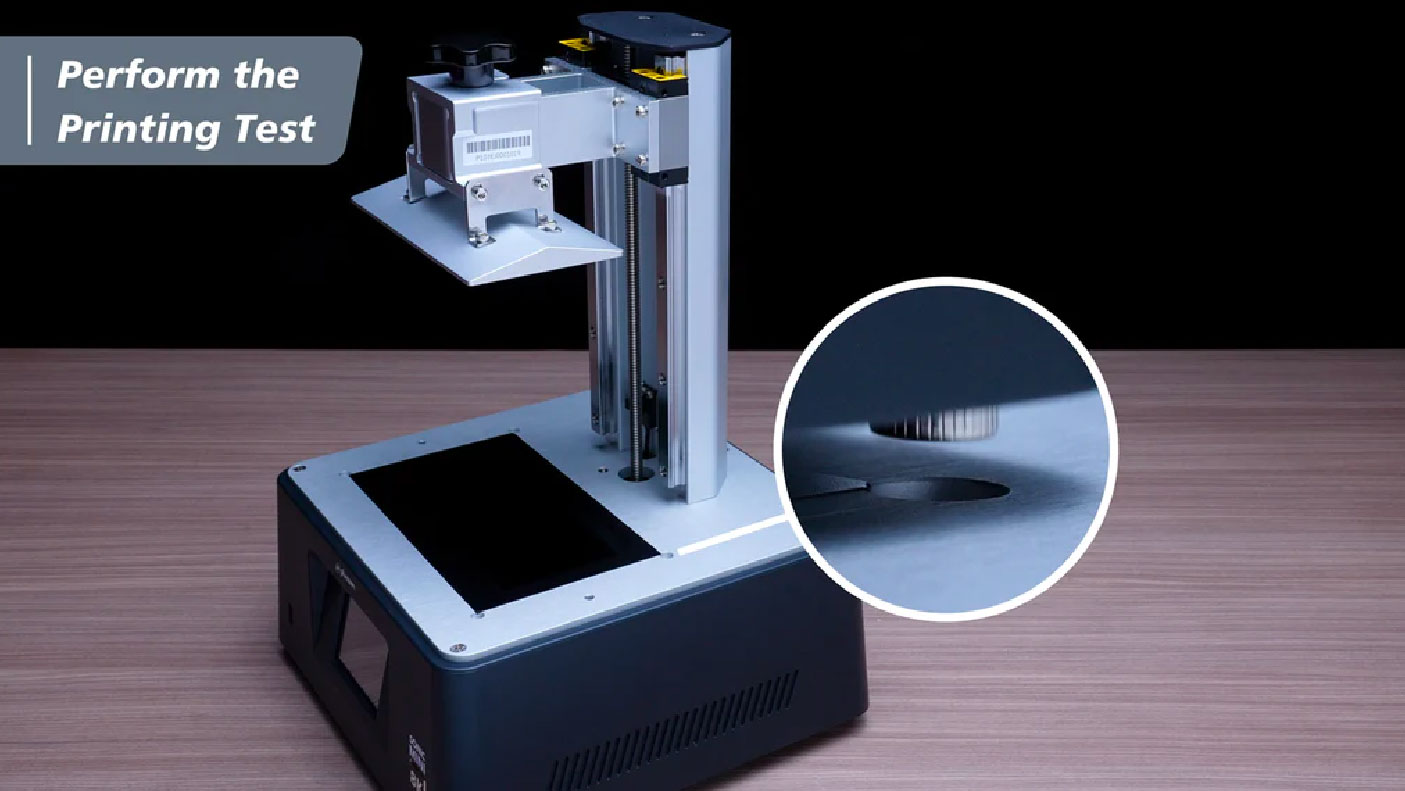
Please pay attention to the bottom screws and DO NOT damage the LCD screen when placing the resin vat.
Step 3: Fill the Vat with Resin
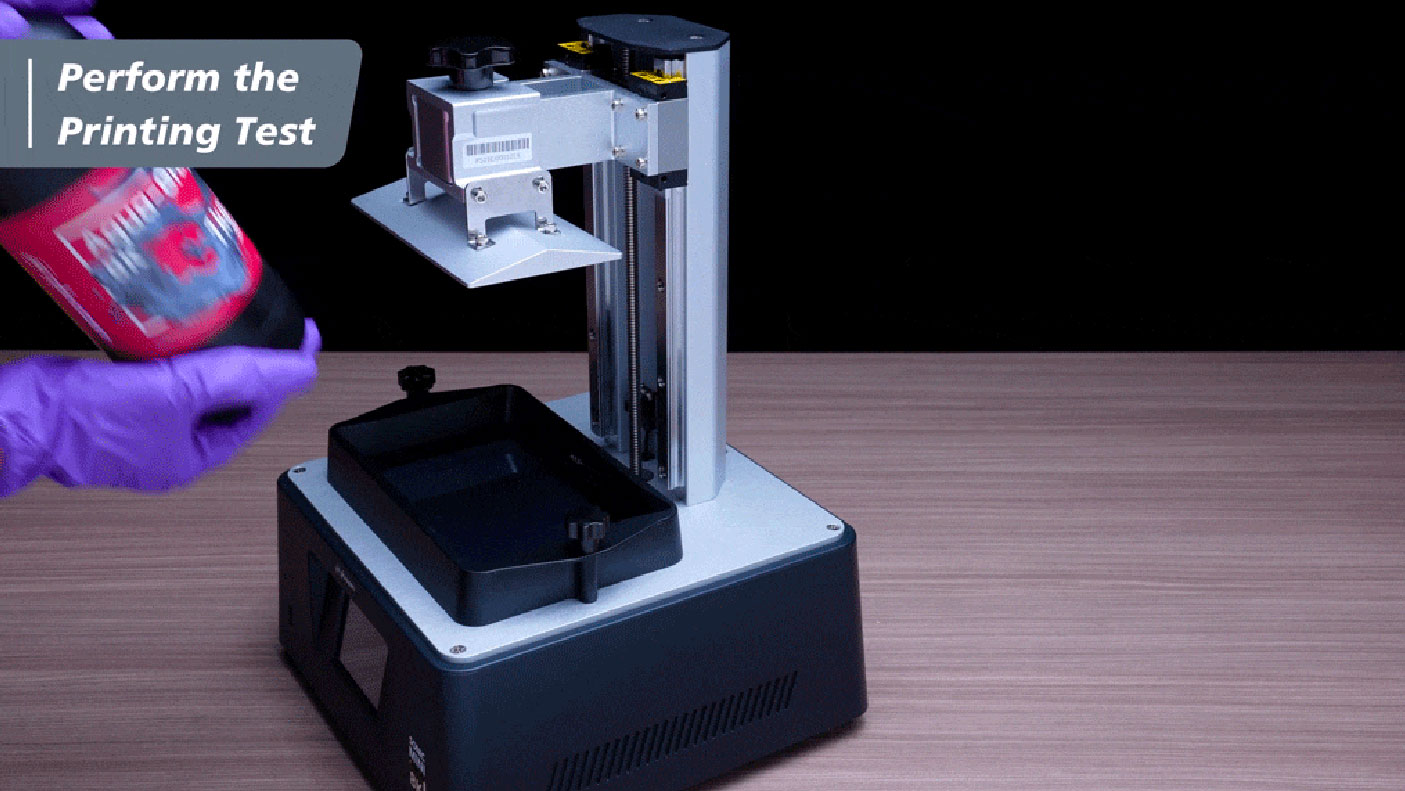
Make sure to shake the resin well (for approximately 1 min.) before pouring it into the resin vat. When pouring resin, make sure it does not exceed the max fill line on the resin vat.
Step 4: Transfer your File to Sonic Mini 8K
Please note that the Sonic Mini 8K 3D printer only offers a USB data transfer method. Please save the file as a .CTB file as the Sonic Mini 8K can only read .CTB files. Plug in your USB into the USB portal of Sonic Mini 8K to begin printing.
Step 5: Start Printing
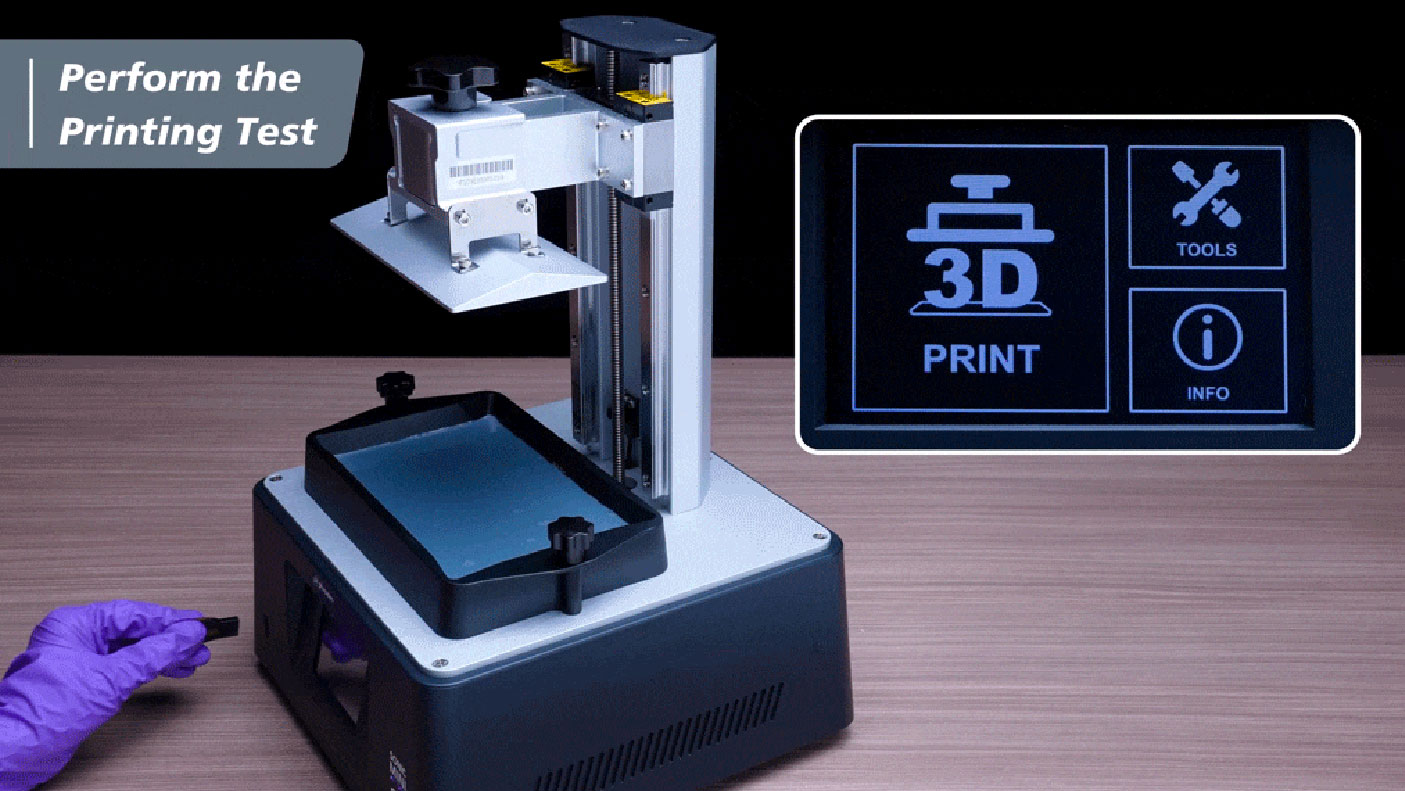
On the touch panel, click PRINT, and select your .CTB file. The printing process will take approximately 2 hours.
Note: Prior to each print session, check to see if the resin vat has already been filled with resin. Please use the plastic scraper included in the toolbox to search for cured resin left in the vat. Use the scraper to stir the resin.
Inspect the platform of the machine and check to see if any clutter has been left behind. Remove the clutter and you can begin printing.
Step 6: Finish Printing
Once the printing process is complete, the building plate will retract to the top. Wait until the resin has drained completely before proceeding onto post-processing.
Sonic Mini 8K: Post-Processing
Once you have finished printing out 3D models with the Sonic Mini 8K, your prints need to be cleaned and post-processed thoroughly. In this article, we’ll demonstrate how to thoroughly clean your 3D models:
Step 1: Getting Prepared
Please prepare a bottle of Phrozen Wash or IPA (Isopropyl Alcohol), paper towels, and a cardboard box for discarding post-processing waste materials such as: failed prints, supports, rafts, and/or paper towels that contain uncured resin.
Note: Please proceed with caution as liquids may be flammable.
Step 2: Clean the Building Plate
Remove the plastic cover of your LCD 3D printer. Loosen the building plate knob to remove the building plate. Then use a paper towel to wipe the edges and the top of the building plate.
Step 3: Remove the 3D Model from the Building Plate
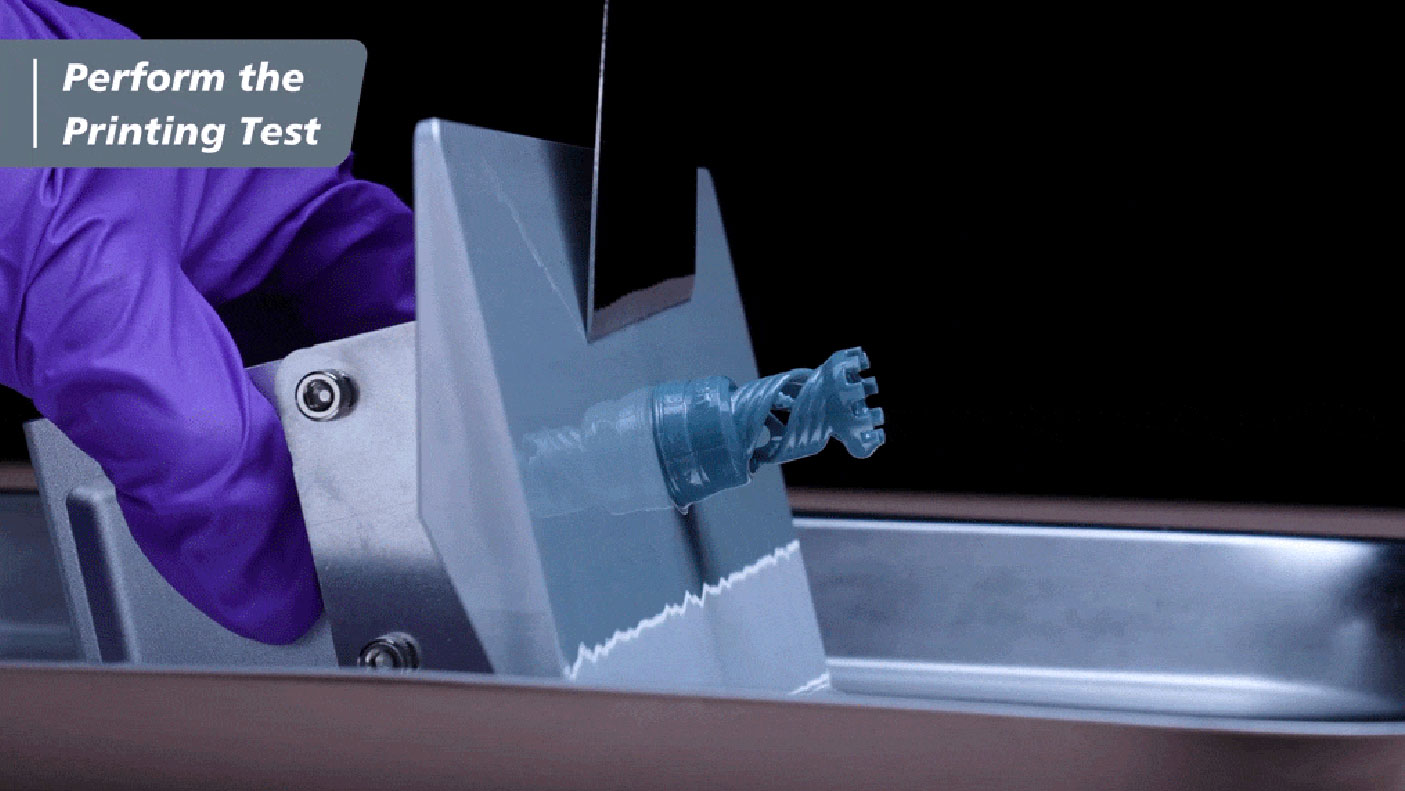
Place the building plate on a flat, stable surface. Then use the metal scraper included in your toolbox to remove the model.
If you’re having trouble with removing your 3D prints, use a utility knife.
Step 4: Clean the 3D Model
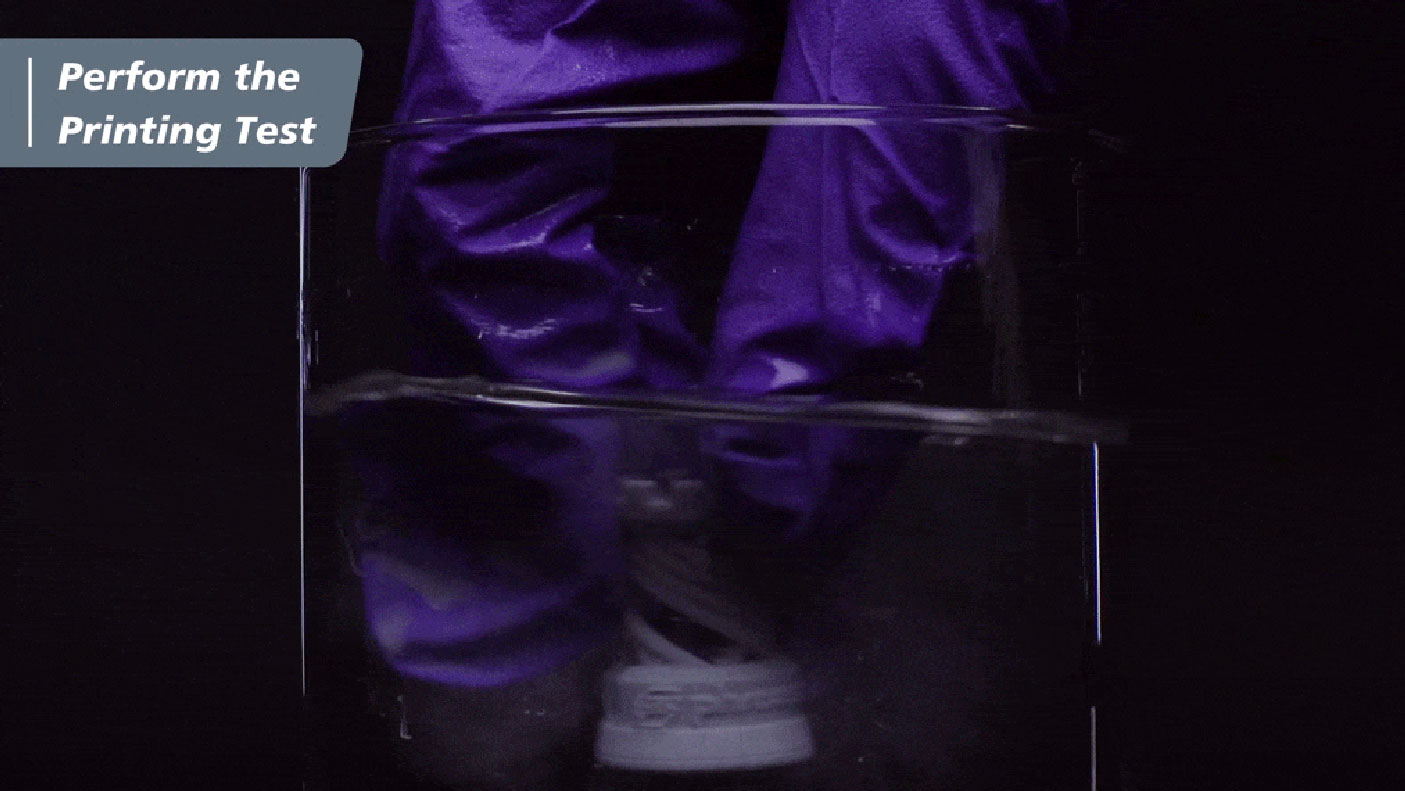
Clean your Models with an Ultrasonic Cleaner
Make sure to prepare two basins and an Ultrasonic Cleaner with Phrozen Wash or 95% alcohol, IPA. Wash your 3D model in each basin and rinse for roughly 3 minutes. Then carefully place the 3D model into the Ultrasonic Cleaner and let it soak for 3 minutes.
Note: As liquids may be flammable and tend to evaporate fast, make sure to store the liquid in an airtight container after cleaning your 3D prints.
Clean your Models without an Ultrasonic Cleaner
If you don’t currently own an Ultrasonic Cleaner, please prepare two basins, and fill both with Phrozen Wash or IPA (Isopropyl Alcohol). Wash your 3D model in each basin and rinse for roughly 1-3 minutes. Continue to wash the model until its surface is clean. You may use a soft brush to slightly brush the model for better results.
Note: A toothbrush is not recommended as it may create scratches on the 3D print.
Step 5: Remove Supports from the 3D Model
If you haven’t printed out the Phrozen rook .ctb file, your 3D model may have supports attached onto it. You might need to remove the tree-like support structures attached to your model by carefully snipping off the supports with a snip cutter — without damaging the surface of the print.
Note: You can also choose to remove the supports on your 3D prints after post-curing.
Step 6: Dry the 3D Model
Before moving onto post-curing, leave the model to dry in a shaded area for 30-60 minutes. Make sure there is no uncured resin left on the 3D print. You can also use a compressed air gun to fasten the process.
Step 7: Post-Curing
After your model is completely dry, place it directly into a Phrozen Curing Unit or use direct sunlight to cure your 3D prints. If you cure your models under sunlight, you will need to turn it around every few hours so that every part of the model is exposed to sunlight.
Keep in mind that sunlight may not provide equal exposure of light to every part of your model as the direction of the sun changes throughout the day. This may cause your models to cure unevenly, which could result in discolouration.
Once you’re print has a matte finish, this means that your 3D model is completely cured!
TIP: If you’re using Water Washable Resin, post-processing will differ. If you are unsure on any of the 3D printing processes, please consult one of our Technical Team.
Original Source: Phrozen 3D

